3. X-ray Emission Keys
Use the X-ray Emission keys (Auto Level, kV, and mA key) and Up/Down keys to set X-ray emission
conditions.
Auto Level key
kV key
mA key
Up key
Down key
4. Auto and Manual Emission Keys
For auto exposures, press Auto Level key
and confirm that the corresponding LED lights up.
For manual exposures, press kV key or mA key
and confirm that the corresponding LED lights up.
5. Up/Down Keys
Press the Up/Down keys to change the value displayed for the kV or mA, whichever is selected.
(When the Down key is held down continuously, all displayed values disappear, and the unit is set for the No
X-ray mode.)
6. X-ray Emission Display
Shows the Auto Level or the tube voltage (kV) and tube current (mA).
7. Memory Key
Use this key to save the X-ray emission conditions currently set.
8. Exposure Time Display
Shows the expected exposure time before the exposure and the actual time after the exposure.
9. Ready key
Press this key to return the arm its start position.
This also enables X-ray emission.
10. Ready LED
When the power switch is turned on, this LED blinks.
When the Ready key is pressed, it stops blinking and remains lit continuously.
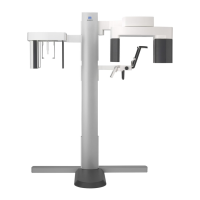
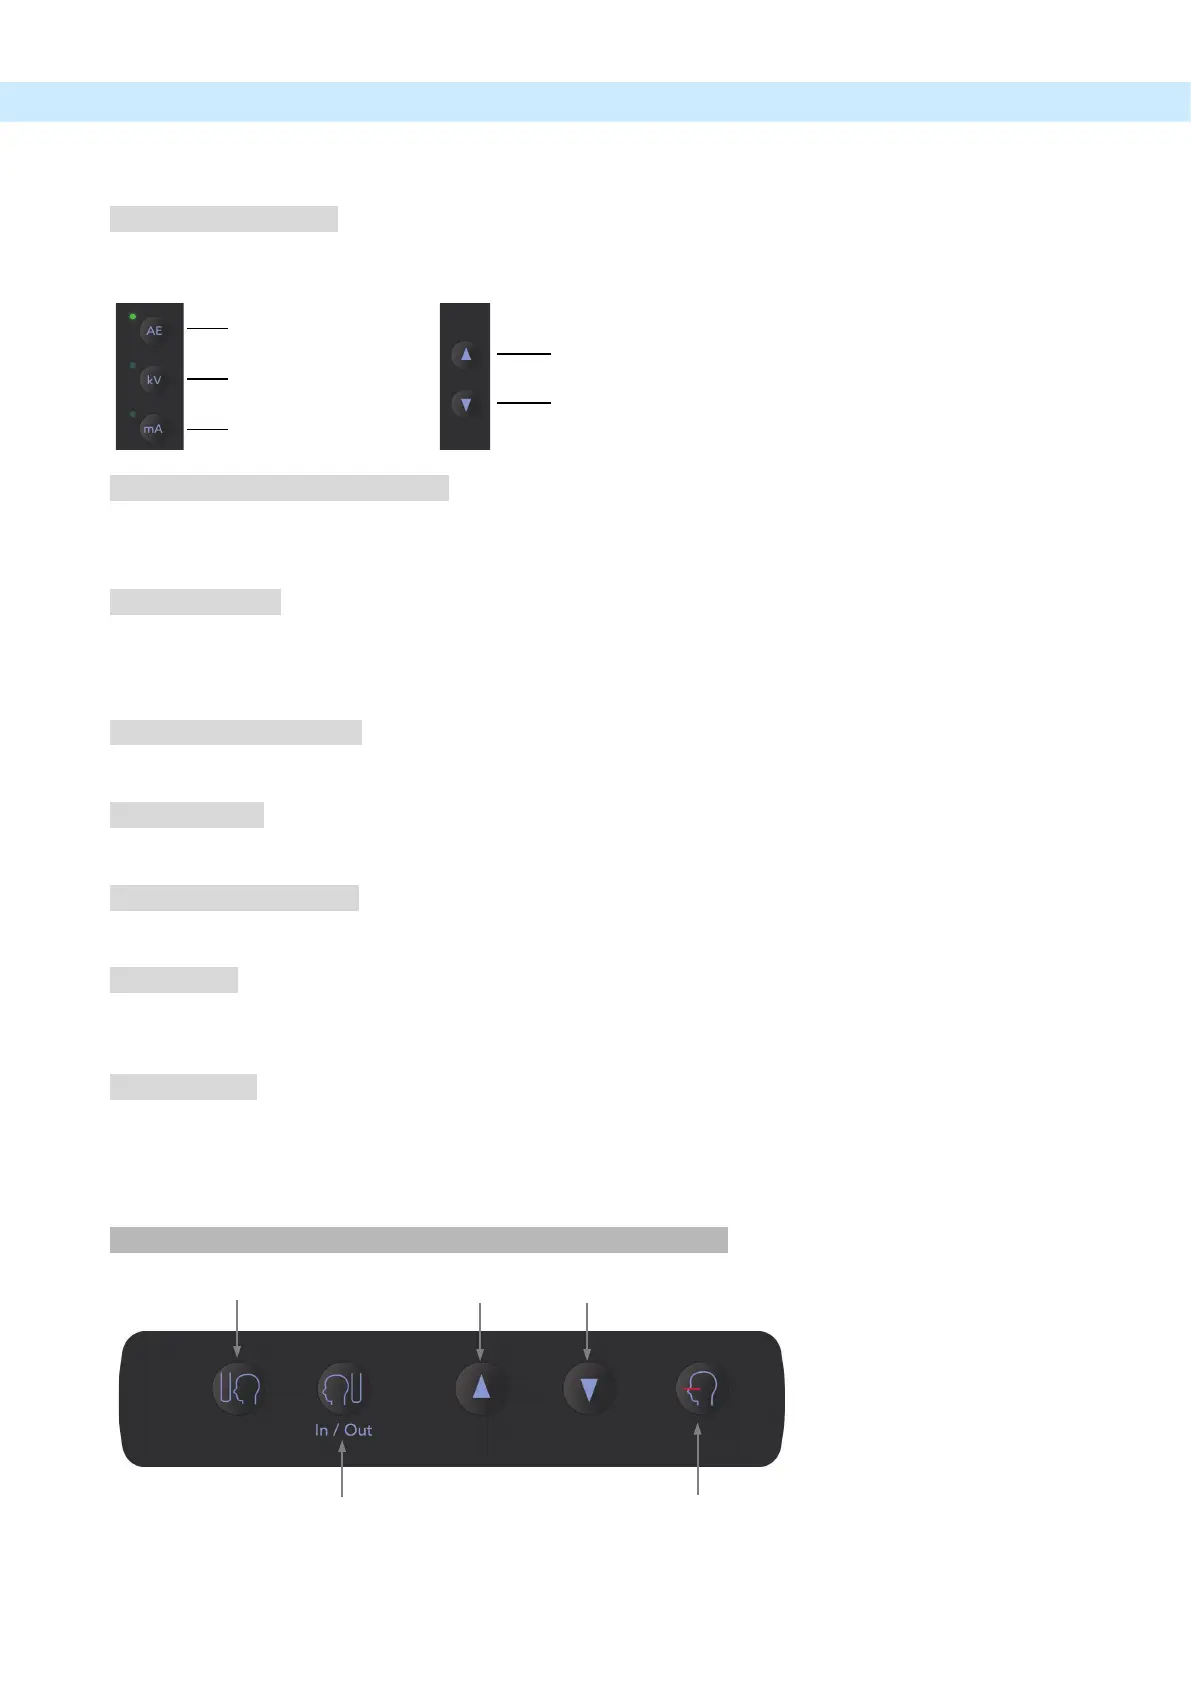
Cephalo Operation Panel (Only for models with the cephalo unit.)
Patient Entry and Egress Key
Frankfort Plane Beam On/Off Key
 Loading...