9
headline bars
continuation tabs
headline bars
continuation tabs
notes
warnings
headline bars
continuation tabs
notes
warnings
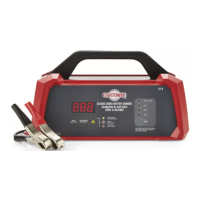
Model no. 011-1970-8 Questions? Contact us 1-888-942-6686
8
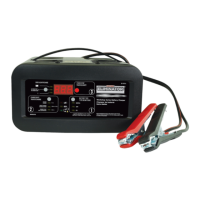
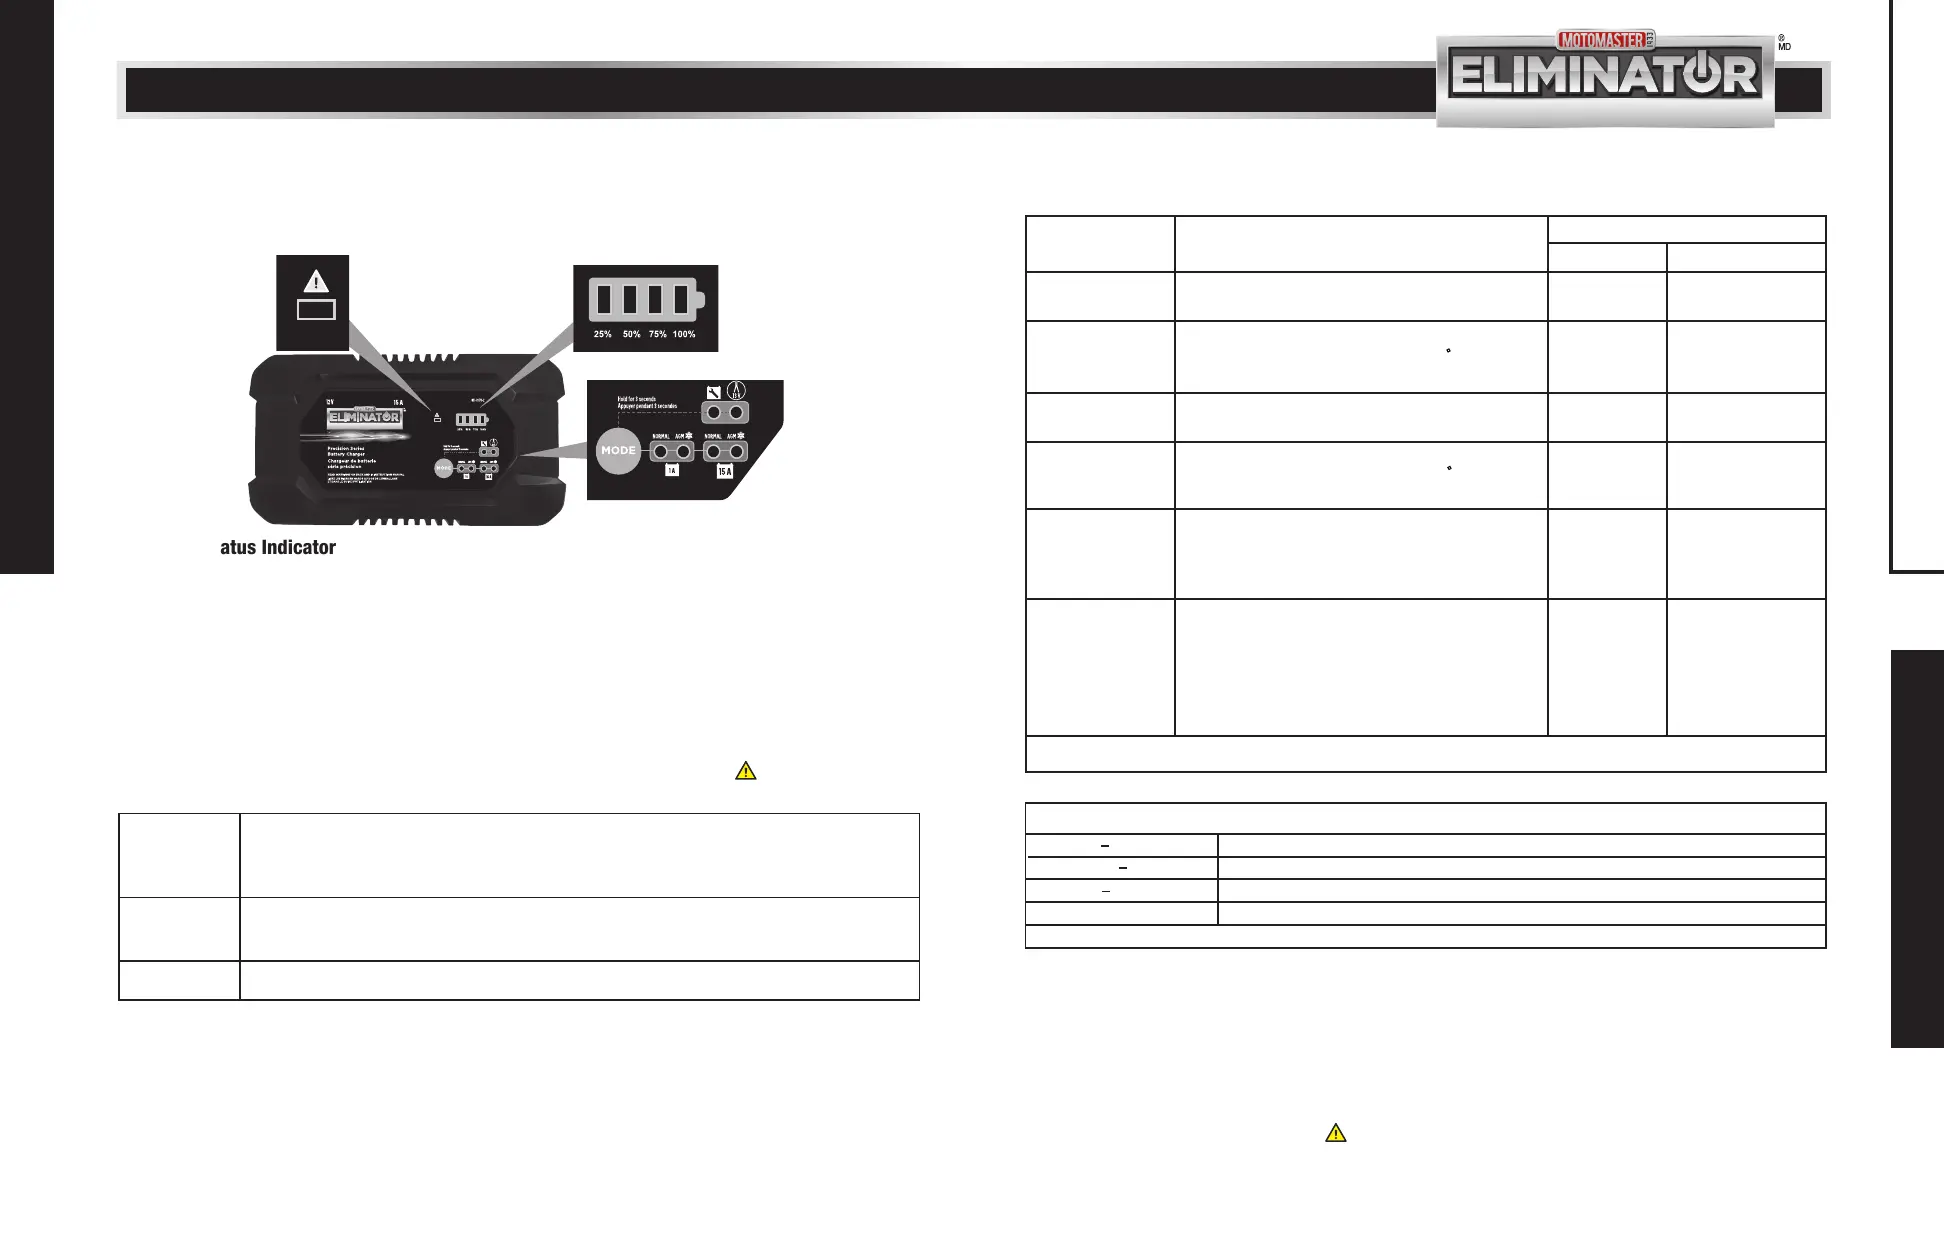
CONTROLS AND INDICATORS
1 A NORM
(14.4 V)
1 A COLD / AGM
(14.8 V)
15 A NORM
(14.4 V)
15 A COLD/AGM
(14.8 V)
MODE EXPLANATION
Battery Capacity Range
Charging Maintenance
For charging small to medium 12 V wet cell lead-acid
batteries.
5 to 25
Amp-hour
5 to 25
Amp-hour
50 to 300
Amp-hour
50 to 300
Amp-hour
5 to 200
Amp-hour
5 to 200
Amp-hour
50 to 500
Amp-hour
50 to 500
Amp-hour
For charging small to medium 12 V wet cell lead-acid
batteries in cold temperatures (below 5 ) and for
many AGM batteries.
For charging medium to extra large 12 V wet cell
lead-acid batteries
For charging medium to extra large 12 V wet cell
batteries in cold temperatures (below 5 ) and for
most AGM batteries.
RECONDITIONING
(15.8 V)
POWER SUPPLY
(13.0 V)
5 to 300
Amp-hour
Not applicable
For reconditioning 12 V lead-acid batteries suffering
from capacity loss due to sulphation or stratification.
USE WITH CAUTION—see instructions and precau-
tions under Using Reconditioning Mode.
CHARGING YOUR BATTERY
1. Connect the charger clamps to the battery
(following the steps outlined in “Connecting
Your Battery”).
2. Plug the charger AC plug into an electrical
outlet.
NOTE: If a fault or error is detected, the will
illuminate (see Charge Status Indicators).
3. Press the MODE button to select a regular
charging program.
NOTE: If no selection is made within 5 seconds, the
charger will default to the last selection in memory
and automatically begin charging.
4. Once the battery reaches full charge, the
charger will automatically move into Maintain
mode to safely keep your battery topped up
without risk of overcharging.
For reference only. Please check the specifications listed on your battery or consult with the battery manufacturer.
Small (10 25 Ah) Motorcycle, scooter, ATV, personal watercraft, snowmobile
Compact car, mid-size sedan, compact SUV, riding mower, UTVMedium (30 50 Ah)
Full-size car, large SUV, truck, boat, RV, farm tractorLarge (60 100 Ah)
Large marine, tractor trailer, bus, multiple batteries connected in a bankExtra large (100 Ah+)
Examples of Battery Sizes in Common Applications
Provides up to 5 A of DC power for manually raising
the voltage of a completely discharged battery for
charging, maintaining memory when replacing a
vehicle battery, or powering 12 V DC devices such as
a tire inflator. USE WITH CAUTION—see instructions
and precautions under Using Power Supply Mode.
Not applicable Not applicable
For best results, check the charging recommendations on your battery or consult with the battery manufacturer.
CONTROLS AND INDICATORS
CHARGING YOUR BATTERY
C
C
C. Charging Modes
A. Charge Status Indicator
B. Fault/Error Indicator
This battery charger has an easy-to-follow 4-LED charge status indicator: 25%, 50%,75%,100%. This
indicator provides an estimate of the battery’s state of charge as charging progresses. During charging, the
corresponding state of charge LED will be flashing. When the 100% LED lights solid (i.e., stops flashing), the
battery is fully charged and the charger has entered the Maintain stage (see Understanding the Multi-stage
Charging Process).
The charger will continuously monitor charge progress and collect feedback from the battery during
charging. In the event an abnormal condition is detected, charging will stop and the will illuminate to
indicate one of three possible error conditions:
There are 6 charging modes to choose from. Pressing the MODE button repeatedly to cycle through each of
the four regular modes. To select the two special modes (RECONDITIONING or POWER SUPPLY), hold the
MODE button for 3 seconds. Charging will automatically begin about 5 seconds after the charge mode has
been selected.
NOTE: The battery charger will retain the last selected mode in memory. In the event AC power is disrupted
(e.g., power failure), the charger will re-start in the last selected mode once power is restored.
Amber (solid)
Power ON but no battery detected: Check to ensure that clamp connections to the battery posts are
clean and solid. If connections are good, the battery is severely discharged (<1.5 V) and may be
unsafe to charge. The battery should be tested or replaced.
Red (flashing)
Fault /error: Charging aborted due to some abnormality detected such as a defective battery or
short circuit (see Troubleshooting).
Reverse polarity: Reverse clamp connections.
Red (solid)
CONTROLS AND INDICATORS
B
A
C
 Loading...