The “Labels” Program
Adding and/or Editing Label Text
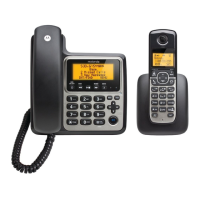
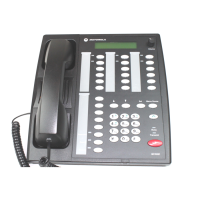
MC3000 Digital Deskset Operator and Installation Manual A-5
(6880309L15-A)
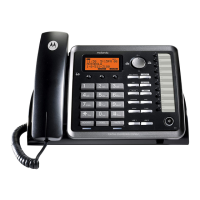
7. Type the desired labels in the fields. The eight button module dialog box has default
labels that you need to change for the Digital Deskset. For the Digital Deskset, the top
five buttons should be blank and the bottom three should be Takeover, Speaker and
Intercom.
8. Press the OK button. You can now add more module labels or modify, print or delete
existing labels. The Digital Deskset has three rows of six digital radio function buttons
and one row of eight buttons. Each row will need a separate module label. If you are
using all the rows on the deskset you will need four module labels.
9. Select the Save command from the File menu to save the module label file that
includes all module labels created. The “Save As” dialog box appears.
10. Indicate the file name and the directory you desire the file to be stored under.
11. Press the OK button.
Adding and/or Editing Label Text
To add and/or edit the label text:
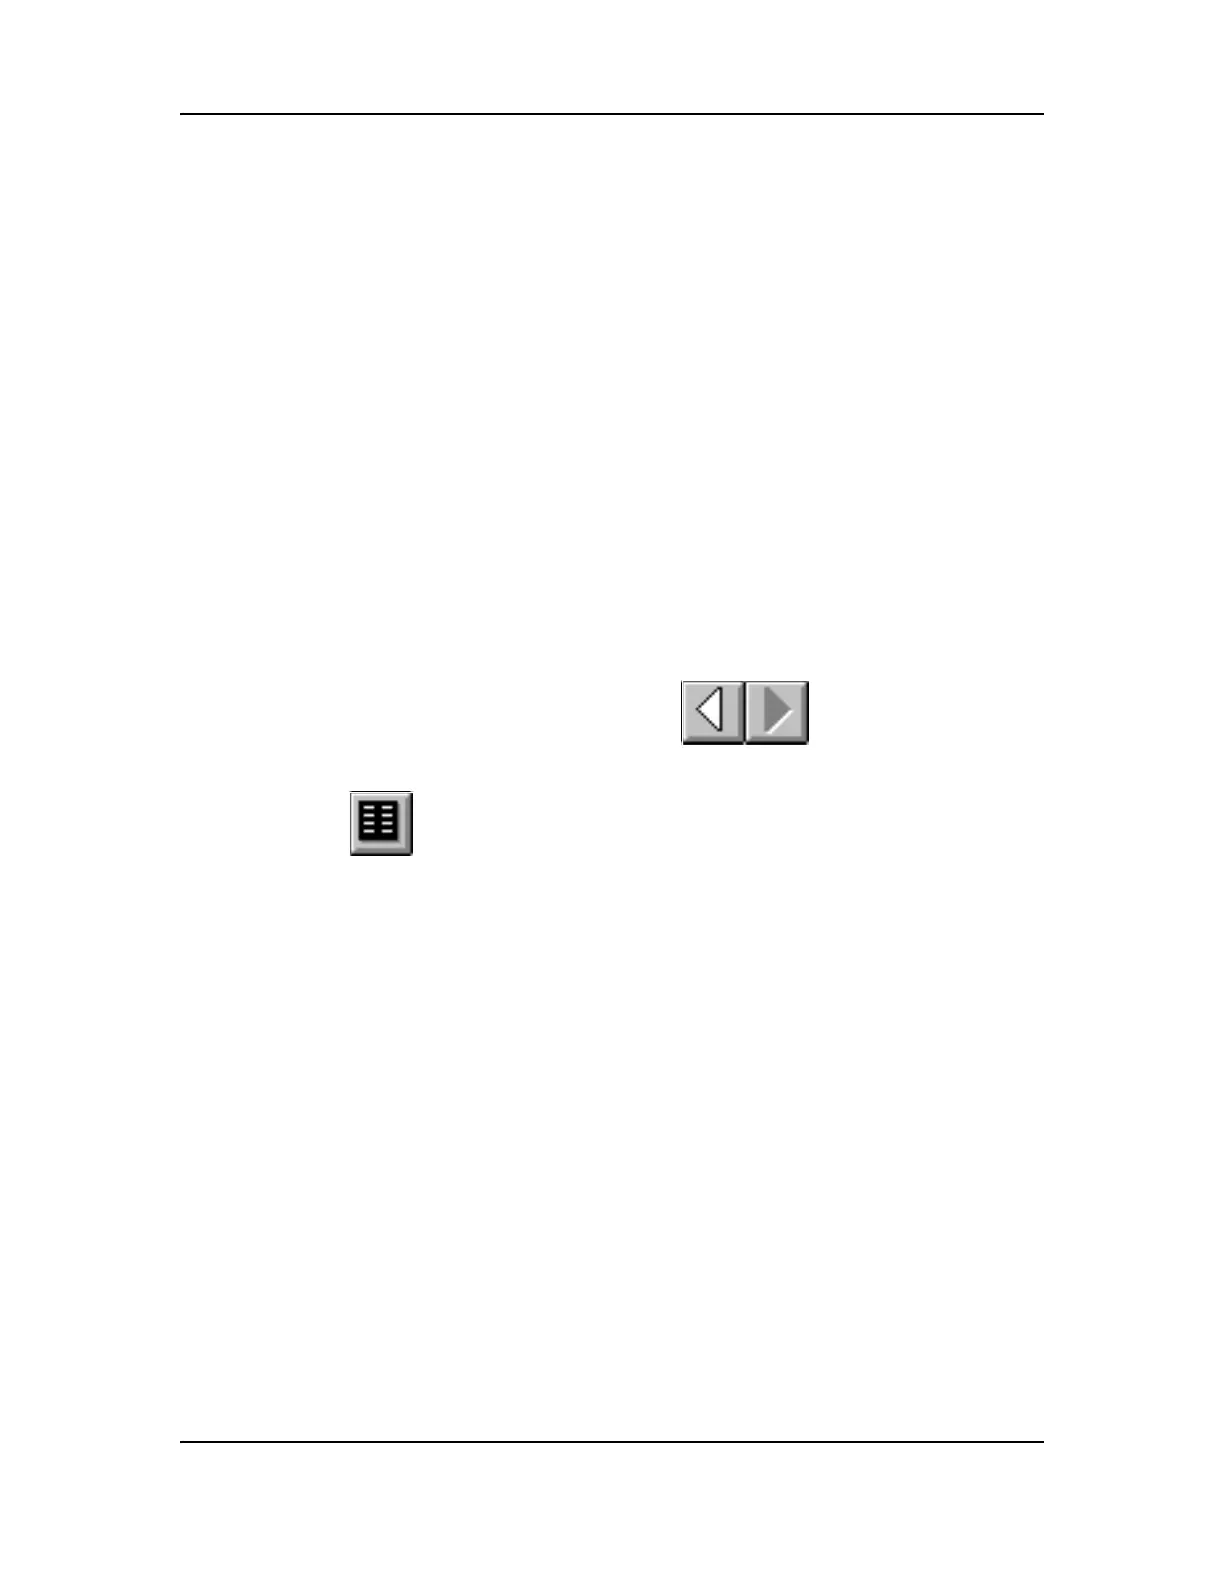
1. Select the desired module label file by using or the View Next or View
Previous commands from the Module menu.
2. Select or the Edit command from the Module menu. The selected “Module
Label” dialog box appears.
Note: The Labels program is used for many types of desksets. The option you
selected in the “Labels Add Module” dialog box, when first creating the desired file,
 Loading...