Installation
7
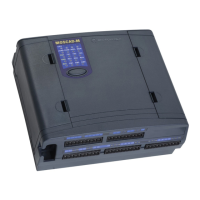
Connections
Verify that all power and ground connections are made in
accordance with local standards.
Ground Connection
Connect the grounding cable directly to the protective
grounding pins 9 and 10 (PGND) in the main power-in connector
(see TB1 in Figure 9).
Power Connections
The unit can be connected directly to a 9-30V DC source through the main Power-In connector
(see Figure 9) where Pin #1 is + (positive) and Pin #2 is – (negative).
It is recommended to connect the main power supply to the unit
with a 3.5 amp fuse on the cable.
Backup Battery Connection
The RTU has a special chamber for 3 “C” alkaline backup batteries (not supplied) that are
used to retain the unit’s RAM and Real Time Clock in power fail situations.
Internal Radio Connection - antenna
The internal radio is connected through the 14-pin connector on the Main board inside the
plastic housing. Its power is driven from that connector. When an internal radio is installed,
Port 3 of the radio cannot be used.
External Radio Connection
Connect the external radio to Port 3 (see Figure 9). Verify that the radio button is set to ON.
The radio signals are driven from the AUX connector in Figure 9.
It is recommended to replace the external radio only when the
unit is powered off.
 Loading...