1
1
English
GETTING STARTED
The purpose of this manual is to provide detailed instructions on
the procedure to remove and replace an APX-series Pocket
Insert on an APX-series IMPRES 2 Multi-Unit Charger (MUC).
Replace an APX Pocket Insert on an APX IMPRES 2 MUC with
the following:
• APX Next Pocket Insert
REQUIRED TOOLS
• Torque Screwdriver set for 6 in-lbs
• Torx T10 Screwdriver bit
• #2 Phillips screwdriver bit
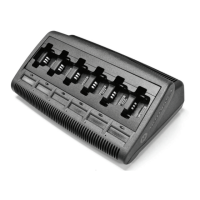
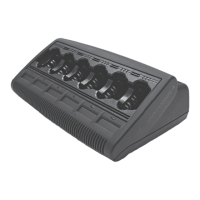
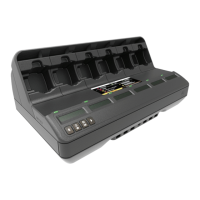
Table 1: APX-Series IMPRES 2 MUC and Pocket Insert
Charger Model Charger Description Pocket Insert Kit
PS000337A01
(UNIV)
6-Display IMPRES 2
MUC with Charger
Reprogramming, IMPRES
2 Fleet Management, and
USB Accessory Charging
Only (APX NEXT)
NNTN9212
MN005697A01.book Page 1 Friday, July 19, 2019 10:40 AM
 Loading...