8
install the harness
Note:
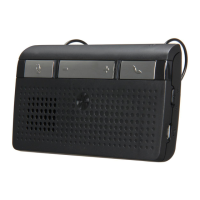
It is recommended to install the UIM directly on a
flat surface as a curved surface can cause difficulties in
pushing the buttons, and can cause the UIM to come
loose.
Caution:
The location of the UIM must not
interfere with
the vehicle's air bag deployment.
1
Clean mounting surface thoroughly with an alcohol
wipe (not supplied).
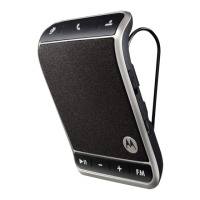
2
Select UIM orientation (controls on left or right of
display).
Note:
To change screen display orientation, see “set
install preferences” on page 11.
3
Press key tabs (supplied) onto UIM:
•
Place key at top position.
•
Place
\
key at bottom position.
4
Verify cable is fitted into a groove on the back of the
UIM. The cable must be contained in the slot to
provide a flat surface for mounting.
5
Remove one side of mounting tape (supplied) and
press firmly onto rear of the UIM.
6
Remove other side of mounting tape and attach UIM to
flat spot location on your vehicle.
7
Connect cable connector P (shown on page 7) to the
vehicle integration kit connector B (shown on page 4).
use mounting bracket
To install the UIM using the mounting bracket:
Caution:
The location of the UIM
must not
interfere with
the vehicle's air bag deployment.
1
Clean mounting surface thoroughly with an alcohol
wipe (not supplied).
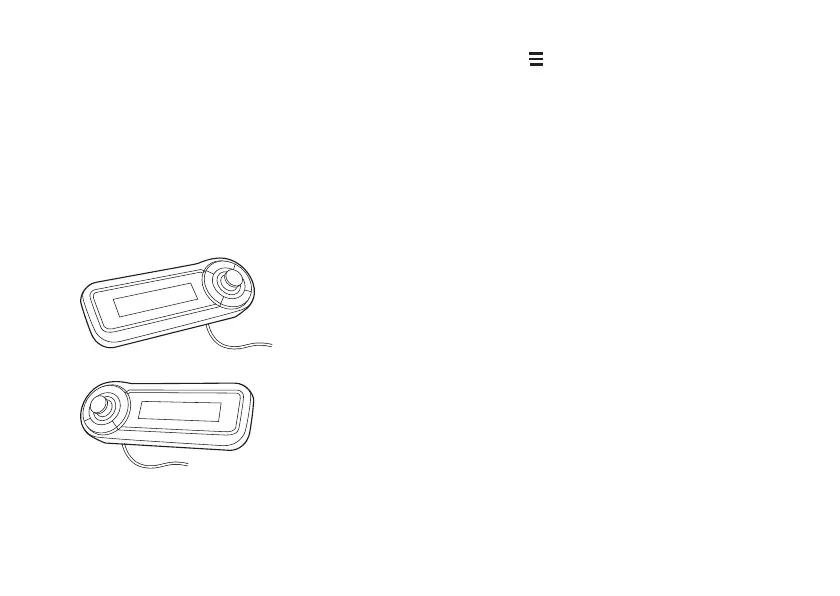
optimal for
right-handed
operation
optimal for
left-handed
operation
 Loading...