36
Axles Cont.
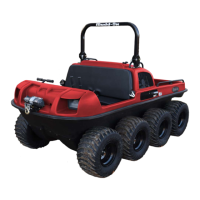
3. Even if the bearings appear to be in good condition, we recommend to always replace them while the axle
assembly is apart due to water and mud exposure. There may be a grease cap that needs removed (R in Fig-
ure-20). Simply use a pair of pliers to pull it out. The bearing on the left has the grease cap, while on the right it
is removed.
4. It’s time to install the (3) pieces to the inner bearing system. First is the inner flange (S in Figure-21, 22), then
bearing, then flange with a grease zerk fitting, T. Notes:
• Clock the bearing flanges so the grease zerk fitting is pointing upwards, allowing easy access for maintenance,
or if applicable to connect the Relocation Kit hose.
• As the bearing can be accidently installed in the wrong direction, ensure that the set screws are facing the
inside of the vehicle. They should not be under the frame rail lip (Figure-12).
• Only hand tighten the bearing flange bolts. If they are too tight, the bearing cannot move to line up with the axle
in later assembly.
Figure-20
Grease Cap Removal
RR
Figure-22
Assembled
Figure-21
Flanges
TT SS
TT
SS
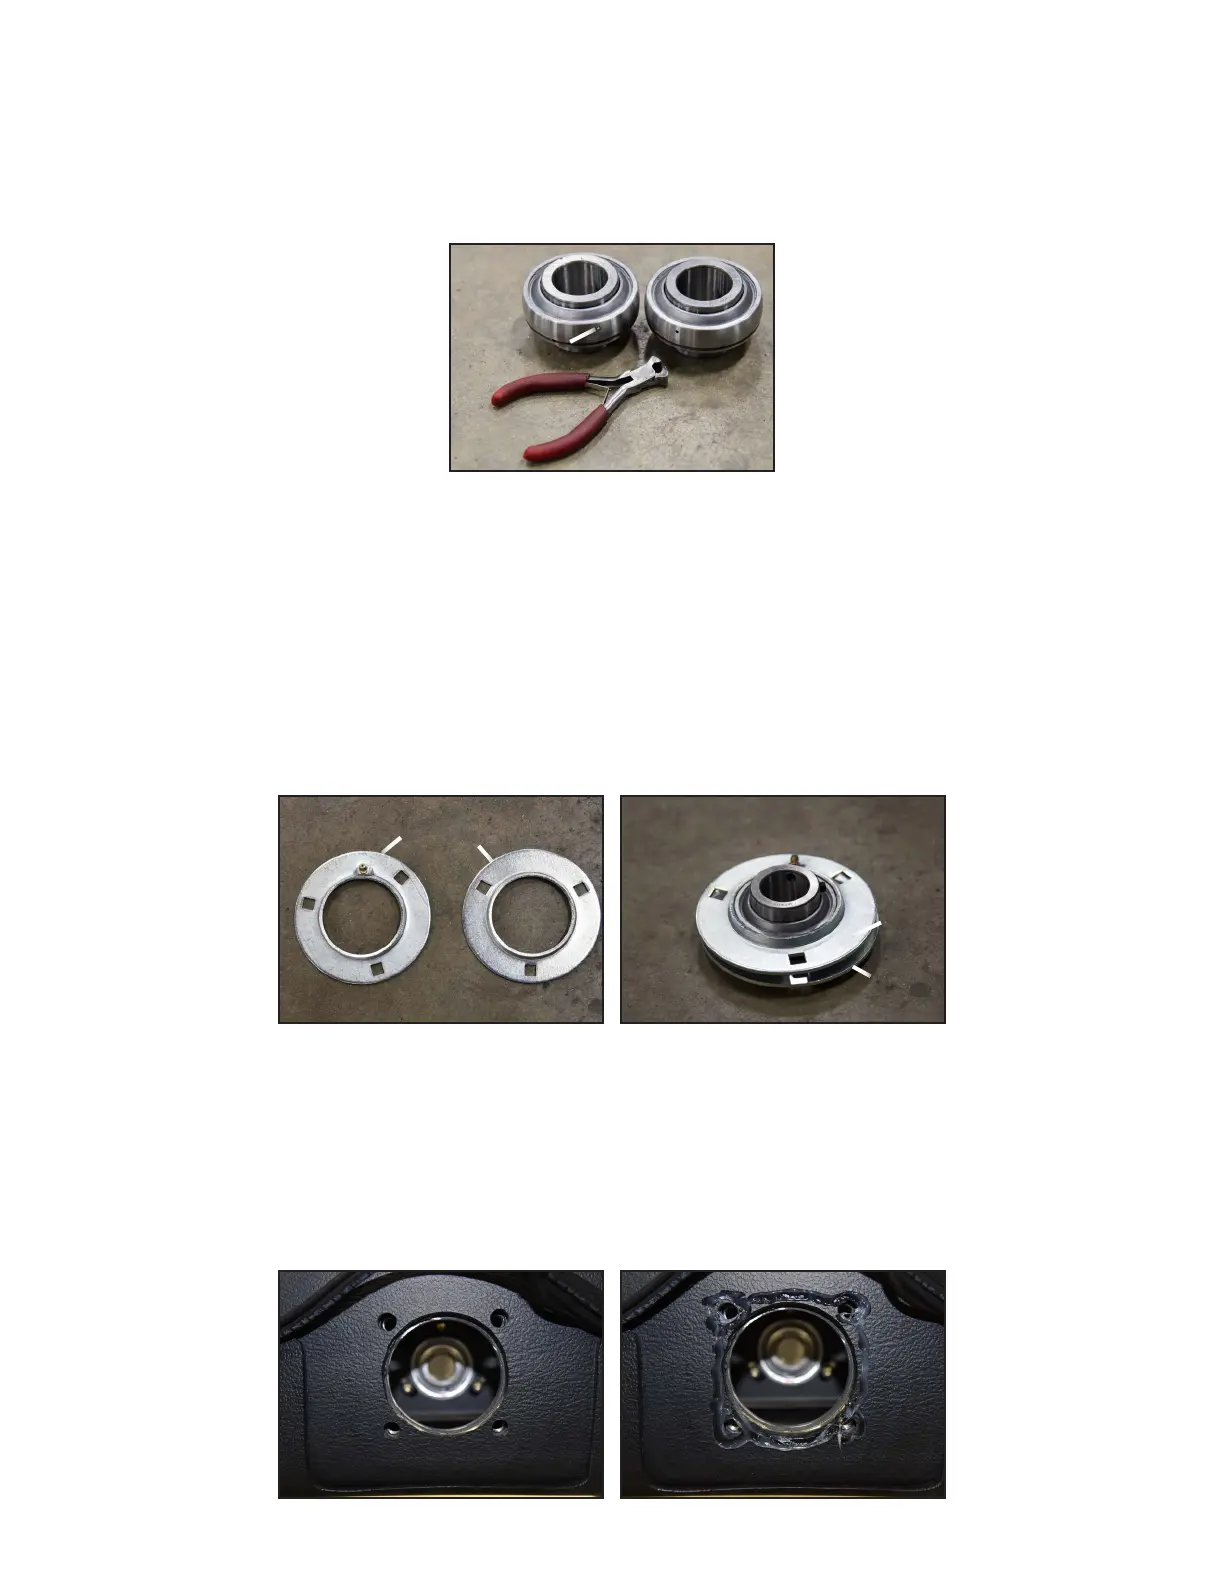
5. Completely clean the outside lower body where the flange bolts into the frame (Figure-23).
6. Use 100% high performance silicone to create a waterproof seal on the outside mounting location of the body.
Spread silicone around each bolt hole, and the center axle hole (Figure-24). Note: After the silicone is applied,
time is sensitive. Do not rush the process, but steadily continue until reassembly is completed.
Figure-24
Waterproof Seal
Figure-23
Outer Body