48
Figure-21
Completely Through
Figure-22
End Spacer
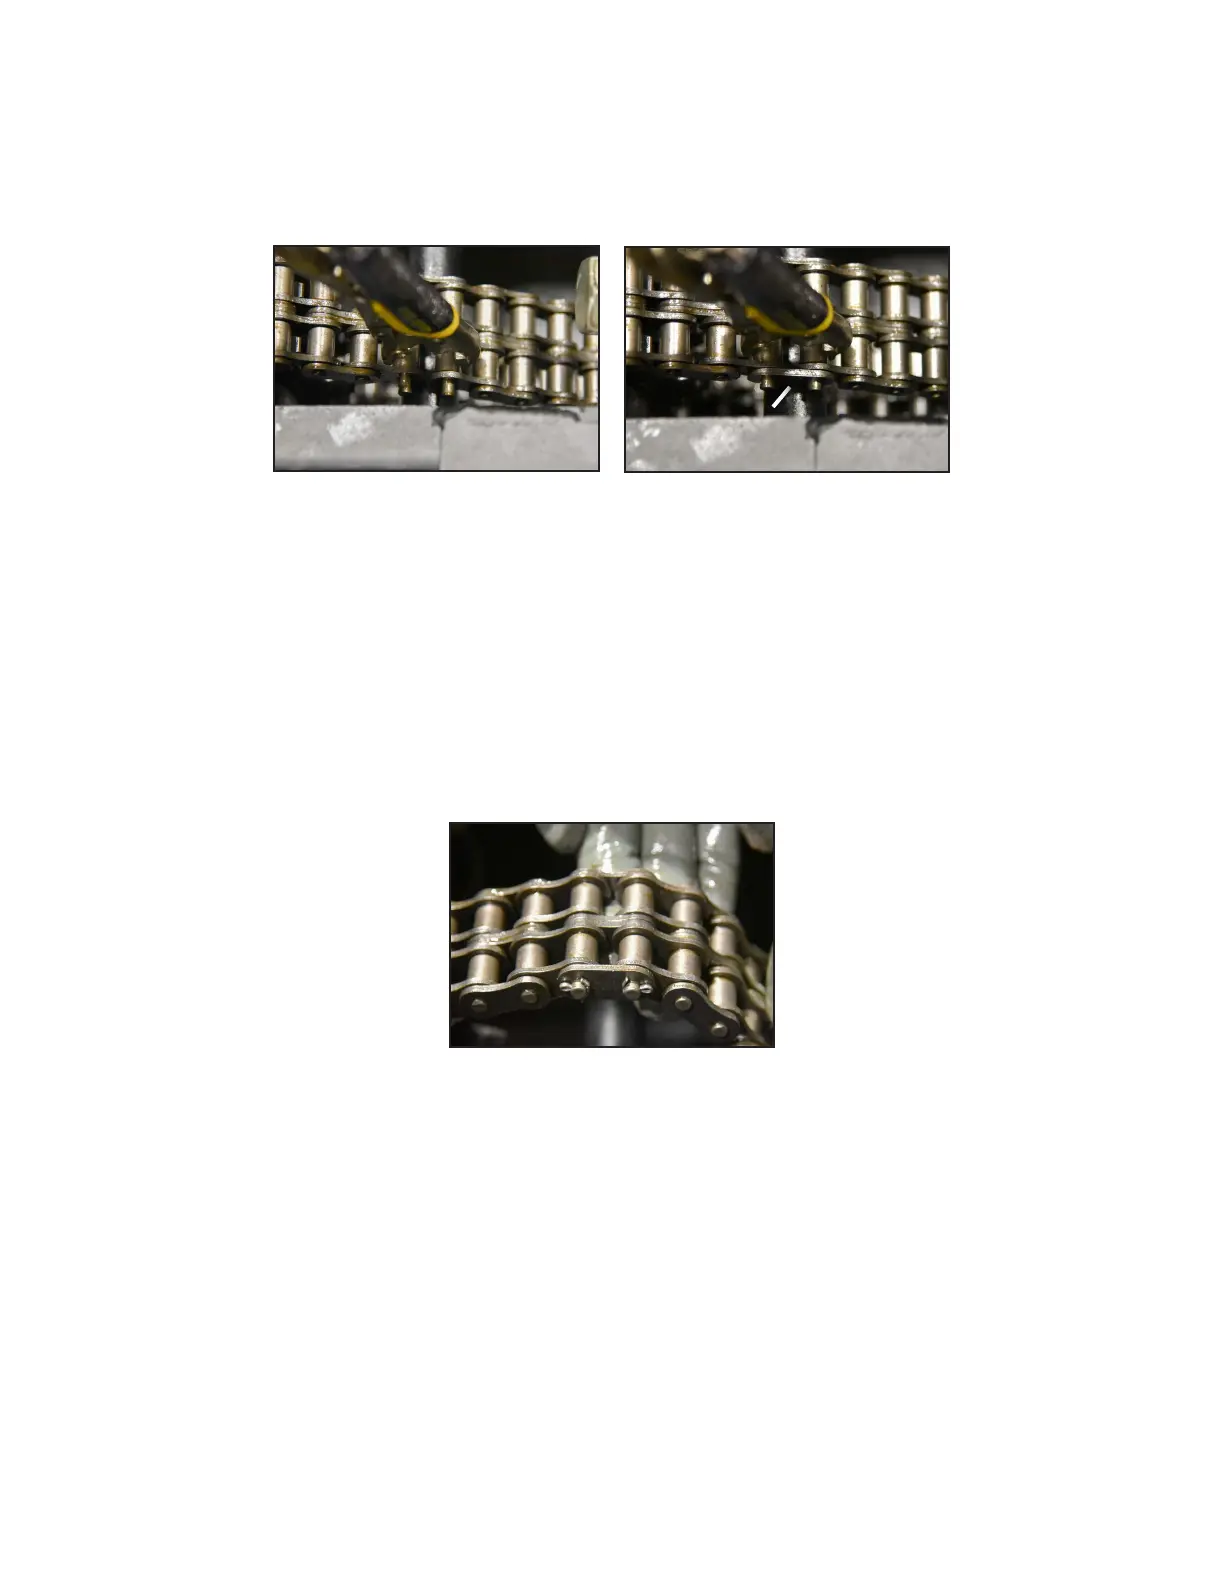
Figure-23
Master Link Installed
Chains Cont.
6. At this point the link should be completely through, connecting all parts of the chain (Figure-21). Install the spac-
er on the end of the link (L in Figure-22).
7. To finalize the master link:
A. If clip style: Clips are directional, thus should be installed with the open end facing away from the main di-
rection of travel. This is to prevent the chance of debris inside the vehicle from hitting the master link while
in motion, and knocking it off. Use a flat head screw driver with small hammer to snap the clip into place
(Figure-14).
B. If cotter pin style: Insert the first cotter pin, then bend it as shown in Figure-23. Repeat for the second cotter
pin.
8. Remove the vise grips.
9. The chain is now completely installed, however is unadjusted. See Adjustment.
10. See Lubrication to lubricate the chain.
11. Safely lower the Mudd-Ox and reinstall any floor boards, seats and engine cover if removed.
LL