63
Fuel Cont.
Filler Inspection
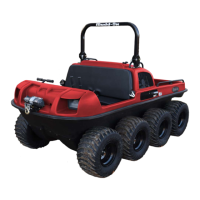
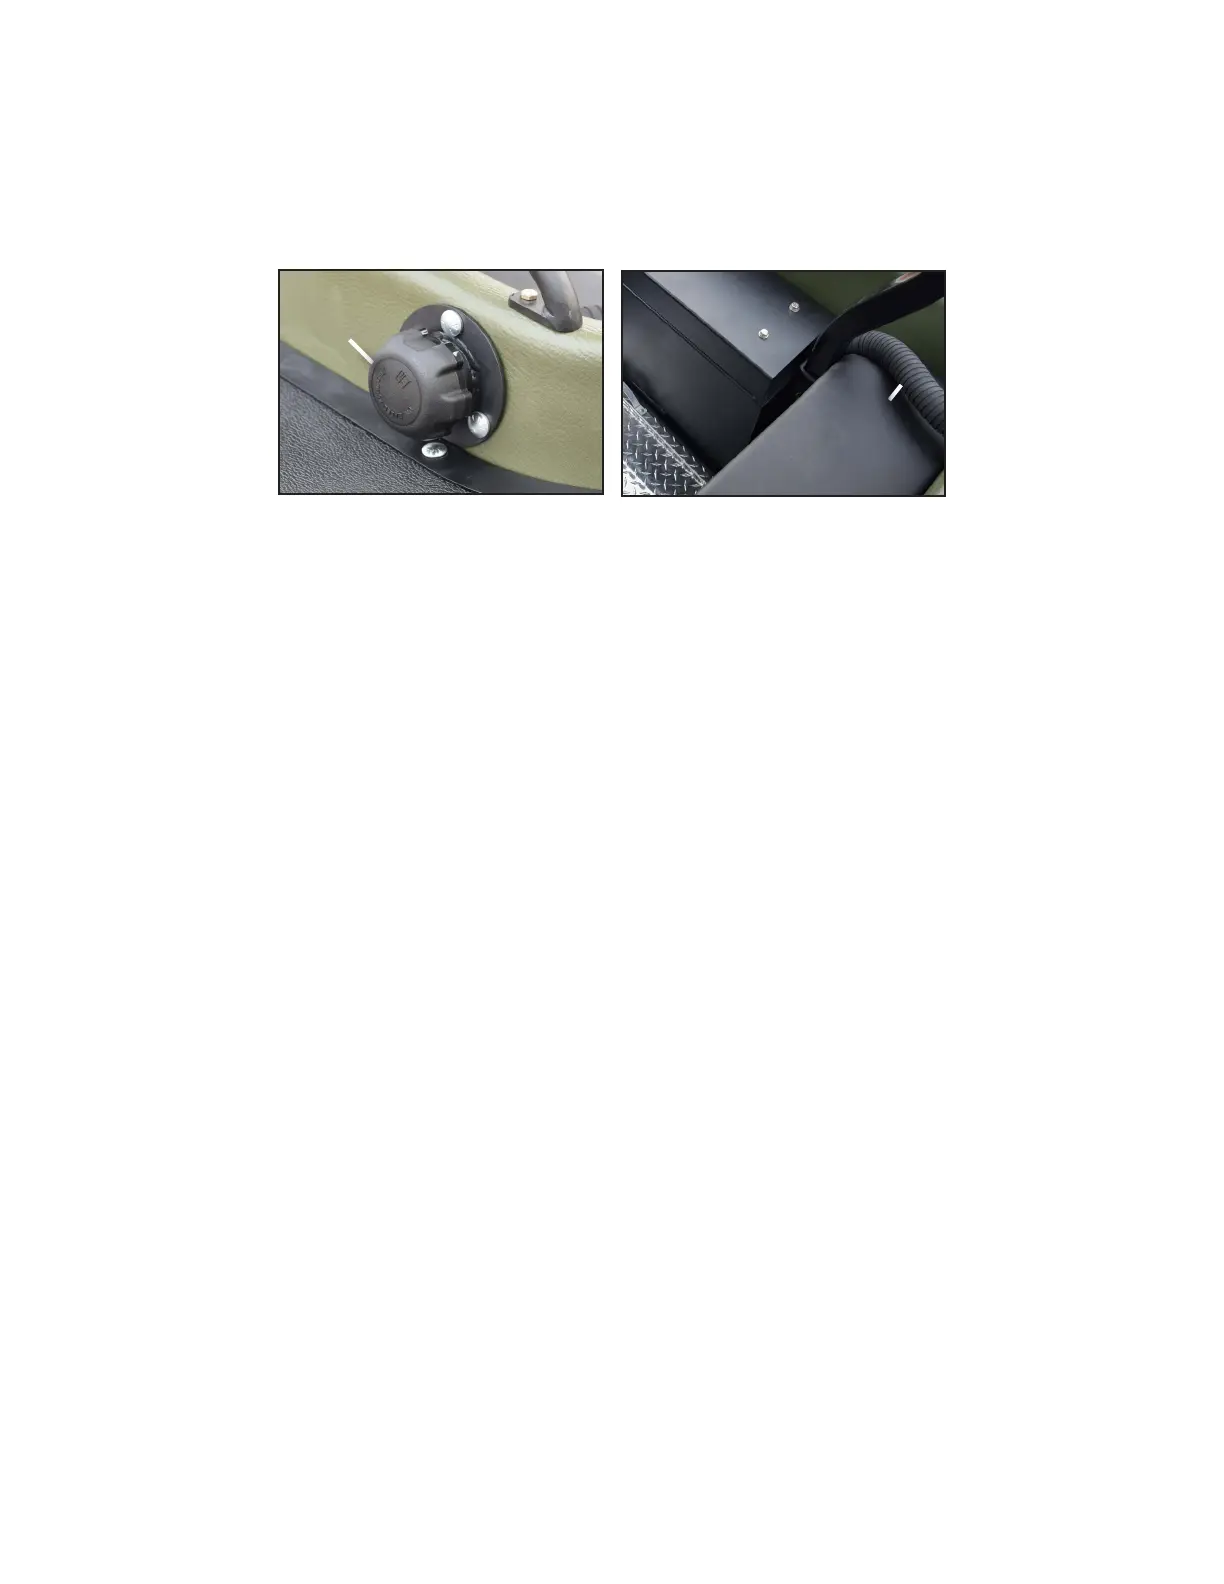
Outside the vehicle on the left rear side is the fuel cap (D in Figure-6). Ensure its securely locked. Inspect the filler
hose “E” for any signs of cracks, cuts or tears (Figure-7).
Parts Replacement
Whenever replacing parts in the fuel system, always take great caution and never spill fuel. Replace components
using authentic parts. Do not alter the system in any way. Refer to engine owner’s manual when applicable.
Stabilization
If the Mudd-Ox will be in storage for extended periods of time, it may be necessary to stabilize the fuel. Refer to
engine owner’s manual for information about stabilizers that work with their recommend fuel types.
Draining the Tank
In the event the fuel tank needs drained, complete all procedures carefully and do not spill fuel inside the vehicle.
Follow all laws regarding the disposing of fuel.
1. Use a fuel-safe suction pump with flexible hose. Insert hose into fuel tank through the cap.
2. Allow pump to operate until all fuel has been removed from the tank, then shut off.
3. Although the tank is empty, there is still fuel in the lines going to the engine. Simply remove the lines at the
engine.
4. Use an air compressor to blow low pressure, approx. 3 psi, through the fuel lines. Continue until all fuel has
been pushed into the tank.
5. Reconnect the fuel lines.
6. Use the suction pump to remove the remaining fuel out of the tank.
Rubber Hoses
Figure-7
Exterior Cap
Figure-6
EE
DD