85
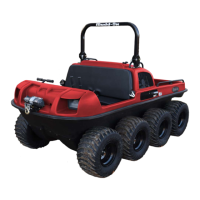
“Backwards” Tires
Figure-7
Tracks Cont.
Installation
1. See Matching Tire Circumferences under Tires/Wheels for finding proper tire circumference and air pres-
sures before tracks are installed.
A. Rubber: Tires should be installed “backwards” as shown in Figure-7.
B. Hybrid: Tires should be installed in their standard position, opposite of Figure-7.
Chevron Track Direction
2. Set (2) long, heavy duty ratchet straps down in front of the Mudd-Ox. Spread them across the ground parallel
to the vehicle. These will later be used to pull the ends of the tracks together.
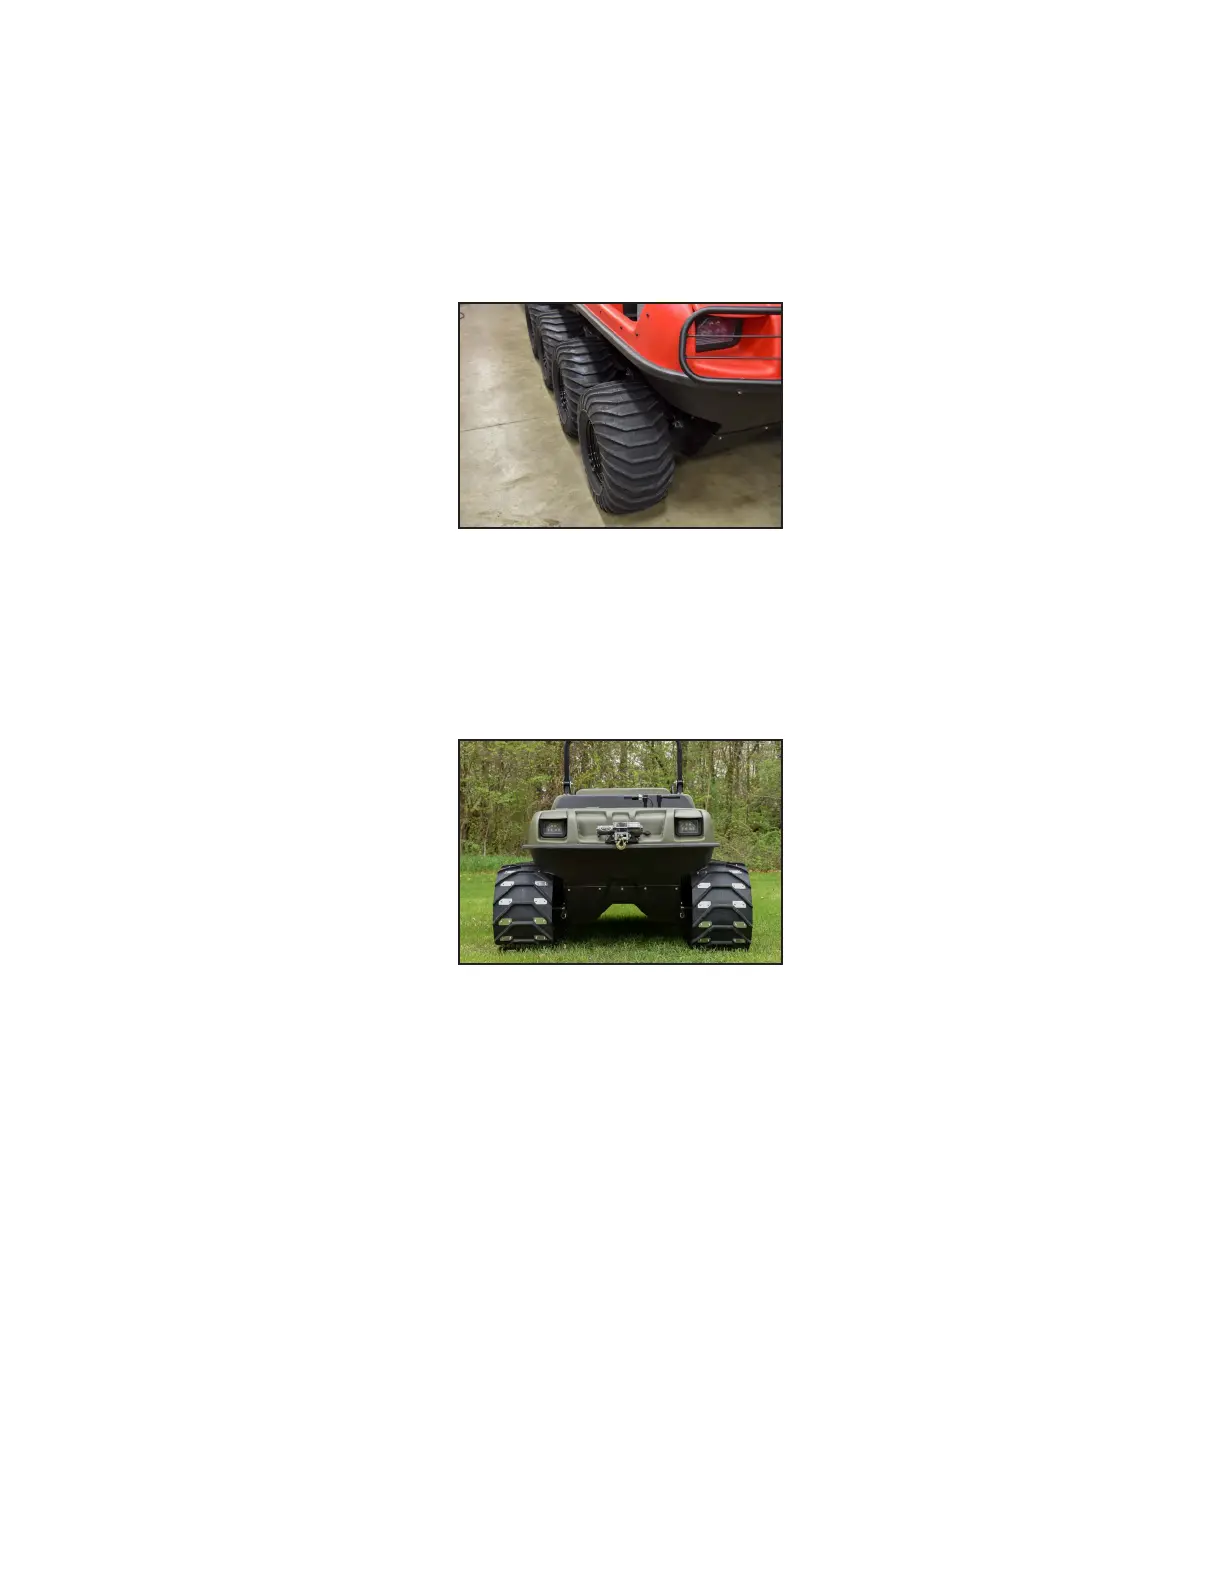
3. Place the tracks directly over each ratchet strap, completely flat with the tread pattern facing down. For Chev-
ron tracks, set the “V” pattern crest pointing towards the rear of the machine (Figure-8).
4. Drive the Mudd-Ox onto the tracks.
5. Roll the overhanging track ends over the tires. The ends should meet over the middle two wheels
6. Deflate the outer four tires.
7. Connect the ends of the ratchet straps.
8. Next pull the ends of the tracks together, making the lacing ends meet (E in Figure-5, 6). If they don’t com-
pletely meet, tighten the ratchet strap. Note: When tightening the strap, the tracks may get bound up in
certain areas of the tires. Ensure the track is smoothly wrapped around each tire.
9. Now mount the track together.
A. Rubber: Insert the (1) cable per track through the metal lacing (F in Figure-5). During this process, ensure
the lacing lines up and the cables go through smoothly. Then insert the (2) locking collars per each track
and tighten the set screws (G in Figure-5). Note: It’s easiest to drive the cable through the lacing with a drill
spinning counter-clockwise.
B. Adair: There are (2) bolts per track (H in Figure-6). Insert them into the lacing. Then install the nuts and
tighten.
10. Remove ratchet straps.
11. Inflate all tires their respected air pressures as found in step #1.
Figure-8