26
www.multilaser.com.br
10 Touch pen Click or write on
TFT screen
11 MIC Microphone for
blue tooth hand-
free system
2.2 Power Supply and Charging of a Navigator
When the GPS navigator is used for the first time or no used for a
long time, the butteries must be completely charged with a MINI
USB cable.
2.2.1 Power supply
The navigator can be powered in two ways, i.e. batteries and
MINI USB supply.
When not connected to the charger adapter, the GPS navigator
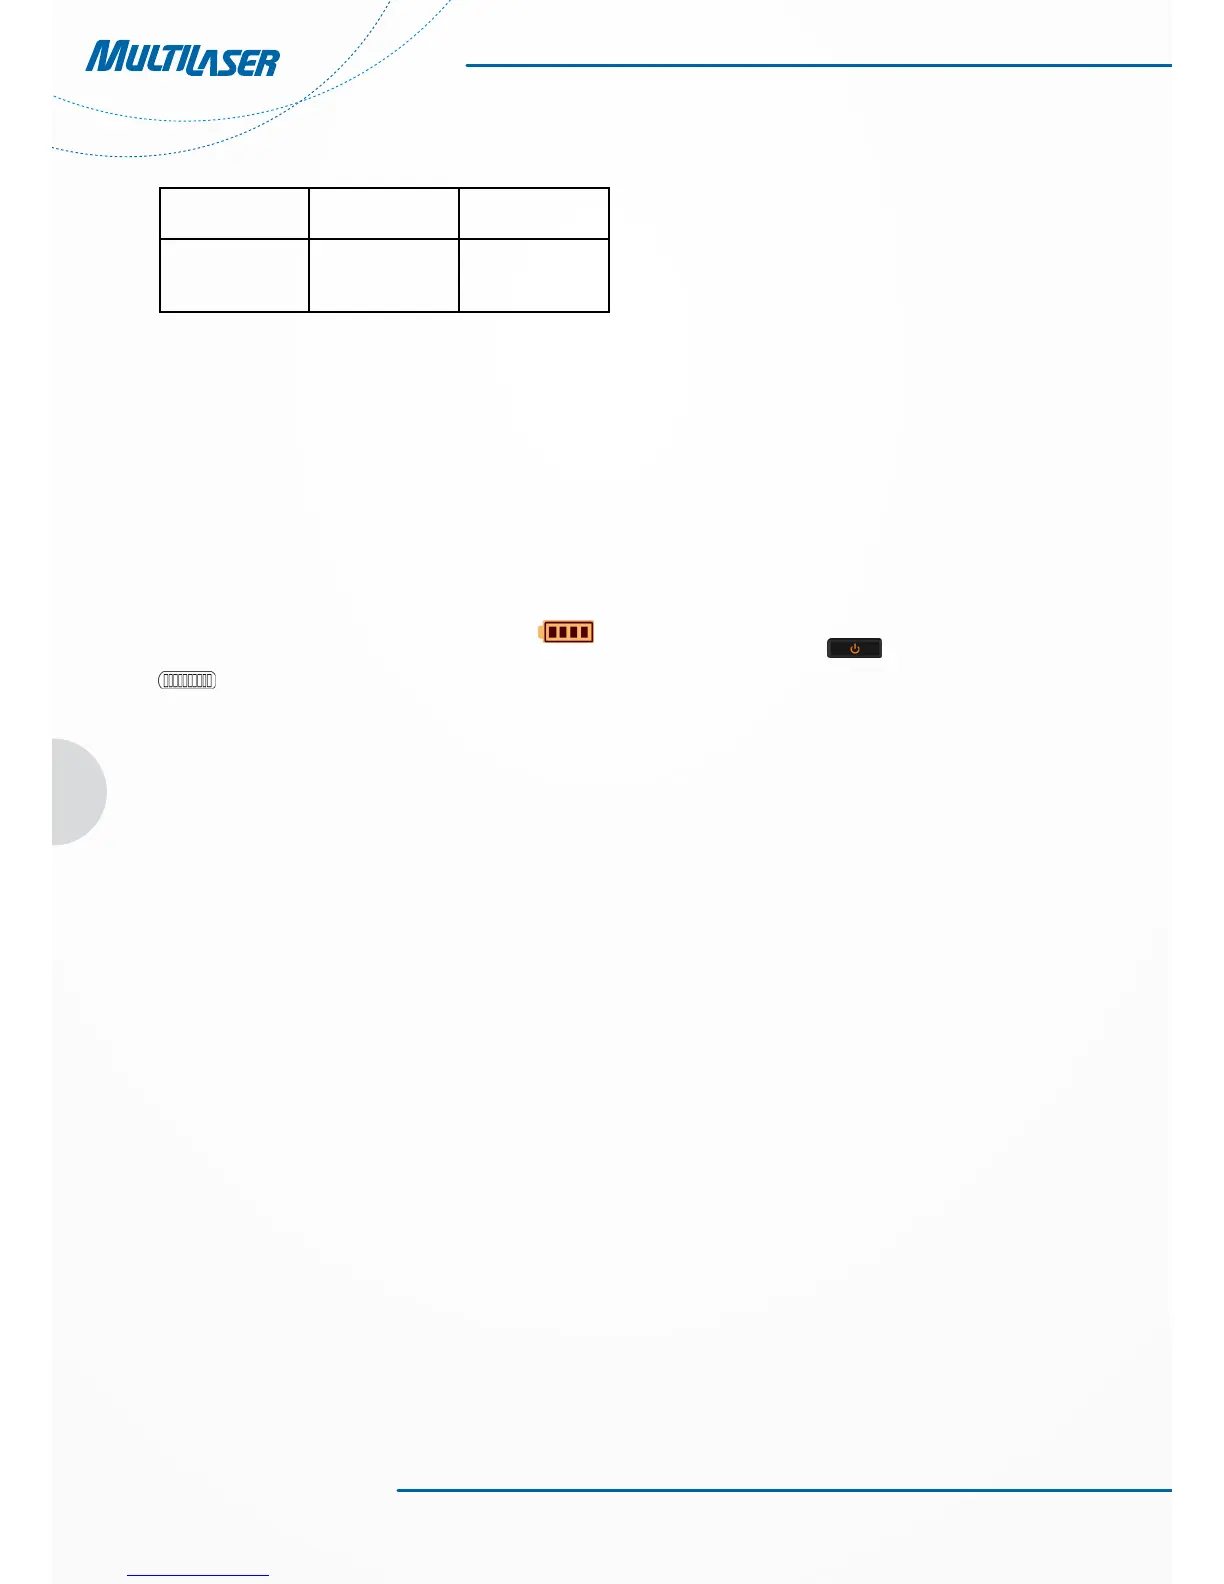
is powered by the lithium batteries. The power icon [
]
on the top right corner of the system interface or the power bar [
] in the power-setting interface indicates the remaining
battery power.
When connected to the MINI USB charger adapter (or via MINI
USB to connect computer), the GPS navigator is powered by the
external power.
[Note] This navigator uses built-in, not the removable lithium
polymer battery power supply. Generally (for example, backlight
brightness setting is low), completely fills the electricity, the bat-
tery can supply power continually about for 3 hours. It regards
you to use the GPS to decide, battery’s actual supply time will
be different. Some functions (audio, video, high luminance back
light) must consume the massive electrical energies, will obviou-
sly reduce power supply time.
[Caution] This unit uses built-in, not the removable lithium bat-
tery. In order to avoid being on fire or the burn danger, please do
not disassemble, pierce, collide or discard the battery in the fire
or water. The battery can burst, blast, or release danger chemical
substance.
2.2.2 Charging with a power adapter
Used for the first time or no used for a long time, the GPS naviga-
tor must be completely charged by a MINI USB charger adaptor.
1. Connect the DC terminal of the adapter to the power terminal
on the bottom side of a GPS navigator.
22. Connect the other terminal to the power socket (or computer)
to charge and power the navigator at the same time.
[[Note] If the charging indicator flashes in red, it indicates the
navigator is charging. Please wait until the device is completely
charged. Do not remove the adapter during charging. The indi-
cator will flash in green when the device is completely charged.
Please charge the battery in time when the power is insufficient
or exhausted in the future.
2.2.3 Charging with a vehicle power adaptor
1. Connect one end of the vehicle adapter to the MINI USB inter-
face of the GPS navigator.
2. Connect the other end to vehicle cigarette lighter to power
and charge the GPS navigators at the same time.
[[Caution] Please plug the vehicle adapter after the car is star-
ted, avoiding damages to the navigator caused the instant cur-
rent at start time.
2.3 Basic Operation
2.3.1 Switching on/off
Please press power key [
] on the top of the navigator to
switch off when you finish application. The system enters state
of dormancy. When you switch on again, the device will maintain
the operation status last time you switch off.
[Note] If you want to save battery energy, you may switch do-
wnward the switch to cut off the main power supply.
2.3.2 Restarting the system
When the system have no response, press power switch key to
shut the system and restart the system.
[Reference] The following cases may cause system failure:
1. Delay and stagnation occur while switching over images;
2. Overlong running time fails to activate the click function;
2.3.3 Using the vehicle bracket to fix a navigator
A vehicle bracket is composed of a bracket and a support. Ple-
ase fix the device using the vehicle bracket onto the front win-
dshield or dashboard while using the GPS navigator in vehicle.
[Caution] Place the vehicle bracket carefully. Ensure the GPS na-
vigator would not block your driving vision. Ensure the navigator
is fixed instead of being placed randomly. Do not fix it where the
air bag is placed. Do not place it within the bag’s inflation range.
2.3.4 Using a touch pen
The touch pen is used to operate the GPS navigator. Please keep
it well.
1. Click: Click the screen once with the nib.
2. Double click: Click the screen twice quickly with the nib.
3. Dragging: Click one place with the nib, then, moves the nib.