2205B0JE-DA-J-N_2014.05.
5 Maintenance and Inspection
Screw Compressor J-series 5.4 Disassembly and Assembly of the Compressor
5-24
Before disassembly or assembly of the
casings and covers, first remove the uppe
two bolts and attach the stud bolts (safet
bolts) to prevent the casing from falling.
Any casing or cover dropped may cause
injuries or damage to the compressor.
Always attach stud bolts before installing
or disassembling the casing or cover.
To disassemble the casing, first loosen all bolts and then remove the parallel pin using two
service holes located in diagonal positions.
Notice that the lock nut for the unloader push rod is harder to screw in because it is high friction
locking devices. To assemble the nut, use a locknut wrench.
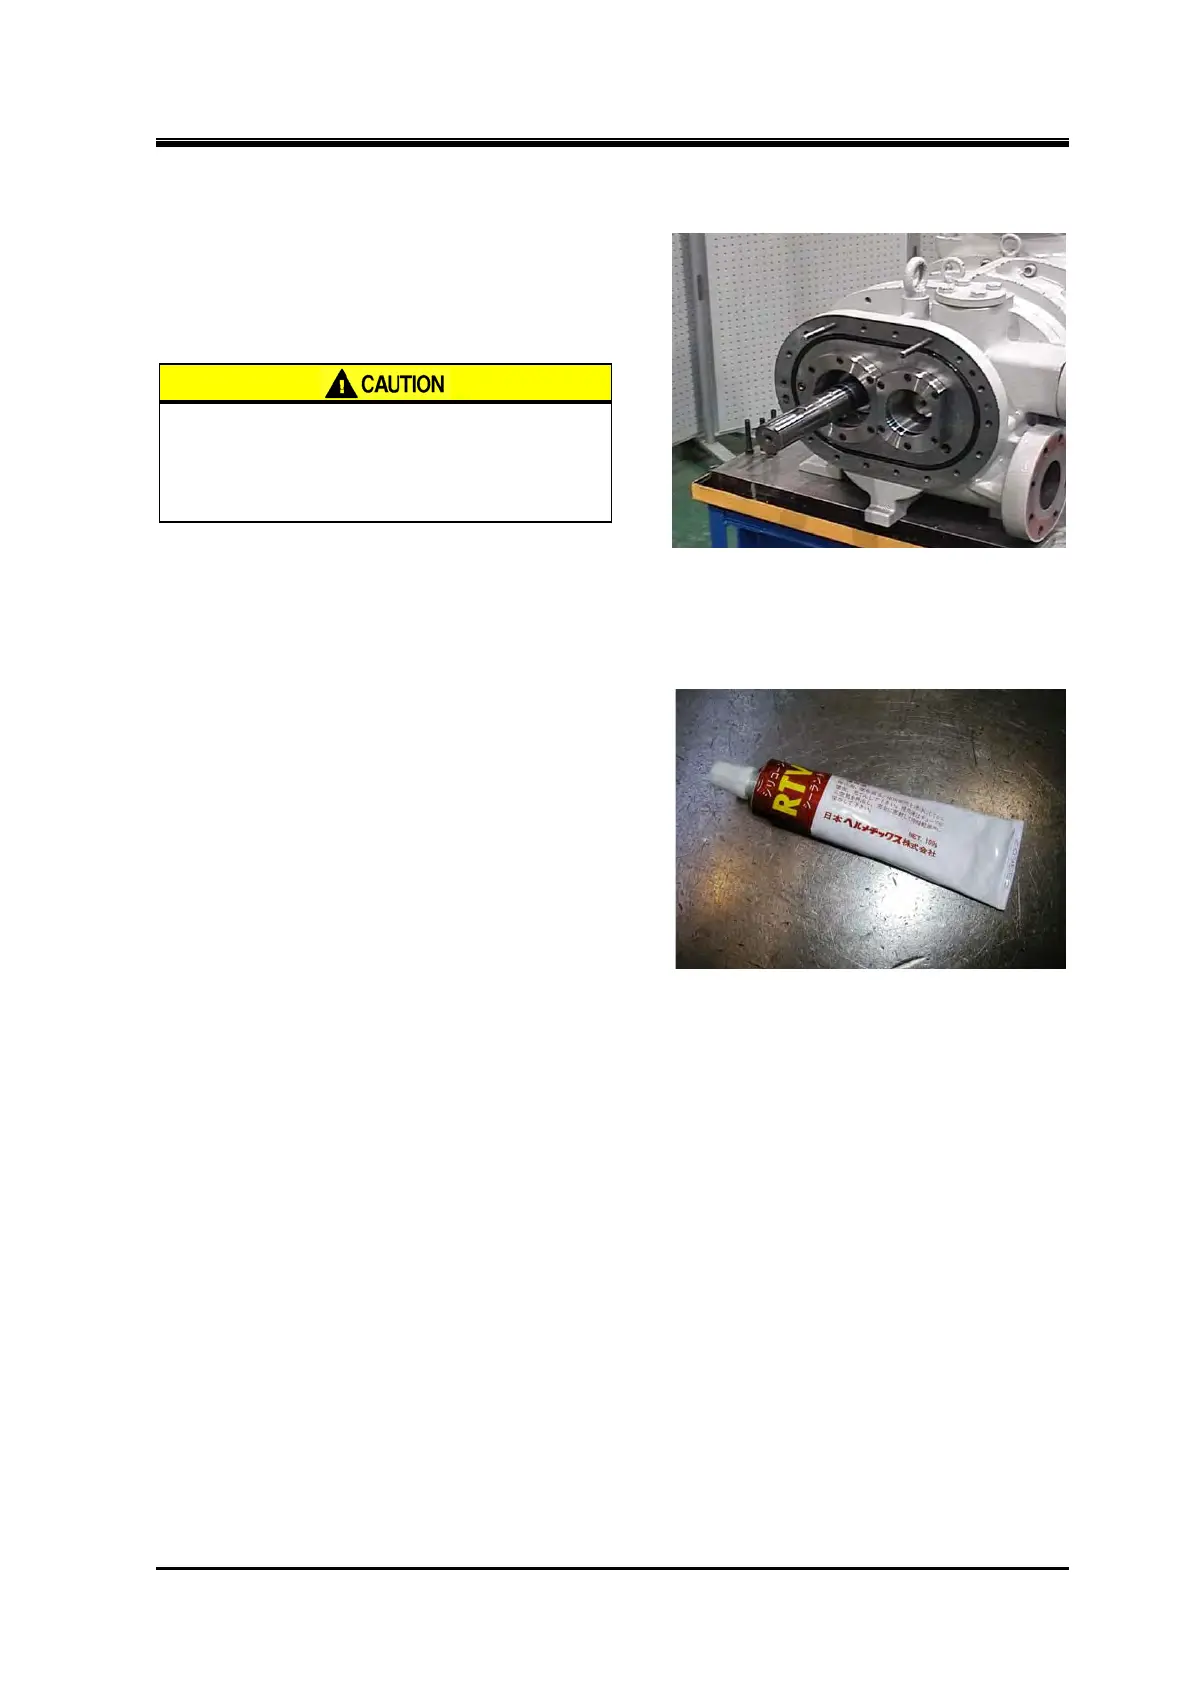
Use liquid gasket (for example, HERME
SEAL) or silicon grease for the suction
adapter tightening bolts.
 Loading...


