EN
12
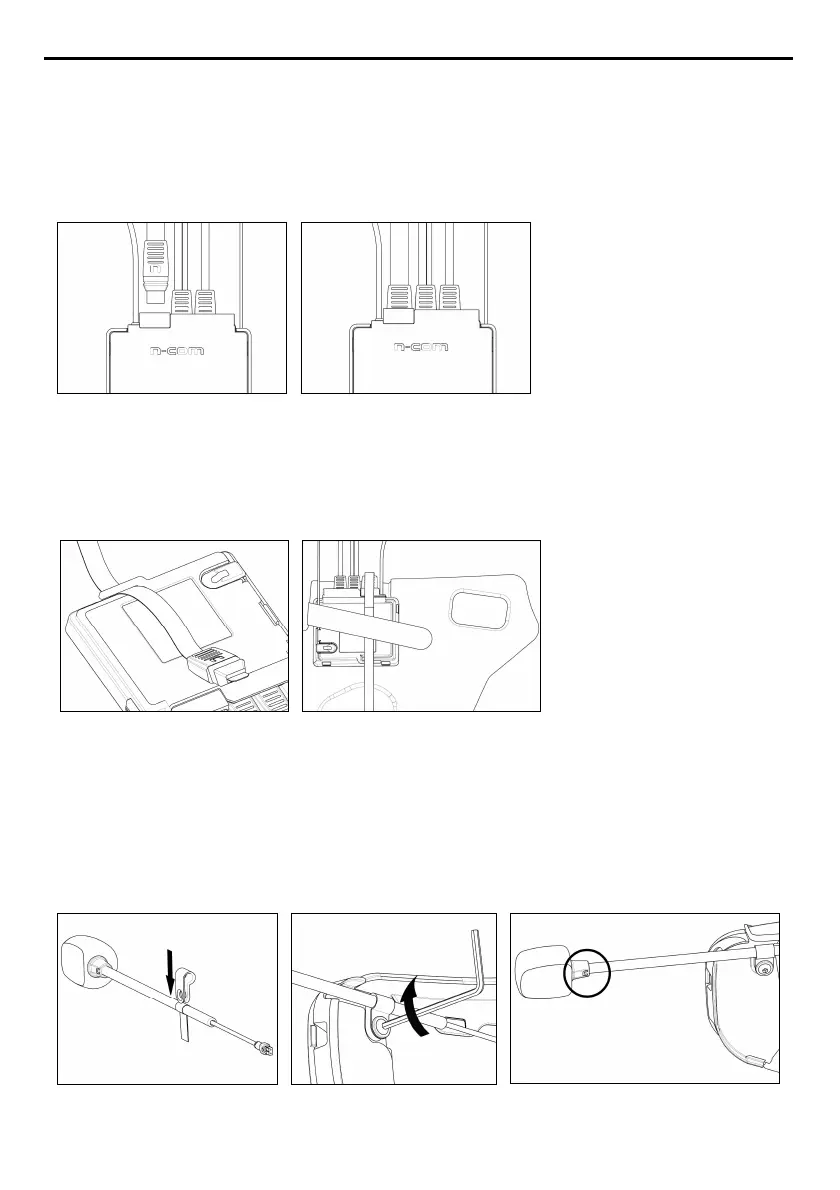
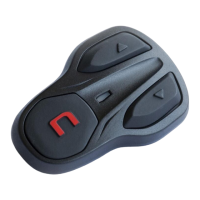
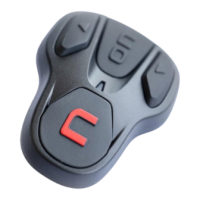
• Line up the keypad flex connector to the e-box making sure that the letter “
n
” is pointing as shown
in Fig. 37.
• Gently position the connector in its seat until it is all the way in (Fig. 38).
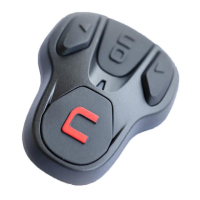
• Switch on the N-Com system (press “
ON
” for about 2 seconds) to verity its proper operation.
N.B.
If the system does not work, remove the flex and repeat the previous operation, making sure
that the “
n
” is positioned as in Fig. 37.
Fig. 37
Fig. 38
• Secure the keypad flex in the special stop (Fig. 39) and position the e-box inside its housing in the
cheek pad (Fig. 40).
• Temporarily reposition the polystyrene cheek pad inside the helmet and continue with the
subsequent paragraph.
Fig. 39
Fig. 40
4.3.
Microphone positioning
FLIP UP OR JET HELMETS
• Insert the microphone securing clip (Fig. 41).
• Position the microphone on the left side of the helmet, screwing in the screw in the small shell
frame (Fig. 42).
Make sure that the side of the microphone with the caption “
n
” is facing the inside
of the helmet (Fig. 43).
Fig. 41
Fig. 42
Fig. 43