3
2. Installing and Connecting
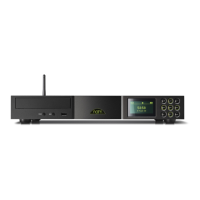
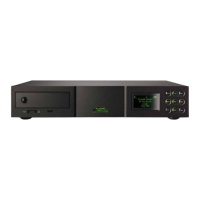
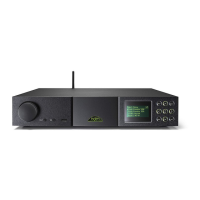
Your Uniti Series product should be installed on an equipment stand intended for the purpose. Do not stand it directly on
top of another item of equipment and ensure it is well ventilated. Care should be taken to ensure that it is level. It should be
installed in its nal location before connecting cables or switching on. Uniti Series products have no standby mode and are
intended to be left switched on.
Note: A transit screw on the underside of the NaimUniti 2 case should be removed before use and replaced if the unit is
to be moved. This transit screw must not be used in any other Naim product. Handle NaimUniti 2 with extra care once the
transit screw is removed.
Connecting your Uniti Series product mains power and to a variety of audio peripherals and sources is described in the
following paragraphs. Diagram 2.11 illustrates the rear panel connection sockets.
2.1 Mains Power Connection
Connect your Uniti Series product to a mains power socket
using either the mains cable supplied or a Naim Power-Line.
2.2 Audio Signal Connections
Table 2.2.1 lists the audio inputs and outputs provided
on each Uniti Series product. Always use high quality
interconnect cables to connect inputs and outputs.
Note: Post volume control output signals are aected by
volume adjustments. Pre volume control output signals
are unaected by volume adjustments and must be routed
via a volume control before reaching a power amplier.
2.2.1 Audio Signal Inputs and Outputs
UnitiQute 2
Type Name Format Notes
Input Analogue Analogue RCA phonos Fixed volume capable
Input Front Analogue 3.5mm jack Combined auto-switching analogue/digital socket
Digital 3.5mm mini-TosLink
Input dig. 1 Digital coaxial (RCA phono)
Input dig. 2 Digital optical (TosLink)
Input dig. 3 Digital coaxial (RCA phono)
Input dig. 4 Digital optical (TosLink)
Output Preamp Analogue RCA phonos Post volume control
Output Digital Digital BNC Pre volume control
UnitiLite
Type Name Format Notes
Input an. 1 Analogue RCA phonos Fixed volume capable
Input an.2 Analogue RCA phonos Fixed volume capable
Input Front Analogue 3.5mm jack Combined auto-switching analogue/digital socket
Digital 3.5mm mini-TosLink
Input dig. 1 Digital coaxial (RCA phono)
Input dig. 2 Digital optical (TosLink)
Input dig. 3 Digital coaxial (RCA phono)
Input dig. 4 Digital optical (TosLink)
Output Preamp 4-pin DIN Post volume control