
J
Justin LevySep 23, 2025
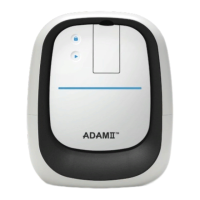
How to improve poor image quality on NanoEnTek ADAMII-CD34 Measuring Instruments?
- CCheryl ShawSep 23, 2025
To improve poor image quality on NanoEnTek Measuring Instruments, re-optimize the focus while viewing cells in the preview state.