NAPCO Gemini C-Series Control Panel Programming Instructions--Volume 1
NAPCO Security Group
Programming Instructions, Volume 1 Page 35
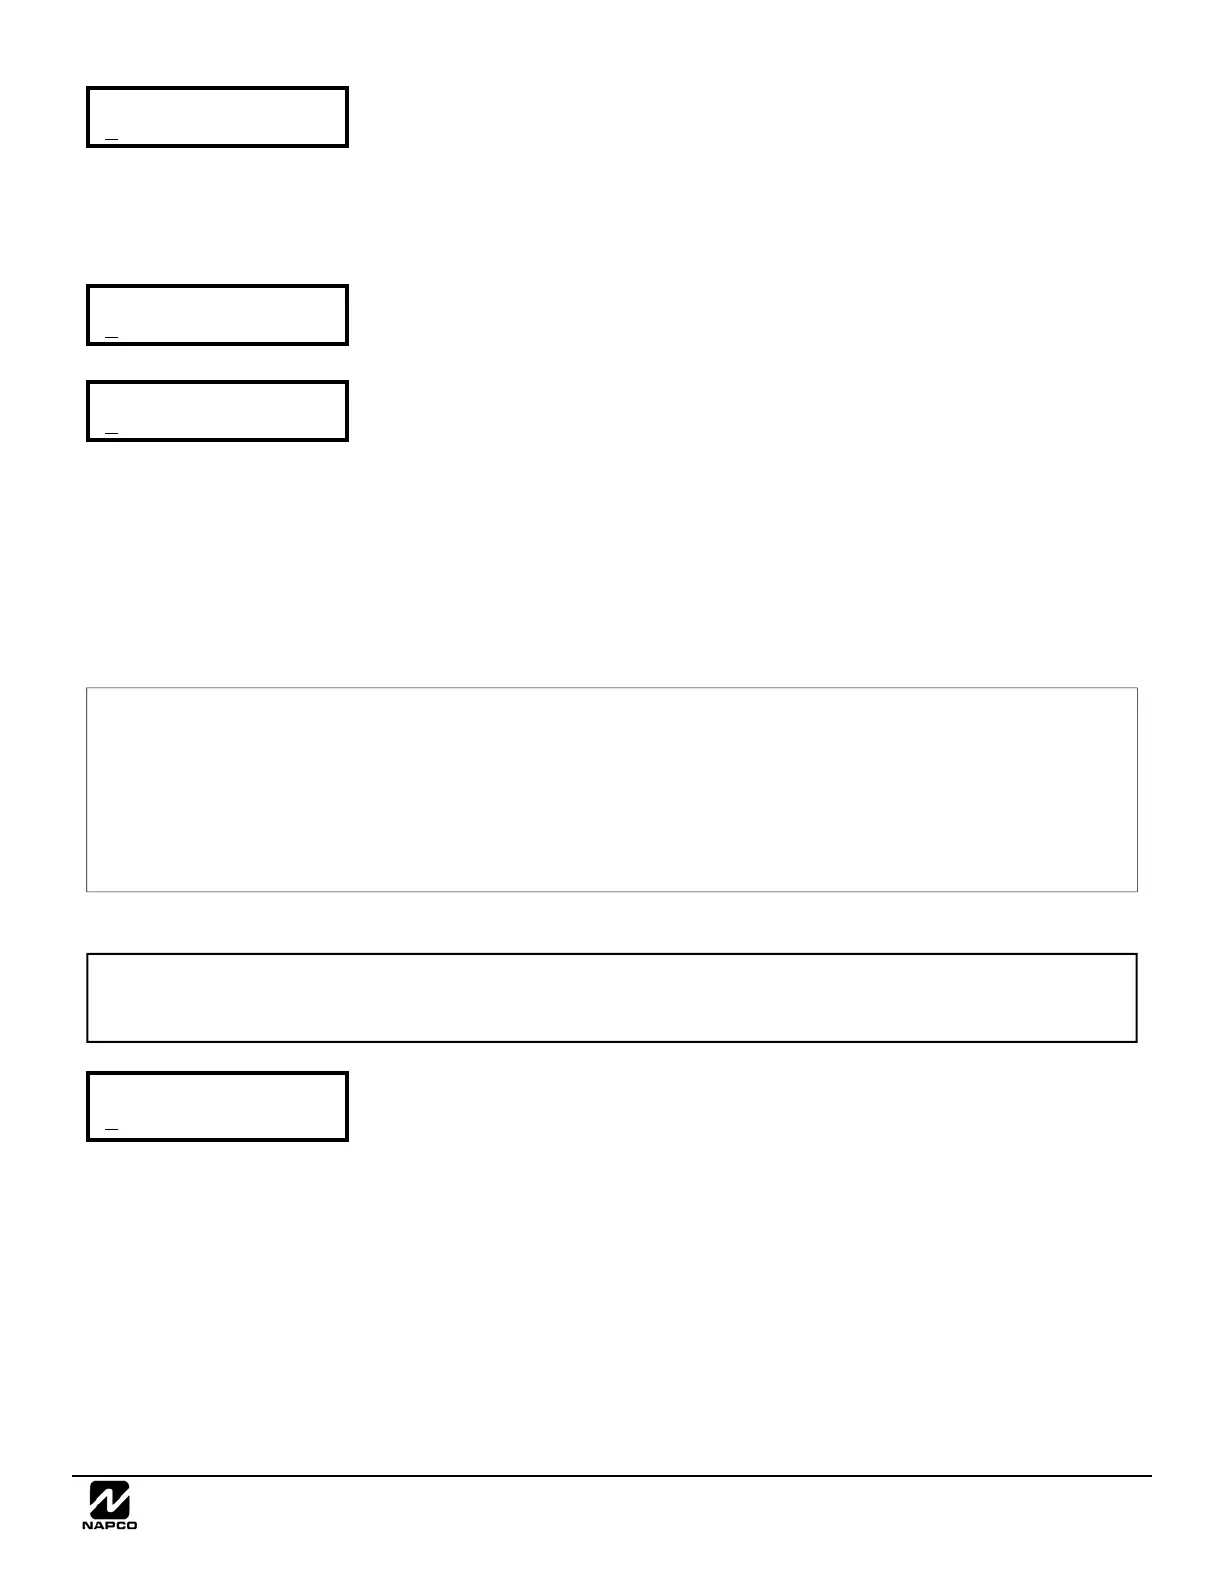
Keyfob Transmitters as Arm/Disarm & Control Devices (Press R to set cursor).
Keyfobs can be programmed as "Arm/Disarm" devices using their On/Off buttons (refer to
WI752). (Not evaluated by UL). For each Keyfob Transmitter, enter:
The Keyfob Transmitter number (01–16).
The area number to which transmitter is assigned (0 to disable keyfob, 1 or 2).
The 6-digit RF ID # and 1-digit checksum number printed on the transmitter and
box,
The Aux 1 Option (see Keyfob Aux 1 & Aux 2 options).
The Aux 2 Option (see Keyfob Aux 1 & Aux 2 options).
NOTE: Keyfobs 1-16 report openings and closings as Users 180-195.
Press U to save and NEXT button to proceed when all keyfobs have been entered.
NOTE: When programming the ID Code number, "0" through "9" =
0 through
9; A = D0 ; B = D1 ; C = D2 ; D = D3 ; E
=
D4 and "F" = D5.
Zone # Xmitter Check Point
Mapped to ID Sum #
Example. A 2-point transmitter has the RF ID number 287613:1. Map point 1 to Zone 6 and point 2 to Zone 9.
1. Enter the Enroll mode as described above.
2. Enter Zone “06”.
3. Open point-1 loop.
4. Install the battery. The keypad will beep once to indicate that one point has been programmed. (Transmitter 287613:1, point 1 will be mapped to
Zone 6).
5. Enter Zone “09”.
6. Close point-1 loop and open point-2 loop.
7. Remove the transmitter battery, then re-install it. The keypad will beep once to indicate that one point has been programmed. (Transmitter
287613:1, point 2 is mapped to Zone 9).
KEYFOB ZONE ASSIGNMENT: Keyfobs can also be assigned to zones to allow multiple wireless panic buttons on one
alarm system, each reporting to a central station, or having a description on the keypad that describes the person holding the
keyfob, the location where the person holding the keyfob is stationed, or the special purpose of the keyfob button being de-
pressed. See the next page on Keyfob Transmitters as Zone Input Devices .
RF Transmitter/SLC Points (Press R to set cursor.)
For each transmitter enter: (For wireless systems only. Also see Quick Method, which follows)
The zone number (01–96) to which the transmitter will be mapped.
The 6-digit RF ID # and 1-digit checksum number printed on the transmitter and box,
The point number (1–2); enter "9" for unsupervised (all points).
Press U to save and NEXT button to proceed when all transmitters have been entered.
The GEMC panels allow up to 255 RF Transmitter Points with the PCD-Windows Download
software.
For programming SLC Points, refer to the GEMC-BSLC (WI1648) or GEMC-FW-SLC
(WI1647) manuals.
NOTE: When programming the ID Code number, "0" through "9" = 0 through
9; A = D0; B = D1; C = D2; D = D3; E =
D4 and "F" = D5.
Quick Method (Enroll Method). If a receiver is already installed in the panel, transmitter wire-
less points can be programmed automatically ("enrolled") using the following procedure.
NOTE: The transmitter point will be enrolled only if the signal strength is 3 or greater.
1. Enter the zone number to which the transmitter point will be mapped.
2. Press
A to enter the Enroll Mode. The red and green LED's on the keypad will flash
and the window will display as shown at left.
3. Open the loop of the point that is to be programmed (GEMC-WL-WD2 only).
4. Install the transmitter battery. The keypad will beep to indicate that the point has been
successfully enrolled. Multi-point transmitters can be mapped to successive zones simul-
taneously.
Zn# DevID+CS P R
01- 000000:0-0 0
KF Area Xmitter Check Aux
# ID Sum 1&2
KF A XMIT#+CS OP
01-0 000000:0 00
Zn# DevID+CS P R
01- 000000:0-0 0
Zn# DevID+CS P R
01- ENROLL:0-0 0
 Loading...