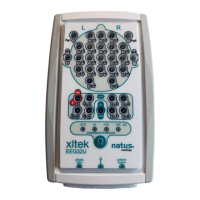
XLTEK EEG32U Amplifier User and Service Manual
26
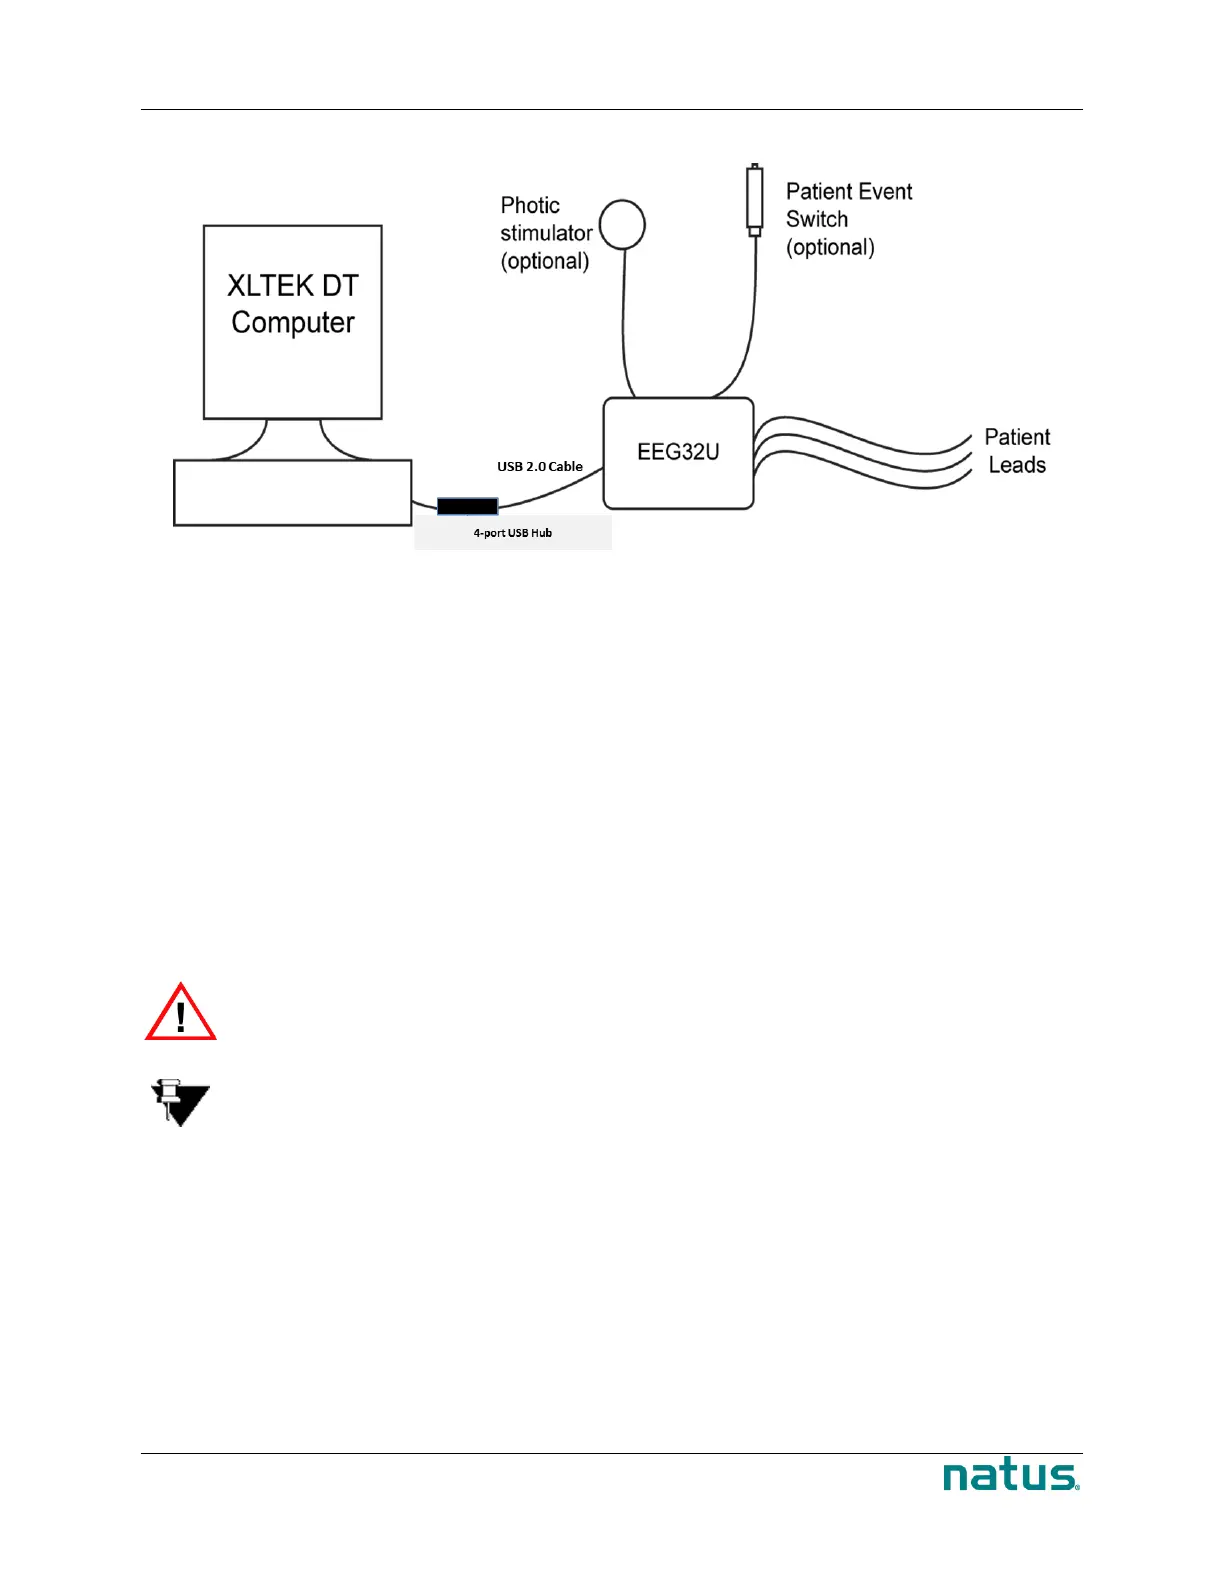
Connecting to a Computer
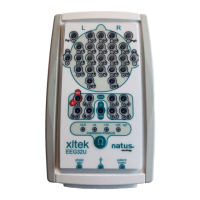
Hardware Connections for an EEG32U Amplifier
To connect the EEG32U to the XLTEK computer:
1. Use the supplied USB 2.0 cable (026620 – 3m USB 2.0 A/B Cable - Black (9.8ft)) to connect the
EEG32U headbox to the 4 port USB hub (026274 – 4 port Industrial USB Hub; 026275 – 12VDC
power supply).
2. Use the second USB 2.0 cable (W8194X – USB 2.0 Hi-Speed Gold Cable 6ft) from the USB hub
(026274 – 4 port Industrial USB Hub; 026275 – 12VDC power supply) to connect to the desktop
or laptop computer.
3. Insert the Patient Event Switch into the Patient Event input on the headbox.
4. If a Photic Stimulator is needed, insert the Photic Stimulator into the Photic Stimulator connection
on the base unit.
5. When you are ready to run a study, connect the patient leads and transducers to the Brain
Monitor.
WARNING: The Patient Event Switch jacks are not isolated from the computer. Only
an XLTEK Patient Event Switch may be plugged into these inputs.
Note: Do not connect any other type of equipment to the USB hub. Connecting any
additional equipment will invalidate the safety certification for this product.
Testing the EEG32U Amplifier
The EEG32U amplifier is fully assembled, tested and calibrated prior to being shipped to you. The
following sections describe some tests you can perform to verify the performance of the EEG32U
amplifier.
 Loading...