21
Nautilus® Commercial Free Weights Adjustable Tower Assembly Manual
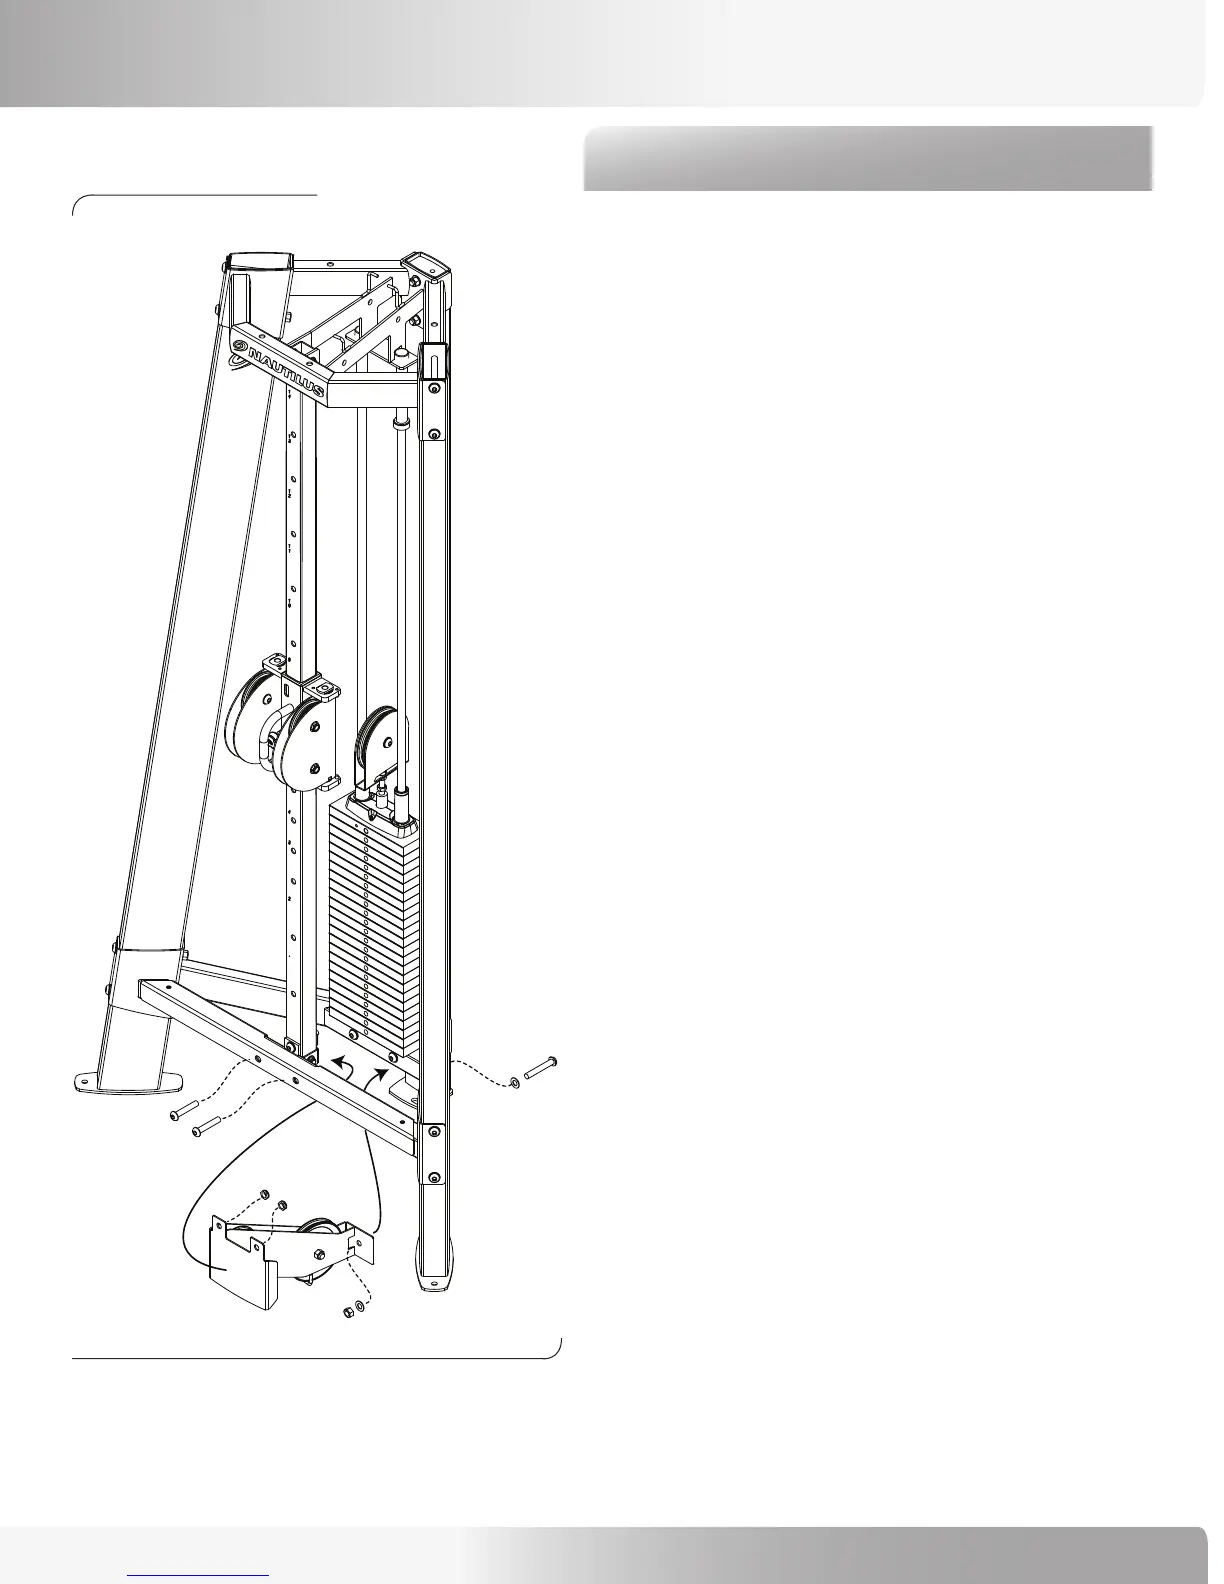
Step 11: Install Lower Pulley Assembly
Locate the following for this step:
Parts:
• Ref 4, Lower Pulleys Assembly Qty. 2
Hardware:
• Ref 5, 1/2”x 3” Button Head Bolt Qty. 2
• Ref 6, 1/2”x 3 1/4” Button Head Bolt Qty. 1
• Ref 10, 1/2” Nuts Qty. 3
• Ref 10, 1/2” Locknuts Qty. 2
• Ref 9, 1/2” Washers Qty. 2
Tools:
• Ref 16, 5/16” Allen Wrench
• 3/4” Wrench
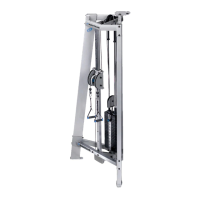
Refer to Figure 13:
11-1 Secure the front of the Lower Pulley Assembly
using the two 1/2” x 2 3/4” bolts and the 1/2”
Locknuts.
11-2 Secure the rear of the Lower Pulley Assembly
using the 1/2’ x 3 1/4” bolt and the 1/2” washers
(for rear bolt only; none used on front bolts) and
1/2” nut.
11-3 Firmly tighten all remaining hardware (from this
Step; from Steps 9 and 10, the Top
attaching bolt and lower bracket bolt for the
Tube adjustment).
Figure 13:
ASSEMBLY GUIDE