151
Lift Shock
maintenance steps involving these components. Do not try to do heavy or
awkward steps on your own.
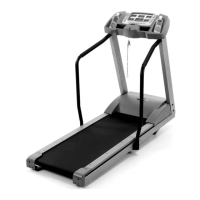
6. Using a 13mm wrench and a 6mm hex wrench, remove the indicated
hardware from the Lift Shock.
Note: be sure to note the orientation of the Lock Release for re-assembly.
7. Installation of the new Lift Shock is the reverse procedure.
Note: Be sure to attach the Lift Shock in the same orientation as the old
Shock.
8.Makesurethereissufcientspacetotiltthemachinebackuprightand
that the area is clear.
This step requires two people. Be sure there is adequate clearance
for the raised deck. Some components of the equipment can be
heavy or awkward. Enlist the service of a second person when you
do maintenance steps involving these components. Do not try to do
heavy or awkward steps on your own.
9.Makesurethereissufcientspacetolowerthewalkingdeck.
Keep a minimum clearance behind the machine of 2 m (79”) and
0.6 m (24”) on each side. This is the recommended safe distance
for access, movement and emergency dismounts from the
machine.
10. Make sure there is no object on or around the treadmill to spill or
cause blockage from the fully unfolded position.
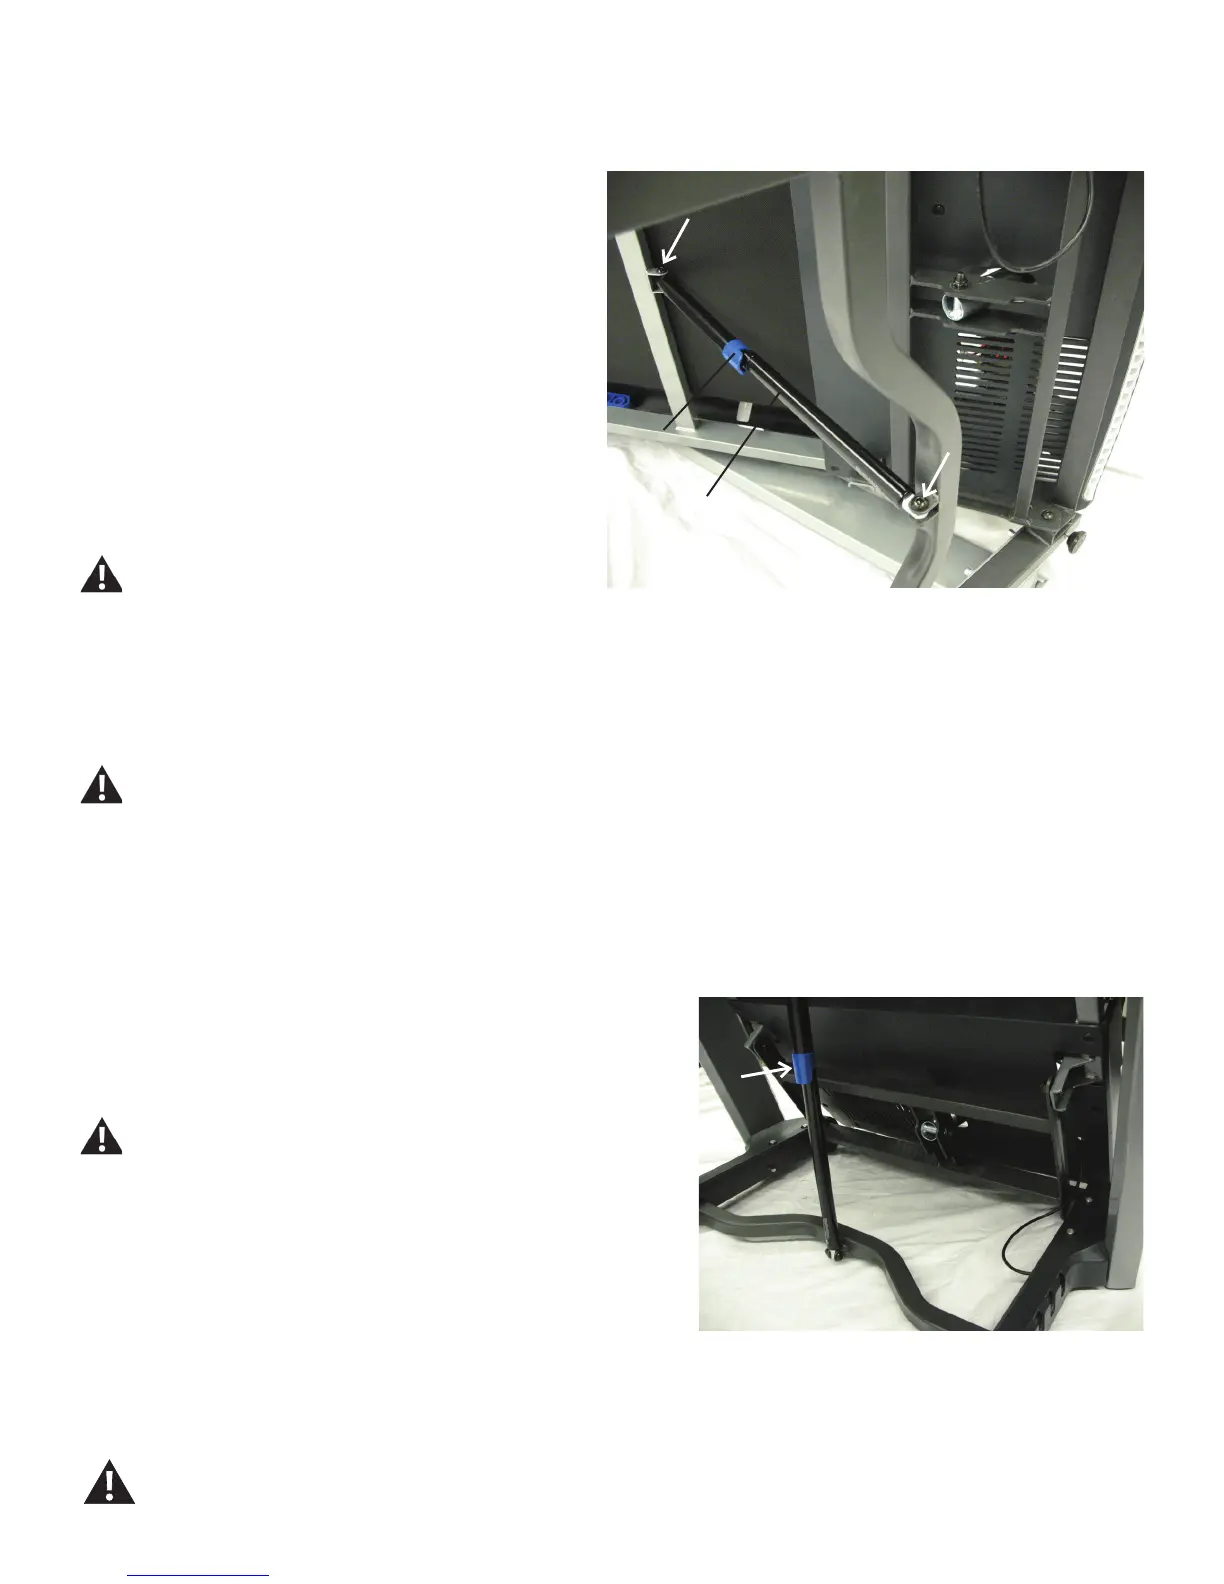
11. Slightly push the walking deck forward toward the console. With your
foot, lightly push the top part of the hydraulic lift forward until the locking
tube releases and you can pull the walking deck away from the console.
Hold up the rear of the walking deck, and move to the side of the machine.
Keep clear of the movement path of the walking deck.
12. The hydraulic lift is set up to drop gradually. Hold onto the walking
deck until approximately 2/3 of the movement down. Make sure that you
use proper lifting technique; bend your knees and keep your back straight.
Be aware that the walking deck can possibly drop quickly in the last part of
the movement.
Lock Release
13. Final Inspection
Inspect your machine to ensure that all hardware is tight and components are properly assembled.
Do not use until the machine has been fully assembled and inspected for correct performance in accordance with the Owner’s Manual.
 Loading...