137
6. Installation and Connections
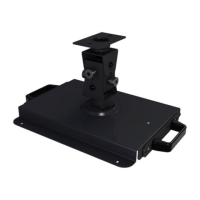
Mountingthesafetycover(soldseparately)
Theprojectorisequippedaswitchforchangingtoverticalmountportraitprojection.Mountthesafetycoverandplace
verticallytochangetoverticalorientationmode.
1. Insert and tighten the 7 screws (turning clockwise) to mount to the projector.
* Ifusinginnormalhorizontalorientation,makesuretoremovethesafetycover.
Toremove,unscrewthe7screws(turningcounter-clockwise).
 Loading...