VP1007-B / Installation manual
Version 01.000 / November 2020 / EN
12
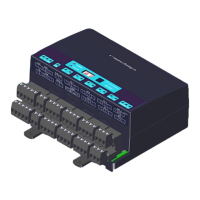
Livestock Management
The available address range is 01 – 99.
c. To leave the menu, push and hold down the button until the display goes blank.
2. Set the logic address of the VP1007-B in Velos:
a. In Velos, go to Settings > Devices - V-packs.
b. Select the correct VPU in the drop-down list.
A list with all V-packs connected to the VPU is shown. The Address column shows the logic addresses of
the V-packs.
c. Find the VP1007-B in the list and check the logic address.
The default logic address of the VP1007-B is 01.
d. If necessary, click on the logic address and change it to a unique number. Click Ok to save the change.
Caution
V-packs with the same logic address are indicated with a red exclamation mark icon.
e. Click on Submit to save all changes.
4.2 Check for firmware updates
Caution
The VPUs and V-packs are never updated automatically by the VPU.
Update via the VPU
When the VPU or V-pack is connected with a computer, the firmware can be updated using the Nedap Velos
software:
1. In Velos, go to Maintenance > Devices - V-packs.
2. Select the correct VPU in the drop-down list.
A list with all V-packs connected to the VPU is shown. The Firmware column shows if an update is available.
3. Select the V-pack(s) that must be updated.
4. Click on Actions > Update.
5. Click on I agree to confirm.