5.1 Startup
The Taut Wire Node is configured using the OLED display and the left, centre and right
pushbuttons below the screen.
As soon as power is connected to the unit,
the display will briefly show the NEMTEK
logo, where after the following default
screen is displayed.
5.2 User Menus
Each menu can be accessed sequentially from the default startup screen, by pressing the
right pushbutton. Passed menus can accessed by pressing the left pushbutton.
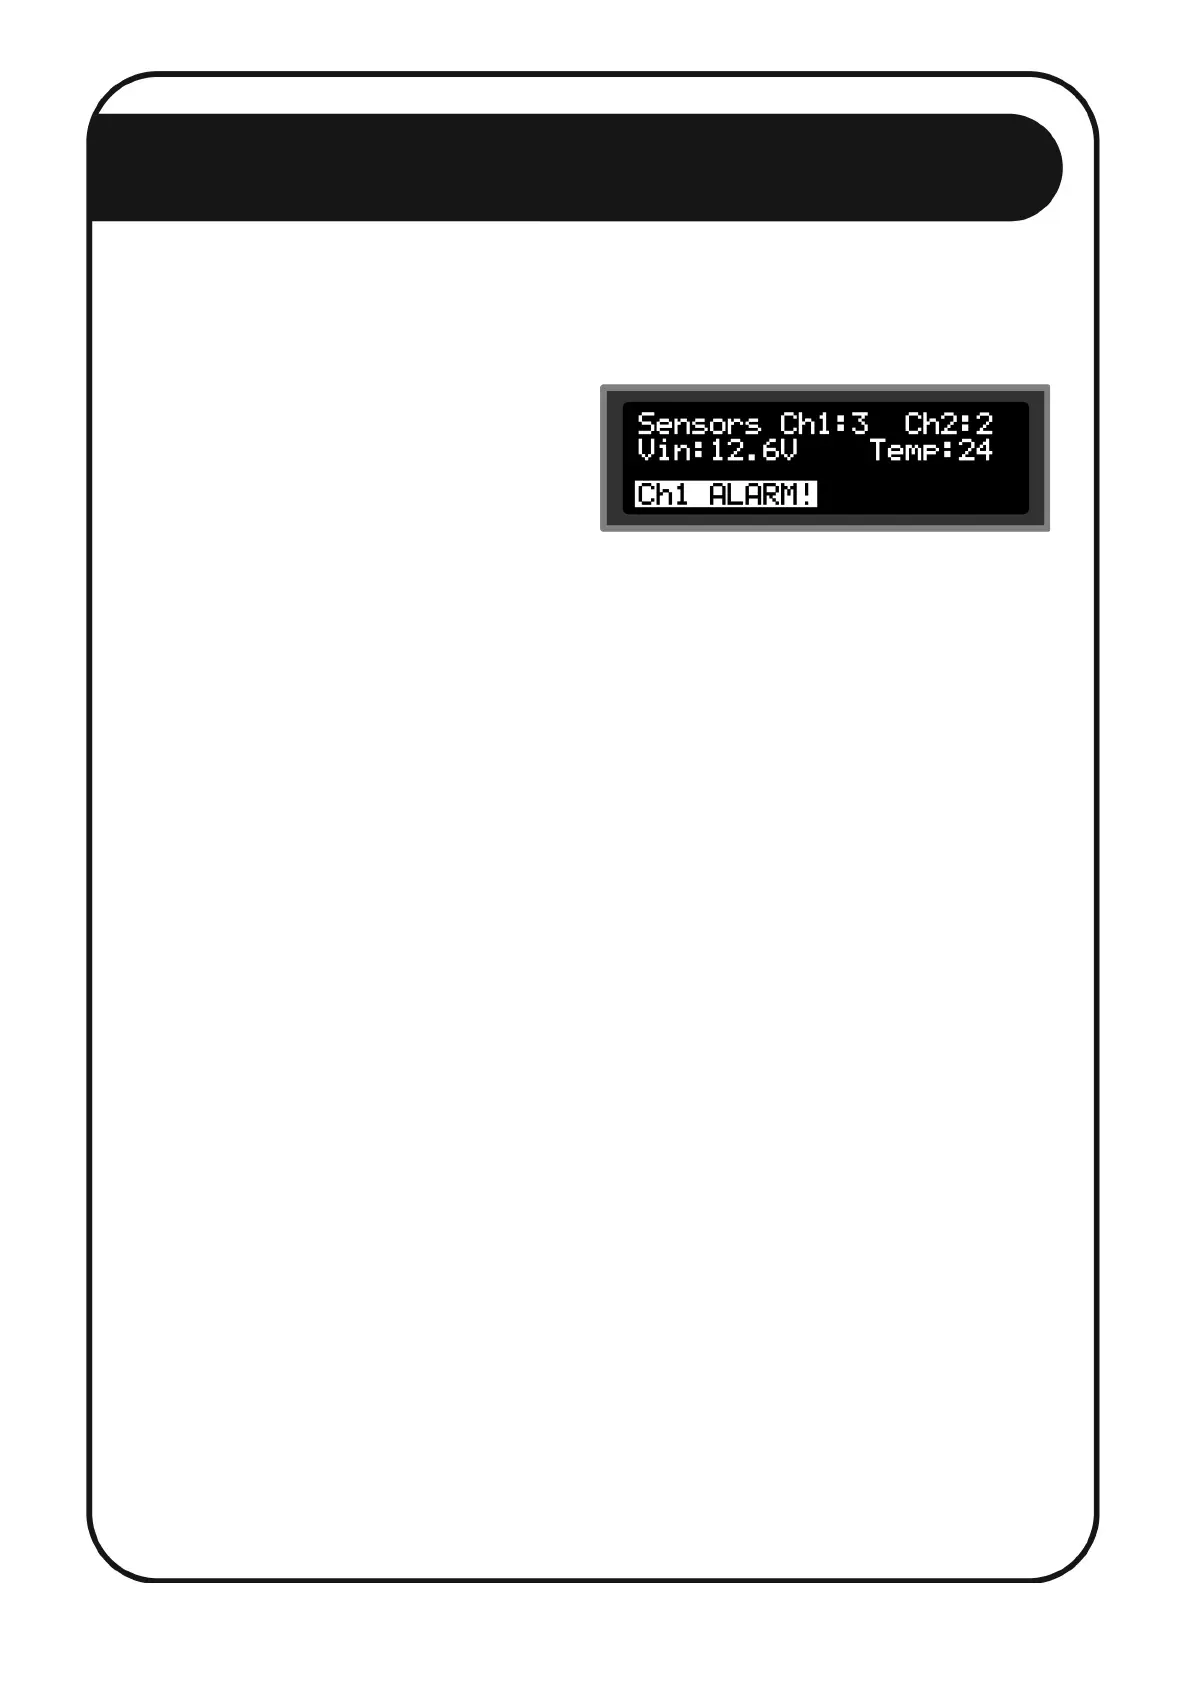
5.2.1 Default Menu
This menu is displayed after startup and provides the following information:
• Amount of sensors configured for channel 1
• Amount of sensors configured for channel 2
• Board input voltage
• Ambient temperature at board
• If any channel is in alarm
5.2.2 Tautwire Channel 1 state
• All Taut Wire sensors addresses that are currently in alarm will be displayed
next to “Alm: ”.
• All Taut Wire sensors adresses that are not connected on experiencing
communication errors will be displayed next to: “Com: “.
• Details of the alarms or errors can be seen in “History” menu.
5.2.3 Tautwire Channel 2 state
• The same information mentioned in 3.2.2 is given for channel 2.
5.2.4 History Channel 1
• The alarm and error history for all configured sensors on channel 1 are
given in a three-digit code for sensors 1 - 9 and a four-digit code for sensors
10 - 31. The leftmost digit for sensor 1 - 9 and leftmost 2 digits for sensors
10 - 31 represent the sensor address that is in alarm/error state. The 2
rightmost digits represent an accumulation of all past event and alarm
conditions. Refer to appendix A for a list of possible error/alarm codes.
• The alarm and error history can be cleared by holding the centre
pushbutton for 2 seconds.
5 Software Setup A
12