10
8 How to Activate
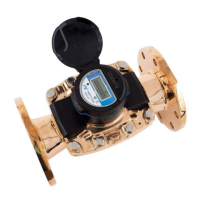
To read the E-CODER you must first activate it.
Complete the following steps to activate the E-CODER.
1 Expose the E-CODER to sunlight or activate with a flashlight
for five seconds.
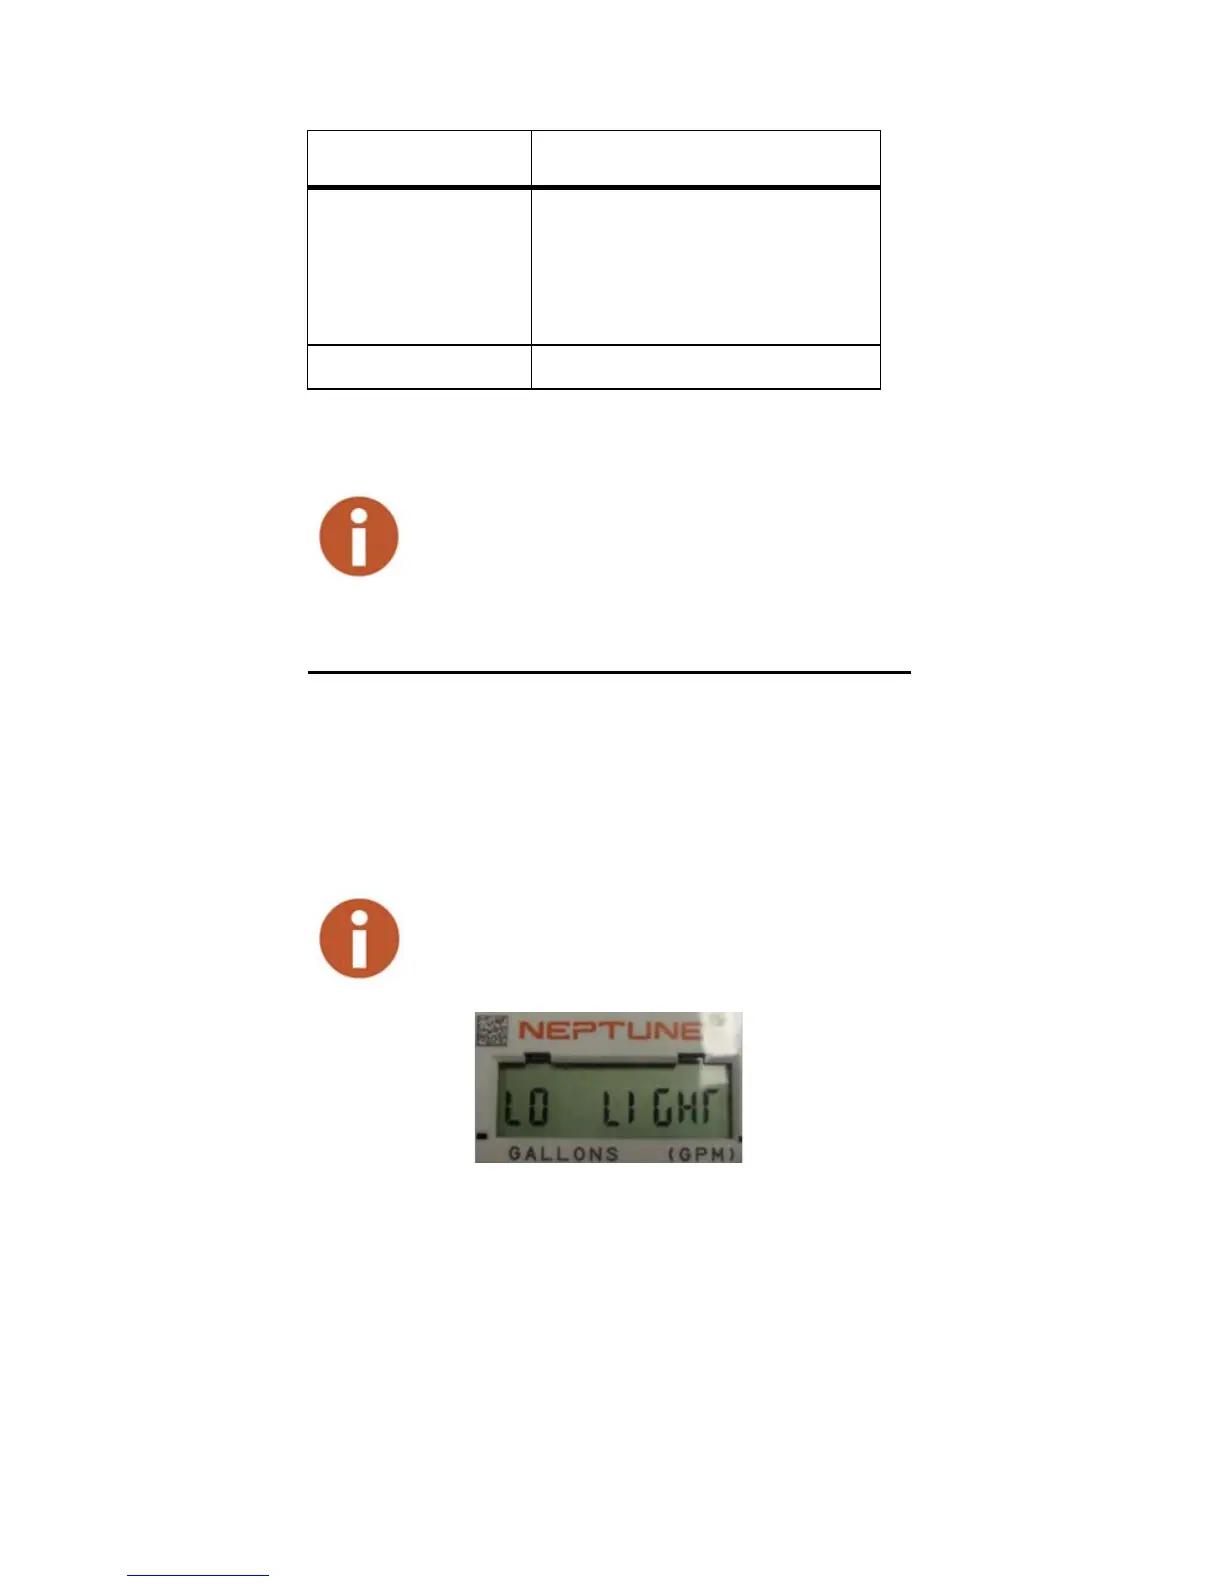
Figure 20 LCD Displaying LO Light
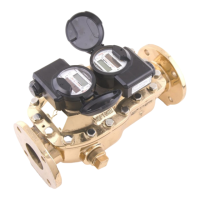
2 Verify that the following LCD displays appear.
• The All-Segment test appears for two seconds.
• The version number appears for two seconds.
• The event index value appears for 20 seconds.
• The flow rate appears for four seconds.
• The display alternates between the reading and the flow
rate every 12 seconds.
Table 3 Proper Crimping Tools
Manufacturer Manufacturer’s Model Number
3M
E-9R (10:1)*
E-9BM (10:1)
E-9C/CW (7:1)
E-9E (4:1)
E-9Y (3:1)
Eclipse Tools 100-008
* To reduce fatigue, use a tool within each splicing group with the highest
mechanical advantage indicated within the parentheses ().
Use of normal pliers or channel locks is highly
discouraged because they do not apply even
pressure and can result in an improper connection.
If the LCD is able to power on, but there is
insufficient light to read the ASIC, the LCD displays
LO LIGHT. See Figure 20.