Get Started
10
N300 WiF Range Extender
If the Router Link LED does not light, try again. If it still does not light, see Connect With
Web Browser Setup on page 10.
3. Find the new extender network name on your computer or WiFi device.
The extender creates two new extended WiFi networks. The extender’s new WiFi
network name is based on your existing WiFi network name, with _EXT at the end of the
name.
For example:
• Existing WiFi network name. MyNetworkName
• New extended network name. MyNetworkName_EXT
4. Connect your computer or WiFi devices to the new extended WiFi network.
Use the same WiFi password that you use for your WiFi router.
5. Unplug the extender and move it to a new location closer to the area with a poor WiFi signal.
The location that you choose must be within the range of your existing WiFi router
network.
6. Plug the extender into an electrical outlet.
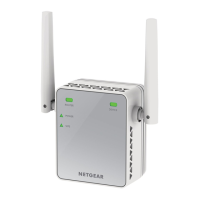
7. Wait for the Power LED to light amber and then turn green.
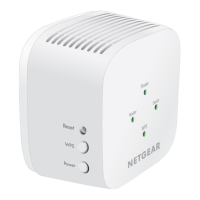
If the Power LED does not light, press the Power On/Off button on the side of the
extender.
8. Use the Router Link LED on the front panel to help you choose a spot where the
extender-to-router connection is optimal.
Connect With Web Browser Setup
You can use a web browser to log in to the extender and set up its WiFi connection to your
existing WiFi router.
To use a web browser to connect the extender to your WiFi router:
1. Use a WiFi network manager on a computer or WiFi device to find and connect to the
extender WiFi network NETGEAR_EXT.
After the connection with the computer or WiFi device is established, the Device Link LED
lights.
2. Launch web browser.
3. Enter www.mywifiext.net in the address field of the browser.
The New Extender Setup page displays.
 Loading...