The button bar in the DHCP section displays green because the DHCP client of the
switch is enabled.
7. Click the button in the DHCP section.
The button bar displays gray, indicating that the DHCP client of the switch is disabled,
and the IP address fields become editable.
8.
Enter the fixed (static) IP address that you want to assign to the switch and the
associated subnet mask and gateway IP address.
9.
Write down the complete fixed IP address.
You can bookmark it later.
10. Click the APPLY button.
Your settings are saved. Your switch web session disconnects when you change the
IP address.
11.
Disconnect the switch from your computer and install the switch in your network.
For more information, see Set
up the switch in your network and power on the switch
on page 15.
12. Restore your computer to its original IP address.
13.
Verify that you can connect to the switch with its new IP address:
a.
Open a web browser from a computer that is connected to the same network as
the switch.
b. Enter the new IP address that you assigned to the switch.
The login page displays.
c. Enter the switch password.
The password is the one that you specified the first time that you logged in. The
password is case-sensitive.
The HOME page displays.
User Manual20Install and Access the Switch in
Your Network
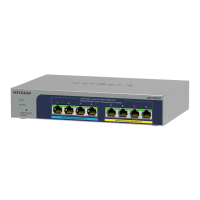
8-port Ultra60 PoE++ Multi-Gigabit (2.5G) Ethernet Plus Switch