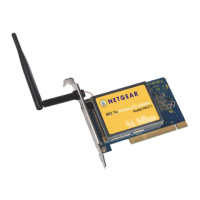
Installation Guide for the NETGEAR 108 Mbps Wireless PCI Adapter WG311T
Preparing Your PCs for Network Access C-5
Selecting the Internet Access Method
1. On the Windows taskbar, click the Start button, point to Settings, and then click Control Panel.
2. Double-click the Internet Options icon.
3. Select “I want to set up my Internet connection manually” or “I want to connect through a
Local Area Network” and click Next.
4. Select “I want to connect through a Local Area Network” and click Next.
5. Uncheck all boxes in the LAN Internet Configuration screen and click Next.
6. Proceed to the end of the Wizard.
Verifying TCP/IP Properties
After your PC is configured and has rebooted, you can check the TCP/IP configuration using the
utility winipcfg.exe:
1. On the Windows taskbar, click the Start button, and then click Run.
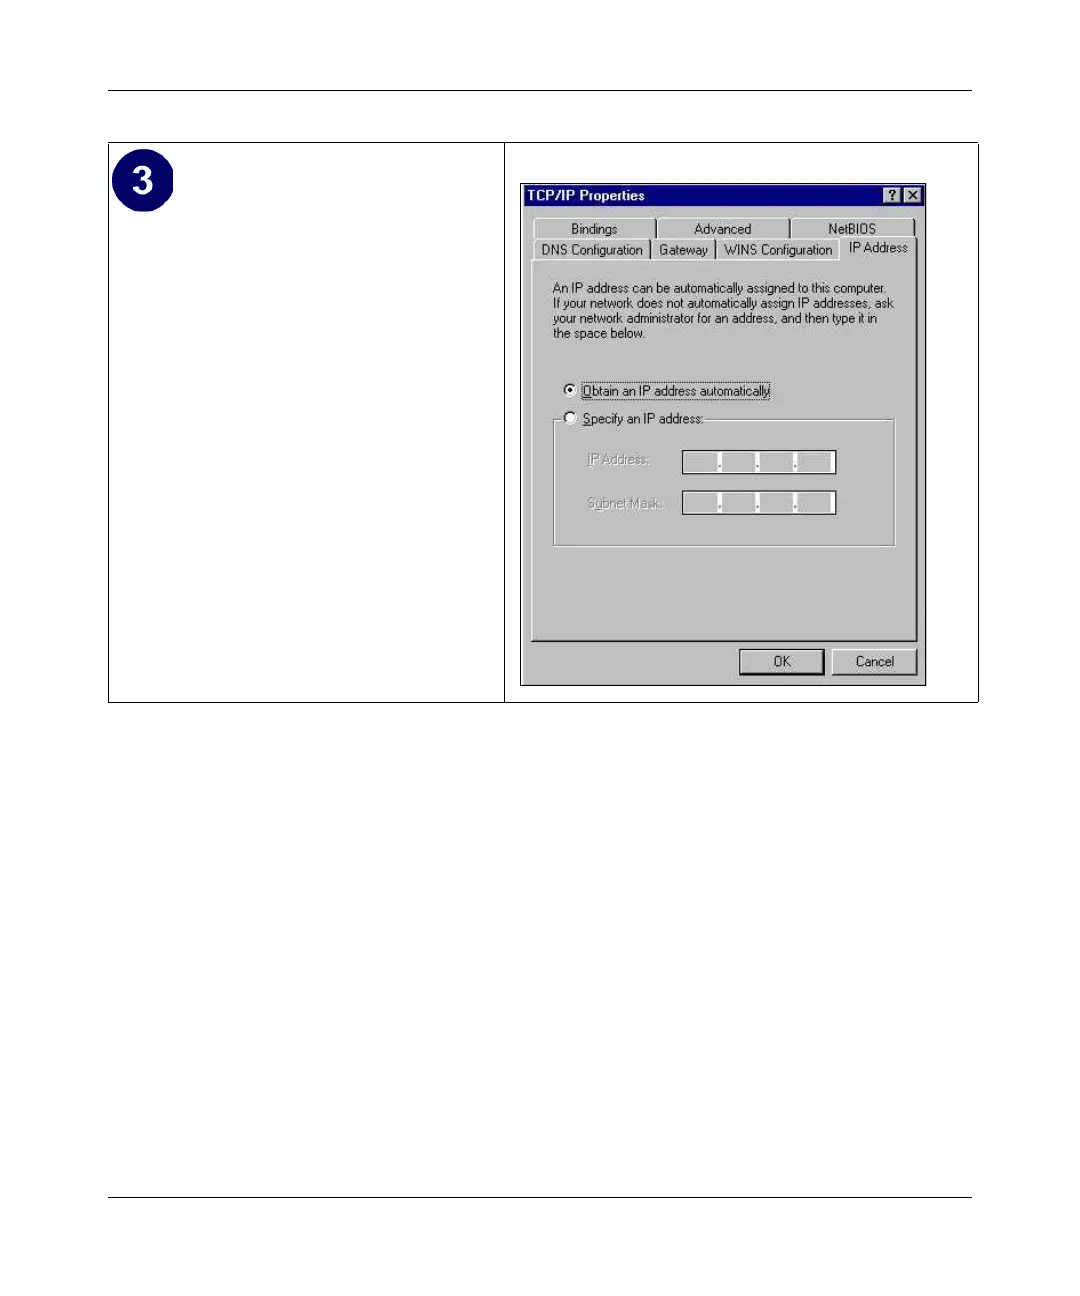
By default, the IP Address tab is open on
this window.
• Verify the following:
Obtain an IP address automatically is
selected. If not selected, click in the
radio button to the left of it to select it.
This setting is required to enable the
DHCP server to automatically assign an
IP address.
• Click OK to continue.
Restart the PC.
Repeat these steps for each PC with this
version of Windows on your network.
 Loading...