CBOX1050
INSTALLATION AND PROGRAMMING MANUAL
21
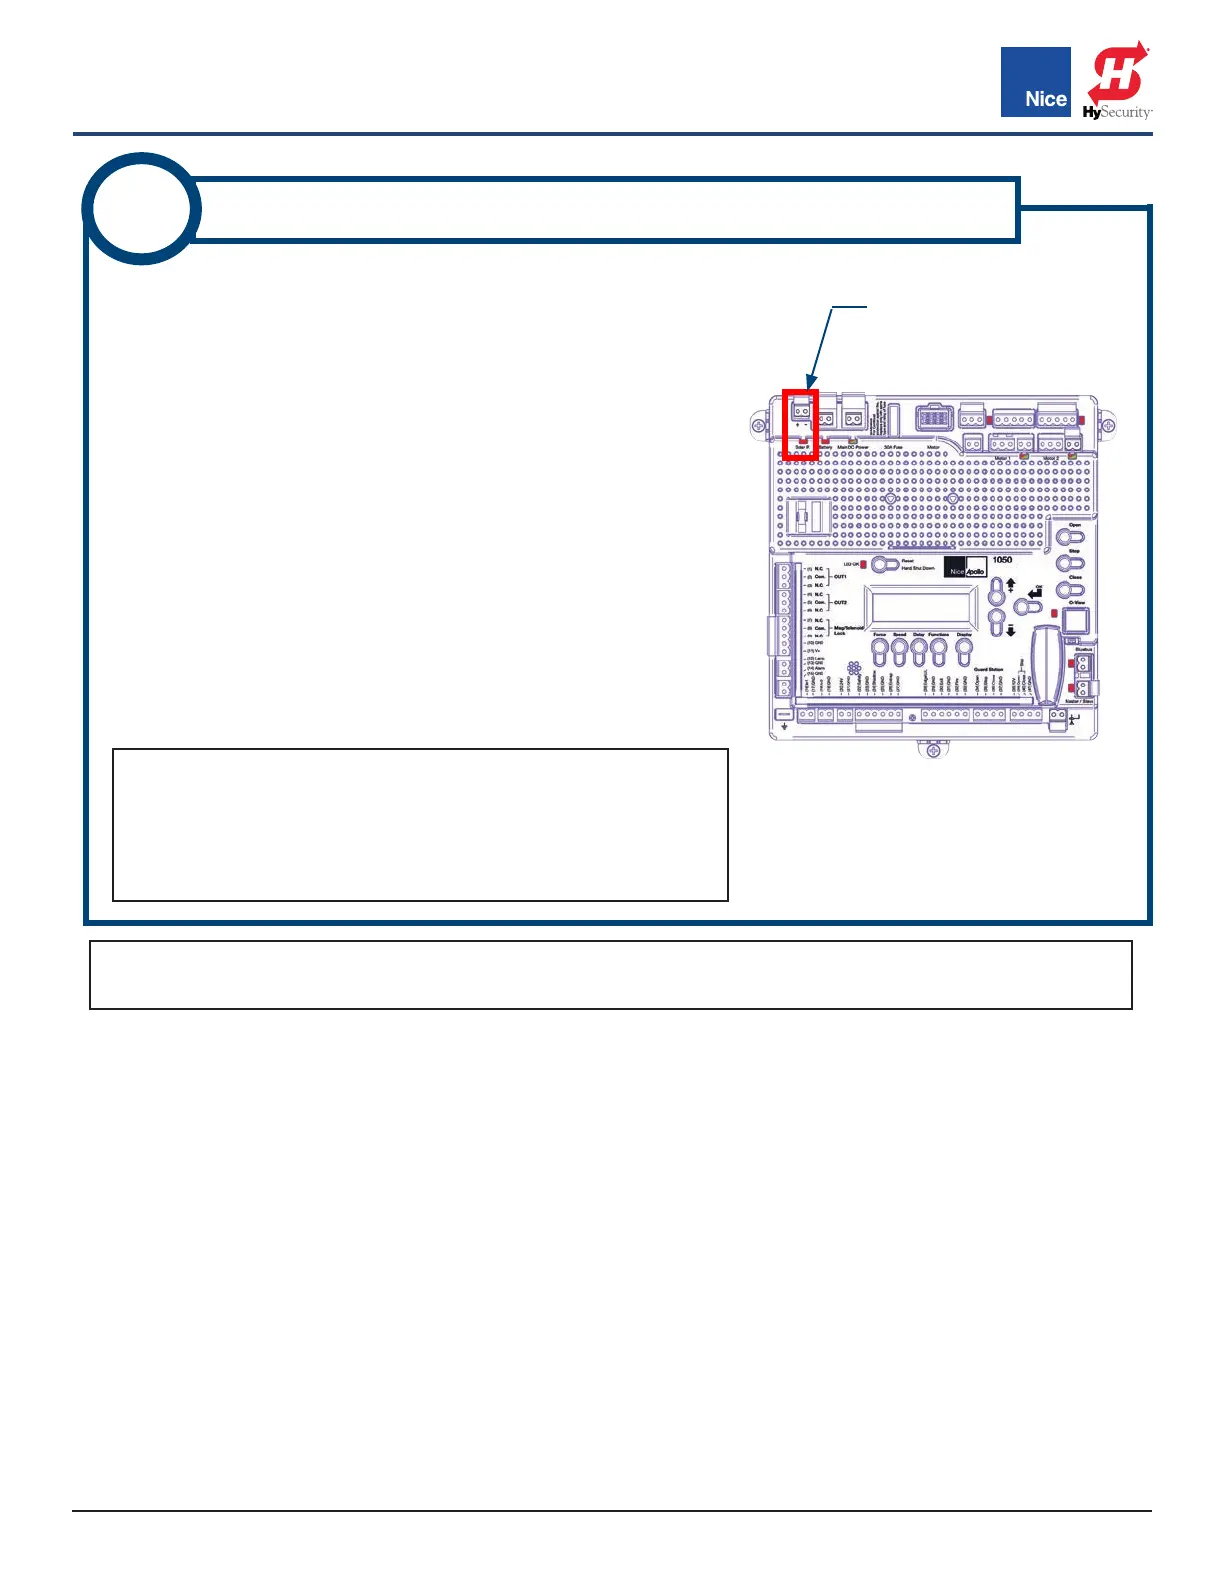
SOLAR PANEL
INPUT CONNECTOR
IMAGE 10A-1: SOLAR CONNECTORS
ON CONTROL BOARD
A 20 Watt, or smaller, solar panel may be installed to enable battery
charging through the 1050 control board’s integral regulator/
conditioner as follows:
1. Assemble solar panel mounting bracket and panel with
included hardware.
2. Locate solar panel out of shadows of surrounding buildings,
walls, etc. and orient to collect the maximum sunlight energy
throughout the year. In the northern hemisphere, mount panels
at upward angle of about 45 degrees with panel oriented
south. In the southern hemisphere orient the panel to face
north.
3. Cut off two battery lugs from the end of the solar panel cable.
4. Strip wires back 1/4”-5/16” (7-8mm), twist, and install into the
solar panel connector screw terminals on the control board
(RED = +, BLACK = -). See IMAGE 10A-1.
10A
SOLAR PANEL CONNECTION - 10W TO 20W
NOTES:
• Turn ON Standby Mode (INSTRUCTION 13) if using only solar
power to charge battery.
• If solar panel is wired backwards, a red LED will illuminate
above the connector.
NOTE: For 30W solar panels and above, an external regulator must be used. Nice offers a regulator (P/N
SG-4) for this purpose. See INSTRUCTION 9B for installation instructions for the SG-4 regulator.
www.ApolloGateOpeners.com | (800) 878-7829 | Sales@ApolloGateOpeners.com