Digitax ST Installation Guide 19
Issue: 7
Mechanical Installation Introduction
Mechanical Installation
Electrical Installation UL Listing Information
Figure 3-5 Minimum mounting clearances
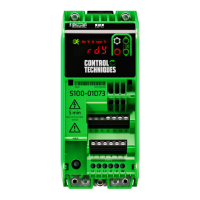
Digitax ST can be mounted using a DIN rail, either fixed at the top or the bottom of the
drive (as illustrated in Figure 3-6). Two screws are required to fix the drive to the
backplate at the opposite end to the DIN rail.
Figure 3-6 DIN rail mounting
100mm (4in)
100mm (4in)
*2mm (0.08in)
*2 mm clearance between drives to allow for mechanical tolerance.
If Solutions Modules are installed, a larger clearance between drives will be required if
access to the modules is needed without removing the drive.
47mm (1.85in)
312.7mm
(12.31in)

 Loading...