13
Cleaning the Print Head and Roller
Routine cleaning of the print head and roller ensures smooth operation and consistent print
quality. Clean the components if you notice:
• Unclear Printing: Faint or uneven prints may indicate a dirty print head or roller.
• Unusual Noises: Noises during the paper feed process often suggest dust or debris
buildup.
• Foreign Objects: Visible debris or adhesive residues on the print head or roller can
interfere with operation.
Steps for Cleaning:
Turn Off the Printer: Always switch off the printer and disconnect it from power before
cleaning to ensure safety.
Access the Print Head:
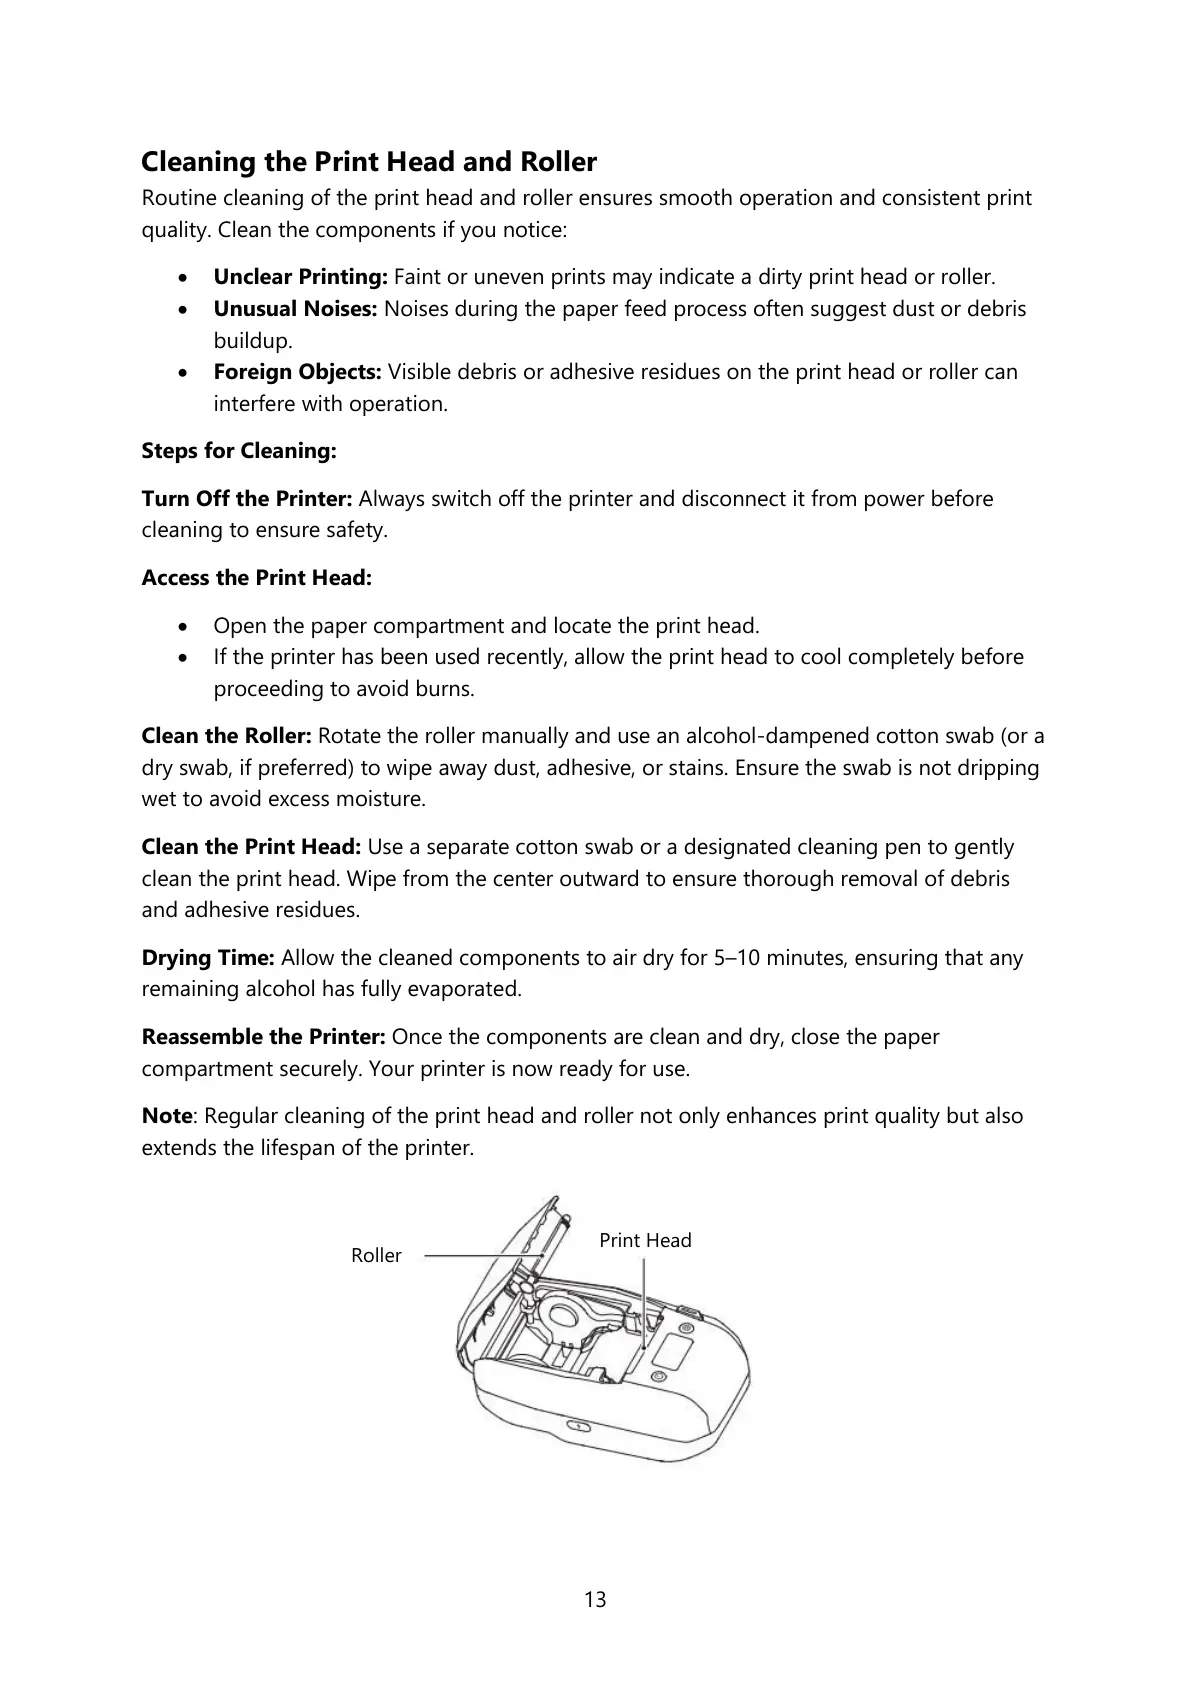
• Open the paper compartment and locate the print head.
• If the printer has been used recently, allow the print head to cool completely before
proceeding to avoid burns.
Clean the Roller: Rotate the roller manually and use an alcohol-dampened cotton swab (or a
dry swab, if preferred) to wipe away dust, adhesive, or stains. Ensure the swab is not dripping
wet to avoid excess moisture.
Clean the Print Head: Use a separate cotton swab or a designated cleaning pen to gently
clean the print head. Wipe from the center outward to ensure thorough removal of debris
and adhesive residues.
Drying Time: Allow the cleaned components to air dry for 5–10 minutes, ensuring that any
remaining alcohol has fully evaporated.
Reassemble the Printer: Once the components are clean and dry, close the paper
compartment securely. Your printer is now ready for use.
Note: Regular cleaning of the print head and roller not only enhances print quality but also
extends the lifespan of the printer.