VAA46003-R.3659.A
- D10 ・ E7900 -
SB PCB
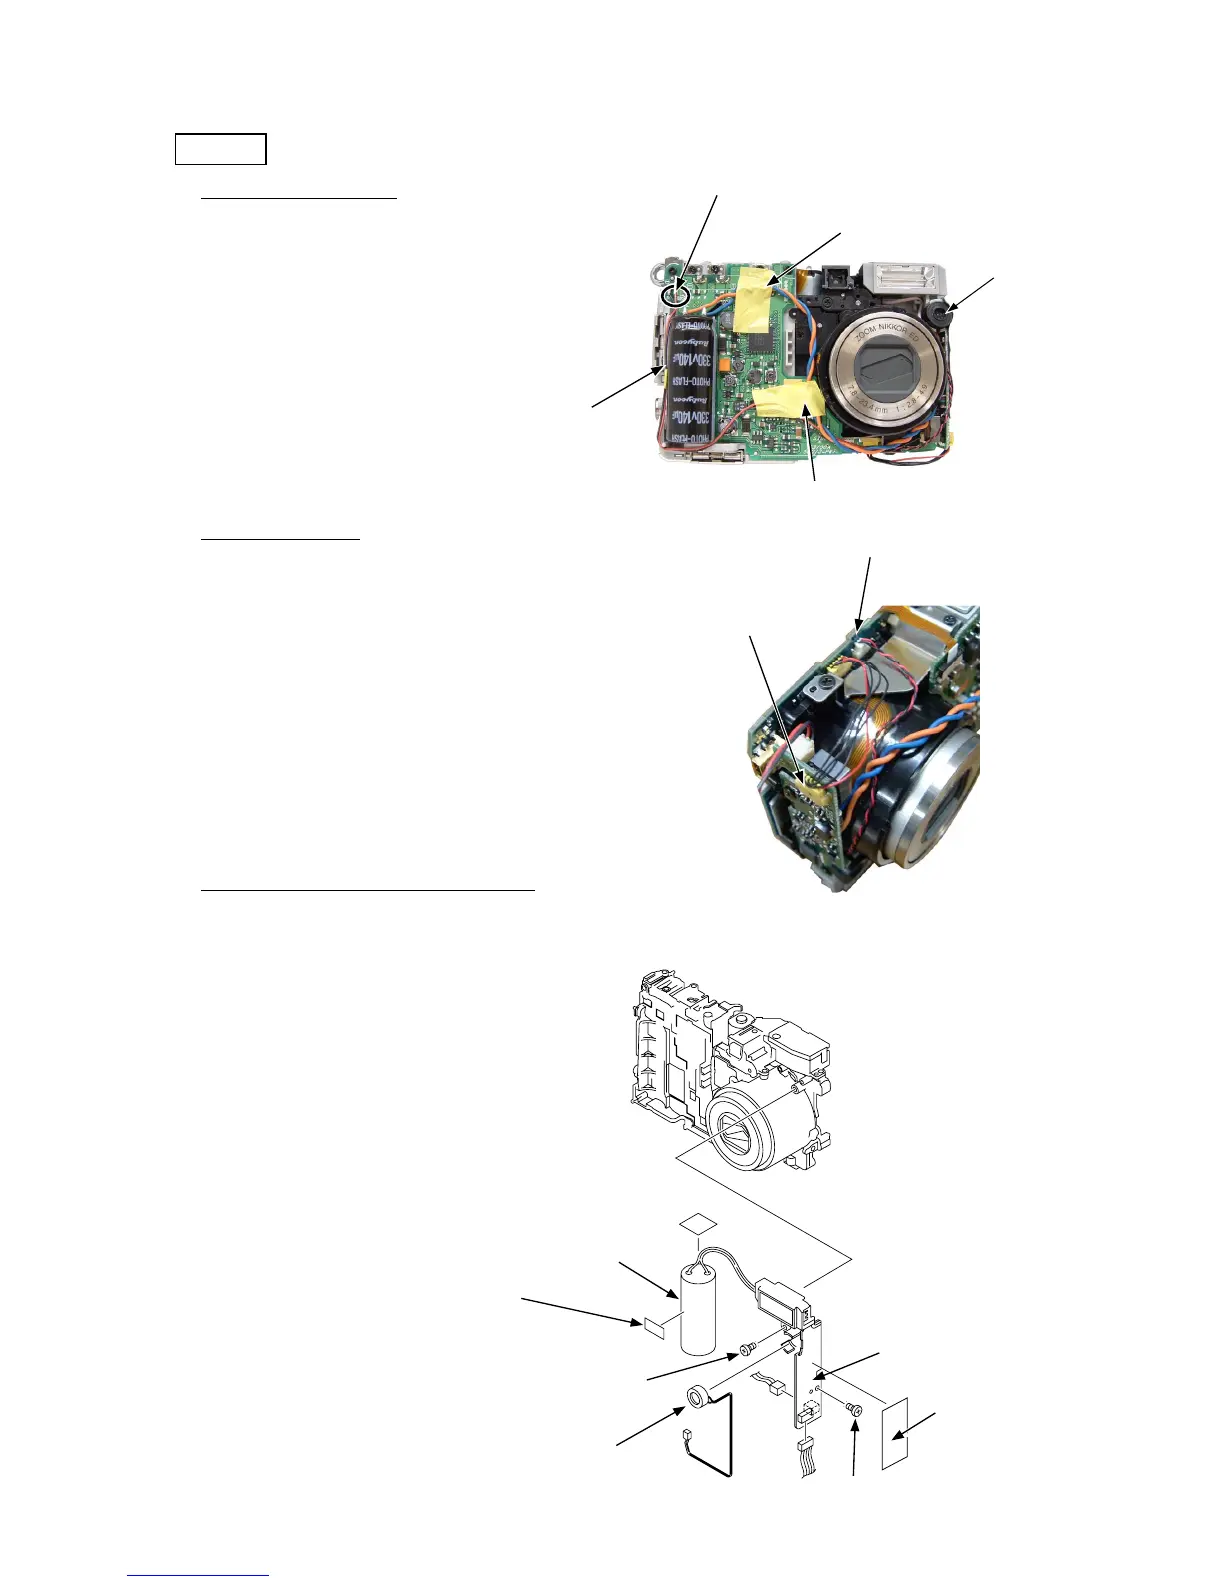
・ Take off the two cord arranging tapes (717).
・ Remove the one cord arranging tape (716).
・ Remove the lead wire [black] and the lead wire [red].
1. Removal of cords/tapes
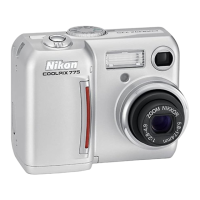
・ Remove the SB control harness (1013) from the connector.
2. Removal of harness
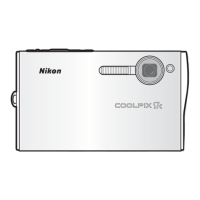
・ Remove the condenser.
・ Remove the connector (Fig. 1) and then remove the microphone (1023).
・ Take off the SB insulating sheet (711).
・ Remove the two screws (804).
・ The SB PCB can be removed.
3. Removal of condenser/microphone/SB PCB
Cord arranging tapes (717)
Cord arranging tape (716)
Cord arranging tapes (717)
Microphone (1023)
Lead wires [black] and [red]
(Fig.1)
SB control harness (1013)
Connector
Condenser
Cord arranging tape (716)
Screws (804)
SB insulating sheet (711)
SB PCB
Microphone (1023)
Screws (804)