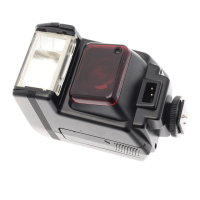
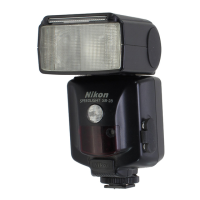
Bounce Flash Photography Procedure
1. Select a ceiling
to
bounce
the
flash from. In color
photography,
se
lect a
whi
te or
si
lver ceil
ing-other·
wise, color photographs come
out
with
an
unnatural
color cast similar
to
that of
the
reflecting surface.
2.
Ti
lt the
fl
as
h head tlpwards., towards
th
e ceilin
g.
To
avoid uneven illumination, tilt flash head back
60° or more.
3.
Set
flash mode
se
lector
to
TTL
for TTL
au
to
fl
as
h
operation,
A 1 or
A2
for non-TTL auto flash oper-
ation, then turn
on
the
fla
sh
unit.
The
bounce
indi-
cator blin
ks.
4. Choose
an
aperture
and
perform a test firing. If
the
ready-light blinks after
te
st firing, indicati
ng
under-
exposure may occur
at
the
aperture
set
on
the
lens
,
use a wider aperture or reduce
the
bounce distance
and
test fire the fl
ash
again.
5.
Bracket
you
r exposur
es.
You
are recommended
to
t
ake
ad
ditional shots with the camera
's
exposure
compen
sa
tion
di
al
se
t
in
the + or - direction (not
poss
ibl
e with
Ni
kon
F-401/N400
4)
for TTL
au
to
fla
sh
operation or
wi
th
the lens opened
up
or stopped
down one or two f/stops for
non-TTL
auto
fla
sh
operation.
41