MAN
60°
40°
-
+
MAN 40° 2:30
C
START
STOPP
ON
OFF
ECO DRYER
4
3
6
5
2
1
7
8
9
12
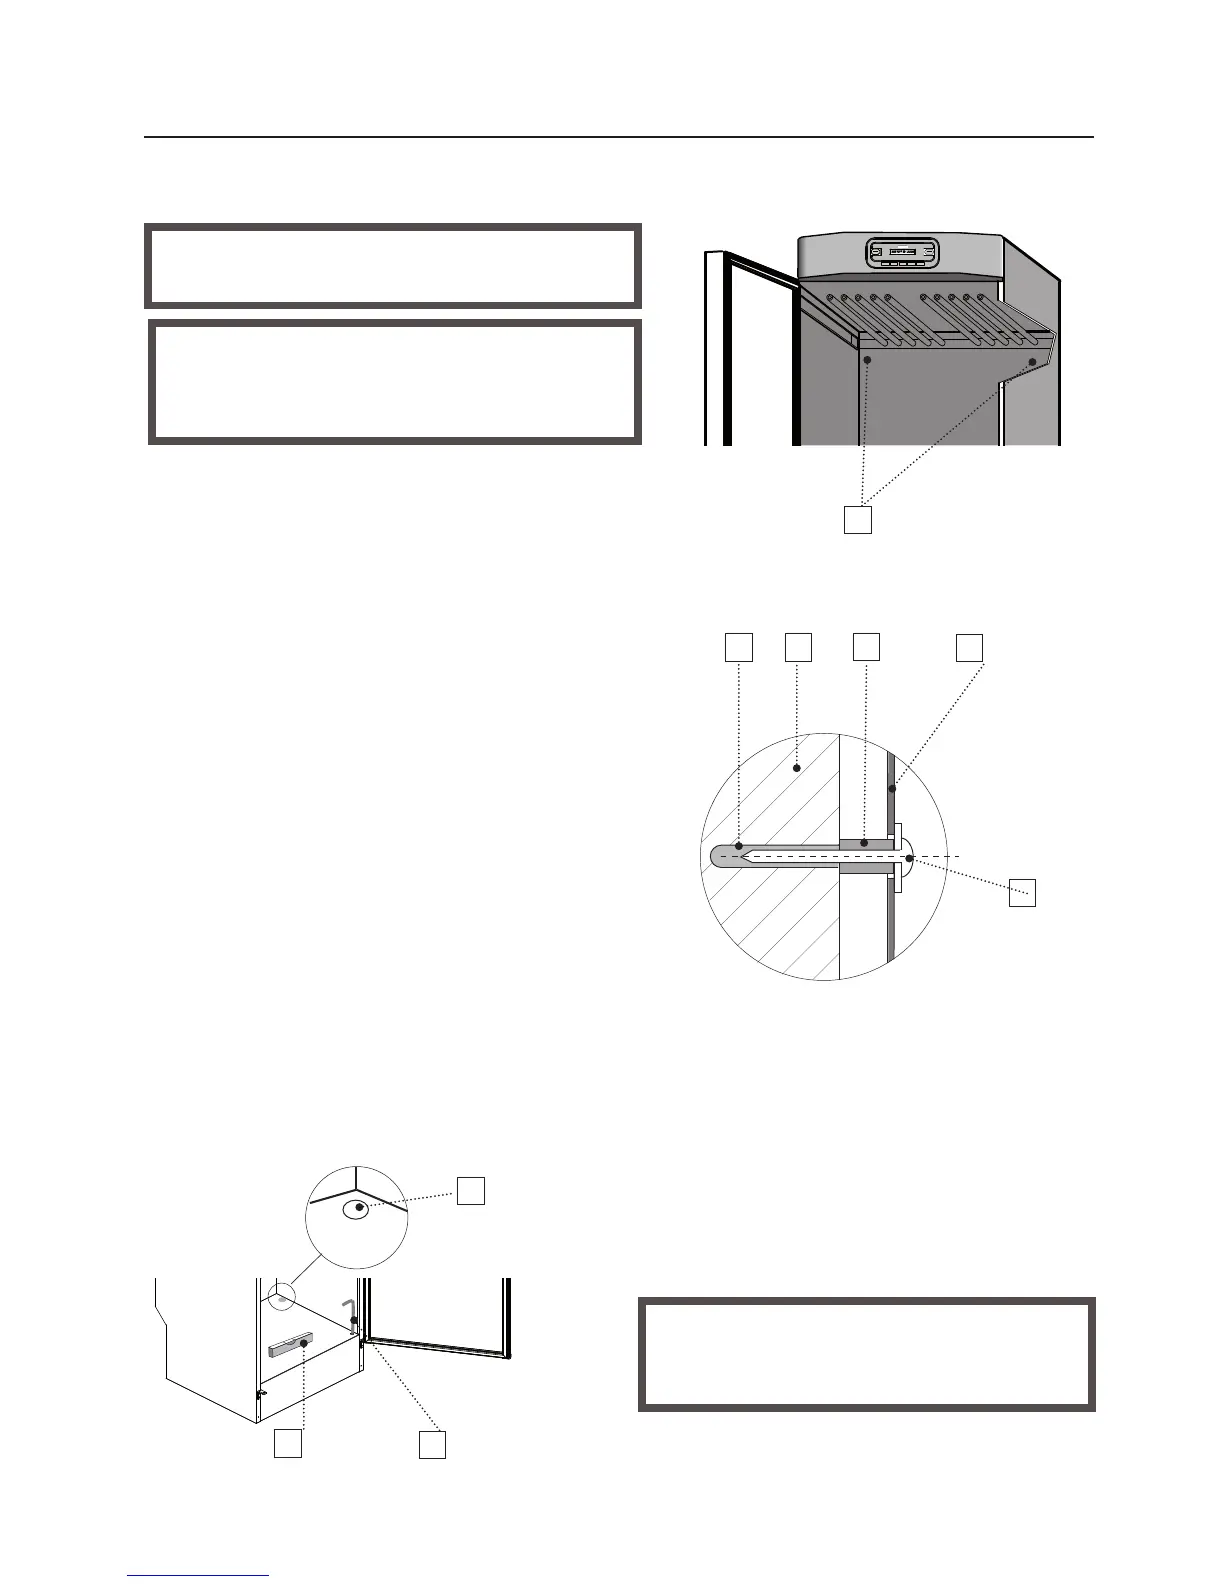
1. Pre-drilled holes
2. Attachment screw with washer
3. Plastic plug
4. Wall behind the drying cabinet
5. Spacer
6. Drying cabinet back wall
7. Spirit level
8. Allen wrench
9. Cover plug
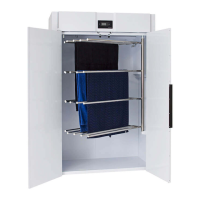
The drying cabinet should stand level on
a at surface and rest on all four feet.
Use the Allen wrench provided, and
correct the position of all four adjustable
feet through the holes in the base plate of
the drying cabinet.
Press the four cover plugs down rmly
into the holes.
The drying cabinet must be screwed to
the wall to prevent tipping.
1 Open the front door and drill 8 mm
holes in the wall through the two pre-
drilled holes in the rear of the drying
cabinet.
2
Insert plastic plugs into the holes in the
wall. Thread the spacer onto the screw
and install with a washer as shown in
the illustration. Screws are supplied in
the assembly kit.
WARNING The drying cabinet should not
be used without being screwed to the wall
due to risk of tipping forwards.
POSITIONING / FIXING THE CABINET
INSTALLATION
The drying cabinet is only designed for
operation indoors in a dry environment .
The drying cabinet should not be installed in a
location where high pressure water is used for
cleaning.
Figure shows the
ETS 1700E/1900E
drying cabinet