Mounting and connecting the Nokia FastMile 4G
Receiver
88
Nokia FastMile 4G Receiver Installation Guide
3TG-00387-ABBA-TCZZA Issue: 01
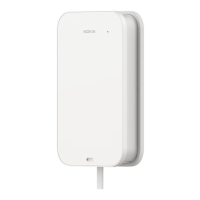
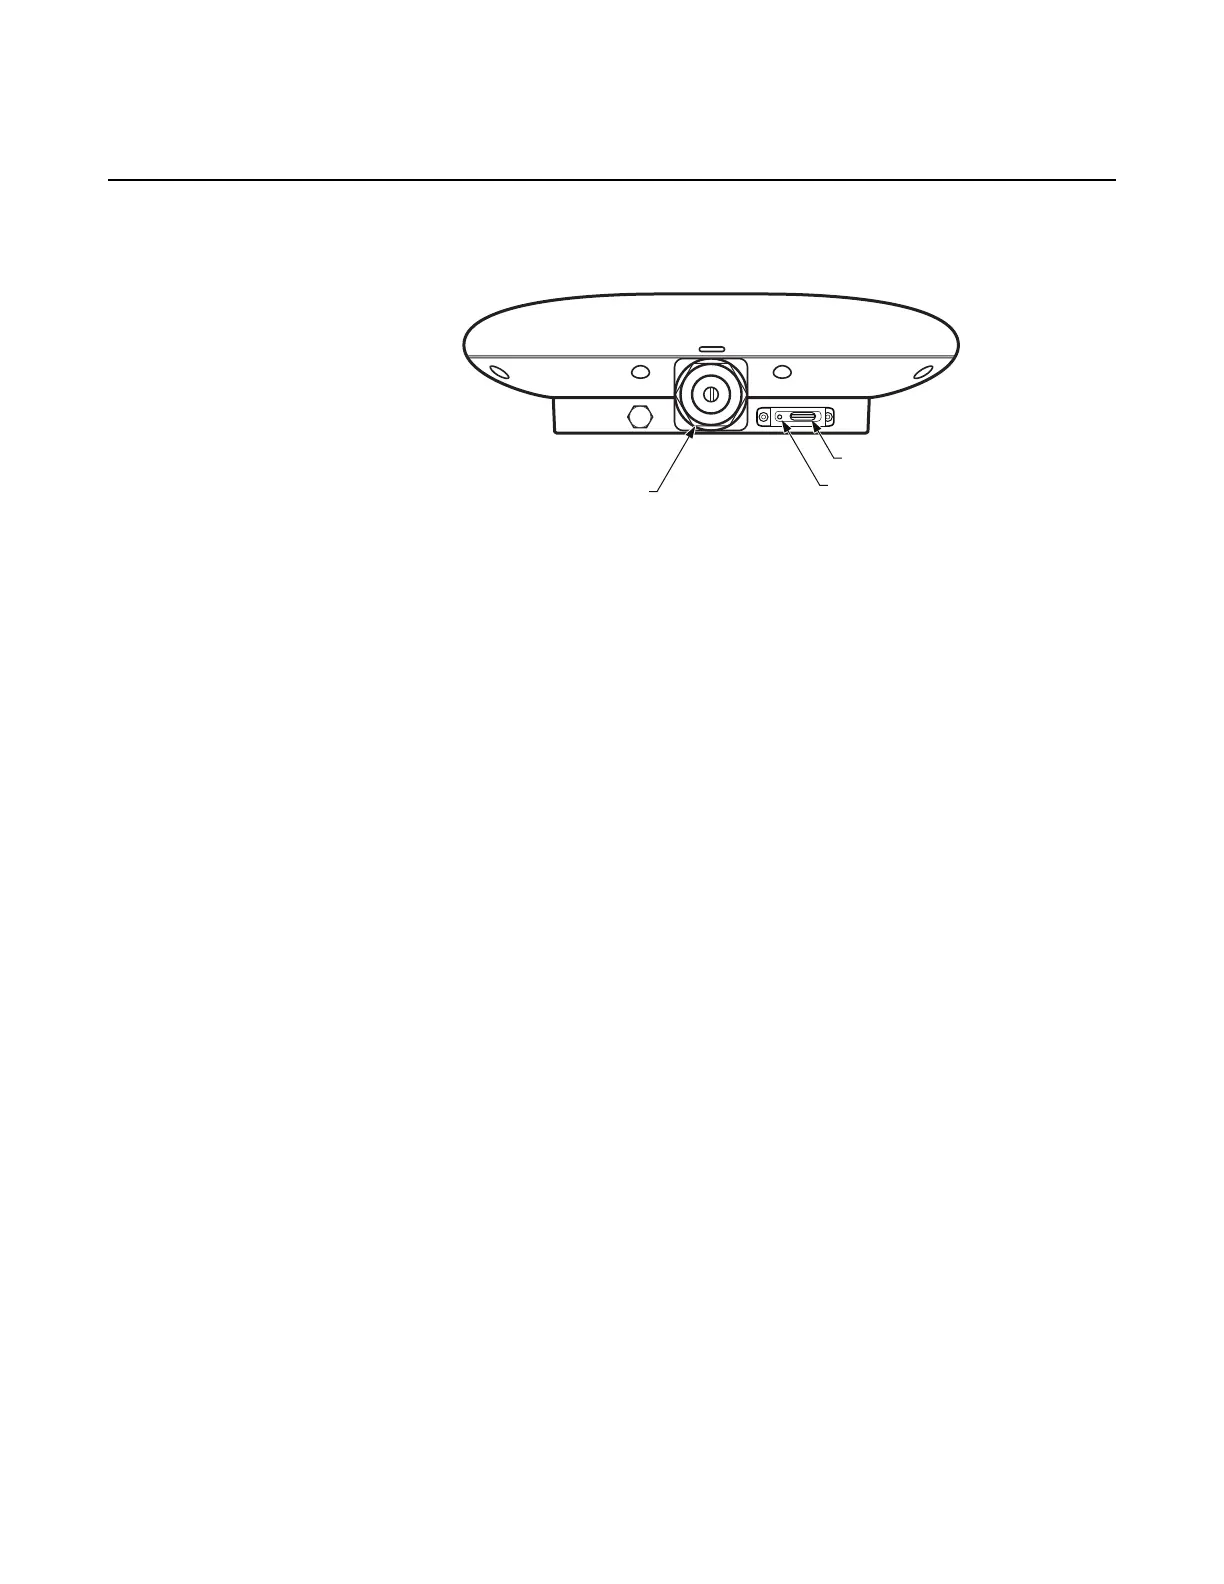
Figure 47 Location of physical interfaces on the underside of the Compact
multi-band models of the Nokia FastMile 4G Receiver
11.2 Mounting and connecting the Nokia FastMile
4G Receiver
This section describes how to mount all models of the Nokia FastMile 4G Receiver
on a wall or pole, and make all physical connections. For any installation, it is
expected that a hole will need to drilled through an outside wall for passage of
Ethernet cabling. The last steps of the procedure involve connecting power and
checking LEDs.
The Nokia Wireless app is not required when mounting and connecting the Nokia
FastMile 4G Receiver.
All models of the FastMile 4G Receiver use a supplied receiver bracket that attaches
to the back of the Nokia FastMile 4G Receiver through a supplied mounting plate.
The receiver bracket is used to mount the Nokia FastMile 4G Receiver on a wall or
attaches to a pole adapter so that the Nokia FastMile 4G Receiver can be mounted
on a pole.
Be sure that you have met the appropriate prerequisites for installing the Nokia
FastMile 4G Receiver listed in section 8.2. Be sure to refer to section 8.2.1 for
lightning protection information and other important considerations. Installation
prerequisites may include providing cat5e shielded Ethernet cabling with standard
pinouts that is a maximum of 80 m (262 ft) in length (not orderable from Nokia). For
pole mounting, installation prerequisites include making sure that you have a pole
adapter (orderable from Nokia) and strapping (not orderable from Nokia).
Vent M6
Ethernet port
SIM slot
Reset button
28771

 Loading...