10.4.3 User Manual Contents April 17, 2020
Firmware: 5.2.1 Page 75 of 142
9.5
Change Sonar IP Address
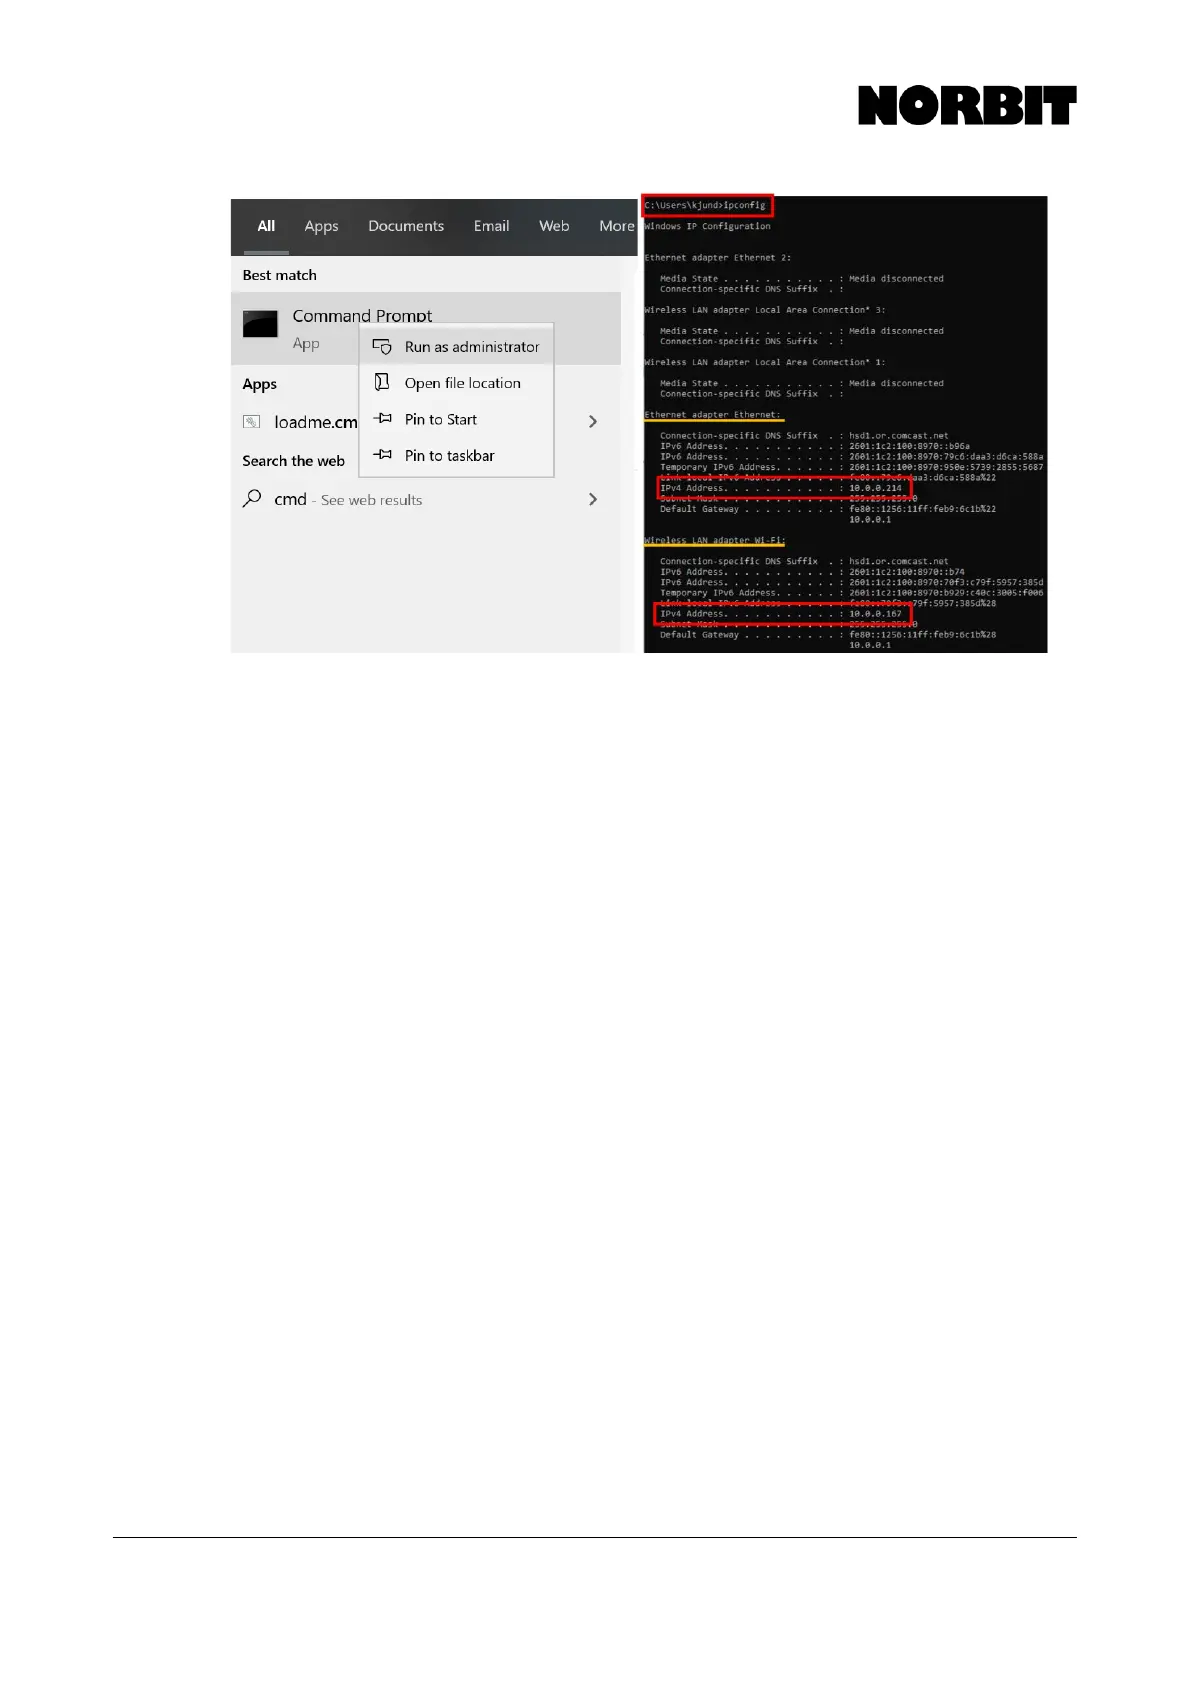
Log onto the sonar with telnet. To do this, press Windows+R to open the Run dialog. Type cmd to
open command prompt, then use the following commands:
Telnet 192.168.53.XX (where XX is the last two digits of sonar wet-end serial number)
Print to screen all u-boot parameters:
fw_printenv
Options:
fw_printenv ip_addr (print to screen all ip_addr parameters)
fw_setenv ip_fallback 192.168.53.99 (sets IP to 99 if no DHCP server is on the
network)
fw_setenv ip_addr 192.168.53.99 (sets static IP to 99 regardless of DHCP)
9.6
Cable Covers
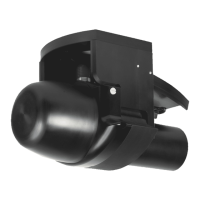
The sonar cables (and IMU cables for the integrated versions) include a protective cap affixed to the
cable with an adjustable length cable. The length may be adjusted by grabbing one of the small
collars and pulling on the cable.
9.7
Data Quality Control Checklist
The manual details procedures for optimizing NORBIT sonar performance. However, if some simple
steps are skipped or not followed closely users may encounter data degradation. This section
provides a brief checklist and options to enhance data quality.
Checklist to improve data quality: