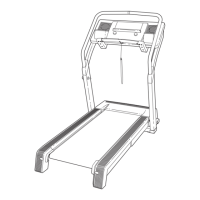
9
3. Make sure that the power cord is unplugged.
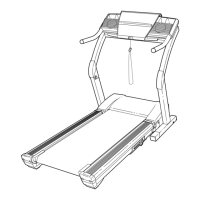
Identify the Right Upright (94), and lay it near the
Upright Base (101) as shown.
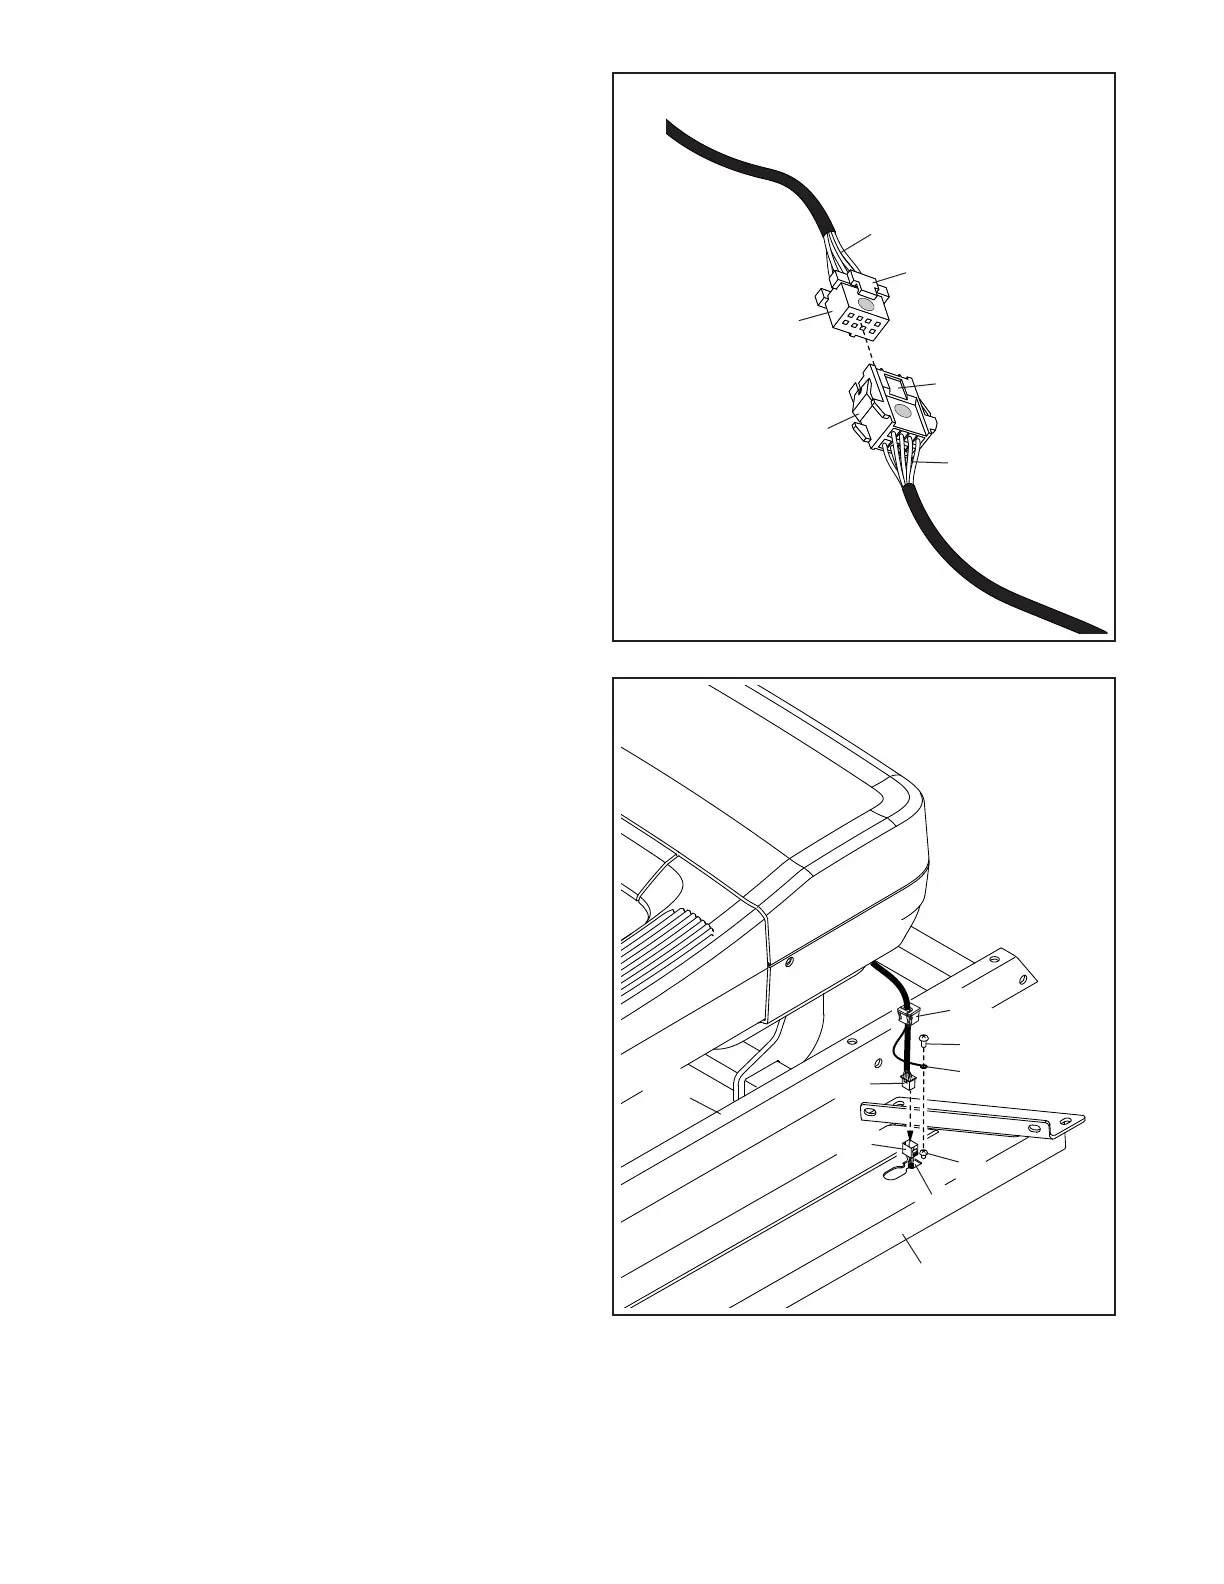
Next, connect the Belly Pan Wire (80) to the
Upright Wire (92) in the Right Upright (94). For
your treadmill to function properly, make sure
to connect the wires as described in step 2.
Next, insert the Wires (80, 92) into the indicated
square hole (A), and press the Grommet (81)
into the square hole.
Then, remove and discard the indicated screw
(B), and attach the ground wire (C) to the Right
Upright (94) with a Ground Screw (3).
3
2. IMPORTANT: You will connect wires in one or
more of the following steps. For your tread-
mill to function properly, connect the wires as
described below. Note: The actual wires may
look different from the wires shown.
First, firmly push the wires (V) into each connec-
tor (W, X) to make sure that the wires are fully
seated.
Next, turn the wires so that the latch (Y) on one
connector (W) is on the same side as the catch
(Z) on the other connector (X). (Note: If there are
red dots on the connectors, turn the connectors
so that the red dots are on the same side.) Then,
slide the connectors together; the connectors
should slide together easily and snap into
place with an audible click.
Then, pull on the connectors (W, X) to make
sure that they are connected; do not pull on the
wires (V).
V
W
X
Y
Z
V
2
3
C
80
81
94
92
B
A
101
 Loading...