Nordson Asymtek
Mini and micro dispensing solutions for fluids and pastes
page 10 off 20
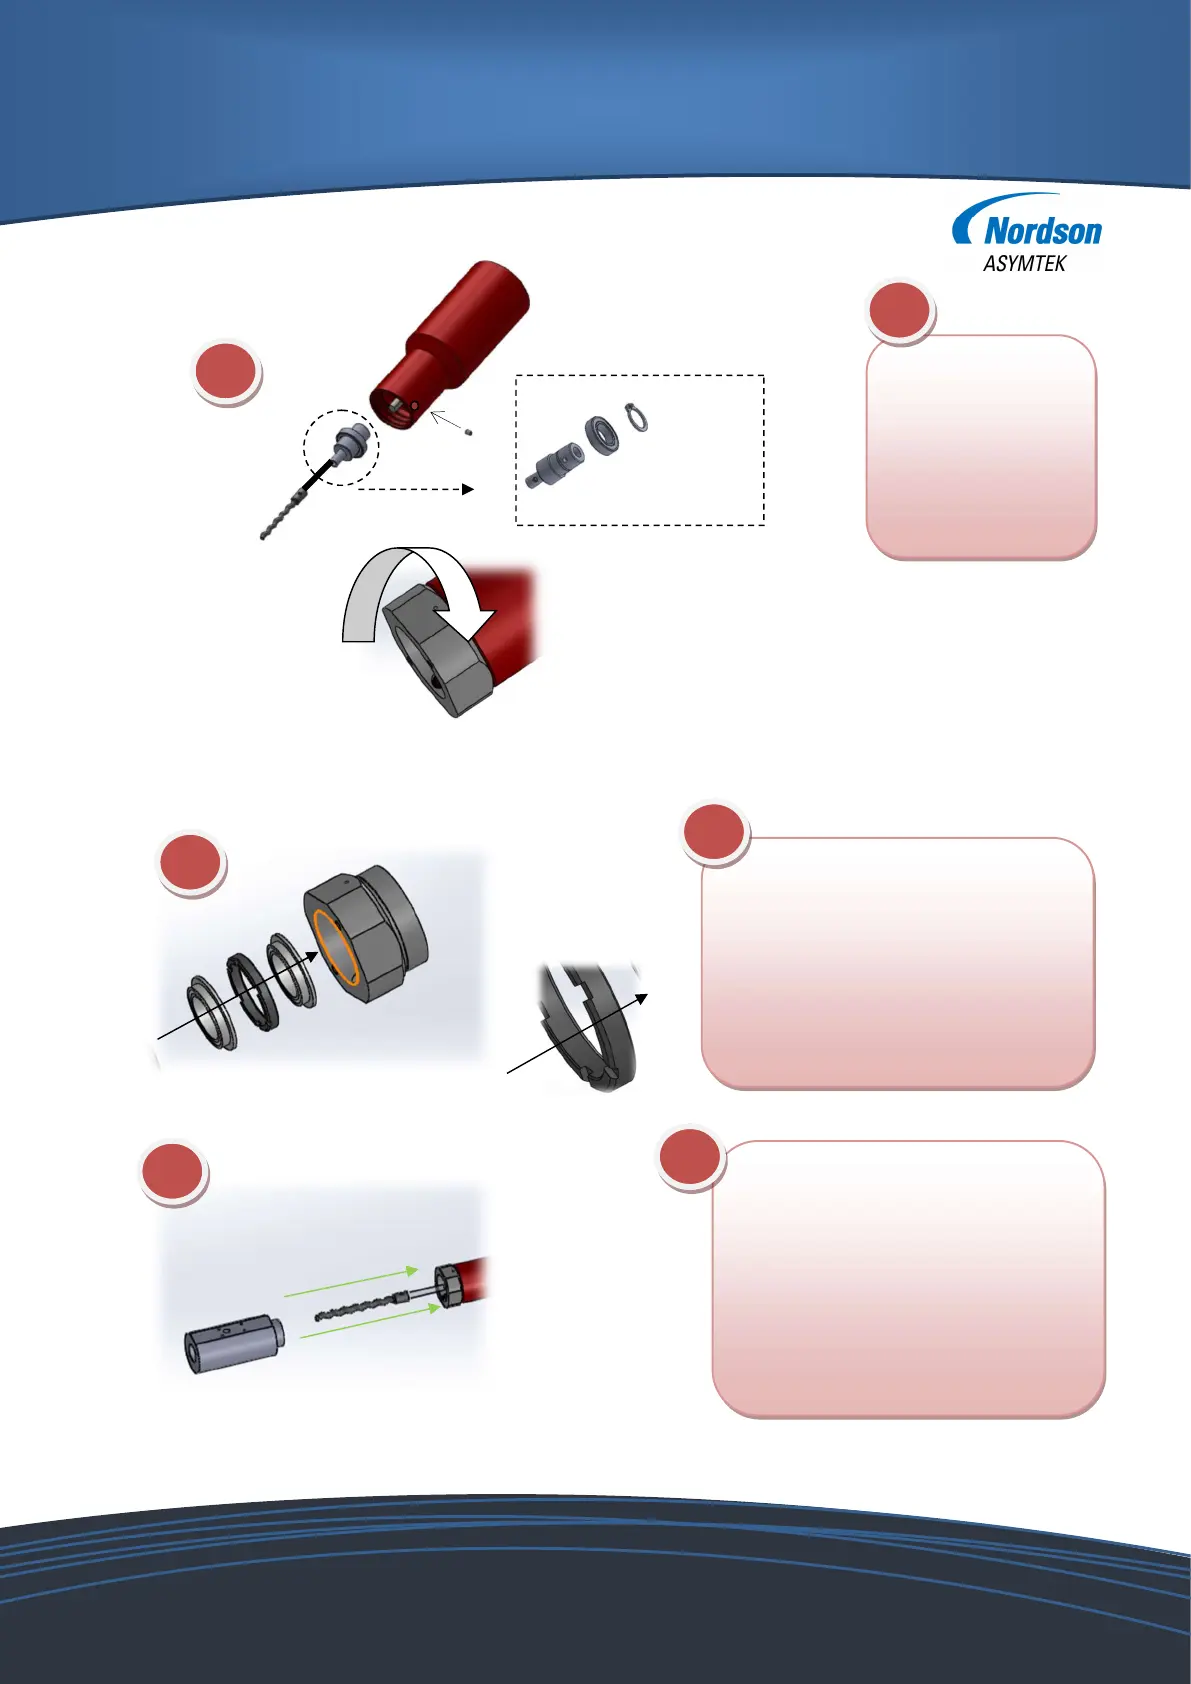
the motor housing
(2) you can fit the
set screw (6)
(8). In between, there is the seal seat
ring (33).
1. Position seal A
2. Put in seal seat ring
3. Position seal B
connect the seal housing to the
pump housing (9).
NOTICE: some parts may be made of
POM. Do not use high torque!
Now assemble seal housing to the motor housing

 Loading...


