EasyManuals Logo

Nordson ASYMTEK User Manual

Nordson ASYMTEK
20 pages
To Next Page IconTo Next Page
To Previous Page IconTo Previous Page
Page #11 background imageLoading...
Page #11 background image
Nordson Asymtek
Mini and micro dispensing solutions for fluids and pastes
page 11 off 20
10 Stator
E
F
G
Now use little oil to t
urn
stator (10)
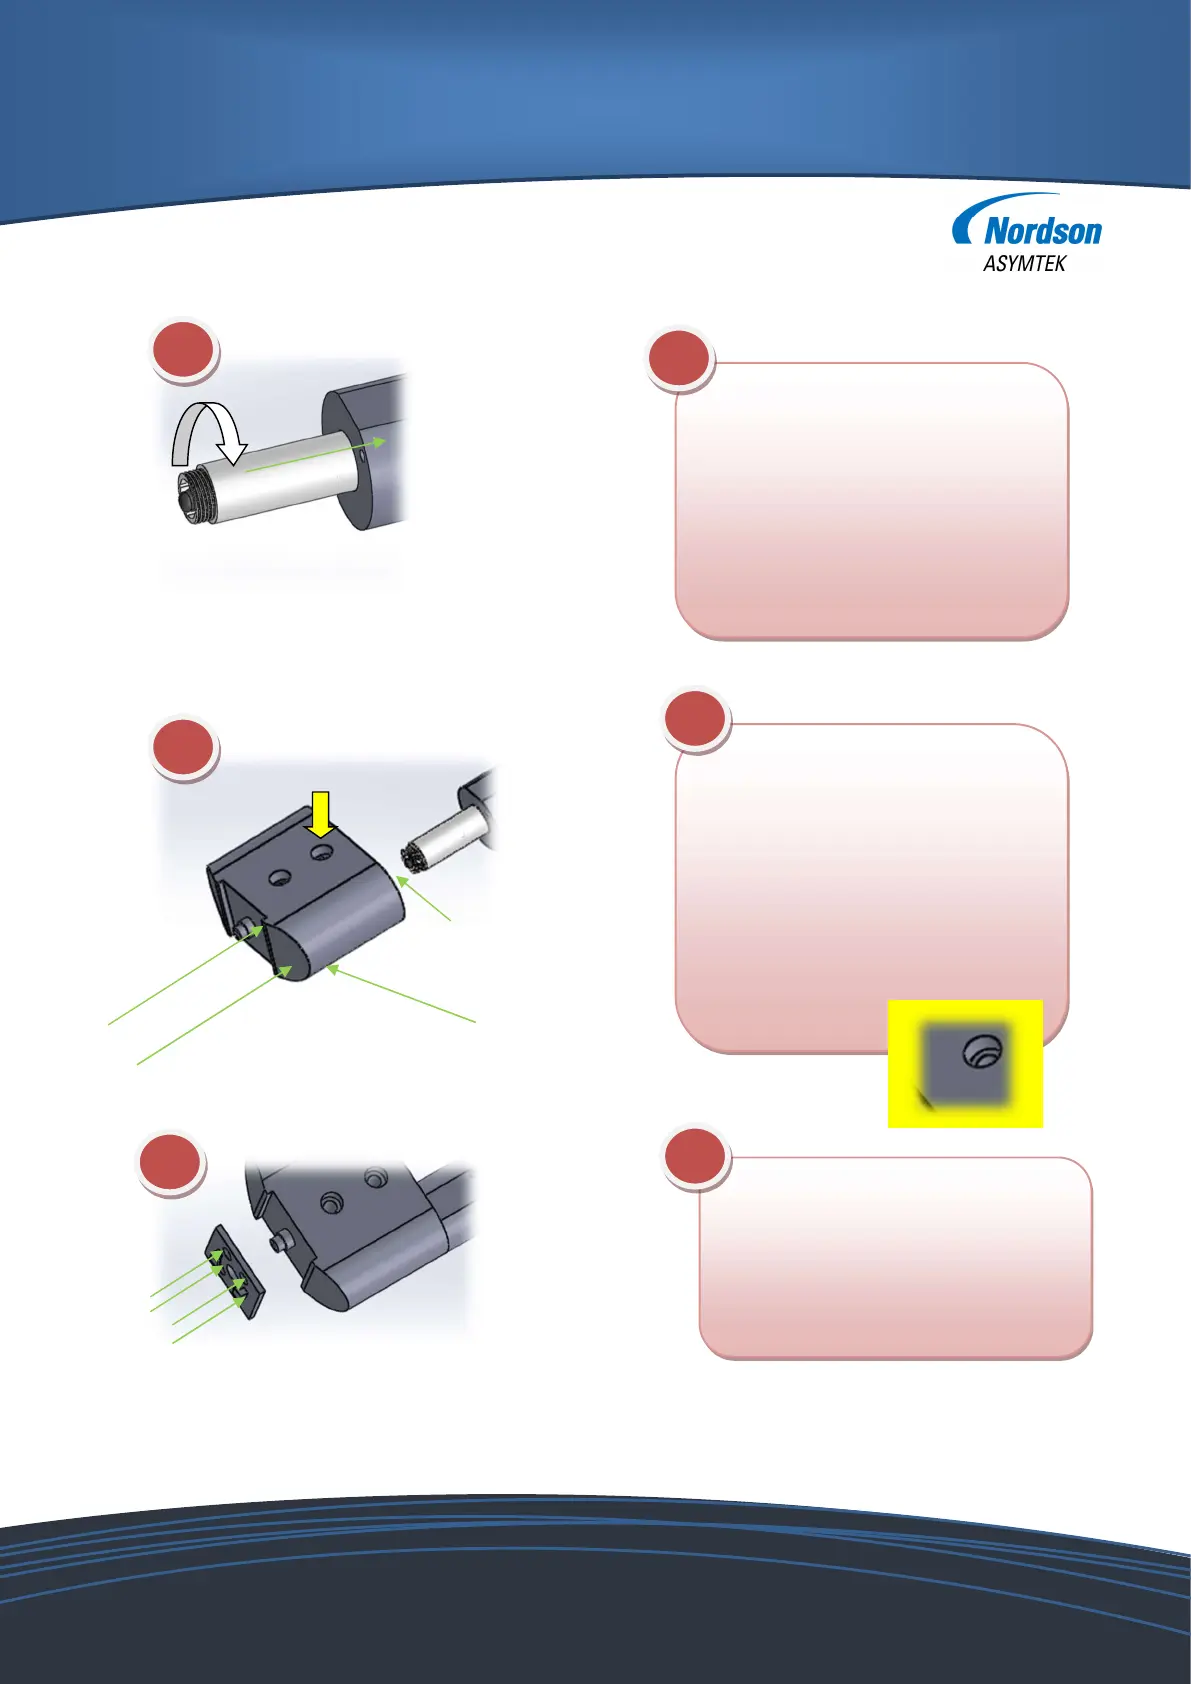
gently onto the rotor (3).
Please note, that the pump housing
(9) may be made of POM. Do not use
high force. Use Teflon on the threads
to seal better.
E
9 Pump housing
Use
4 x
M3 x
8
(30)
screws t
o connect
the mixer support plate (27) with the
mixing block (26). Do not use high
force!
G
35/36 M5 screw
10 Stator
3 Rotor
assembly
26 Mixing block
9 Pump housing
28 M3
3
7 seal (option)
Use 2 x 2 M3 x 16
(28)
screws t
o
connect the pumps (9) with the
mixing block (26). There may be a
seal (37) needed before you enter
the stator (10) into the block.
Do not use high force!
Check the correct position of the
mixing block (26). The 2 holes can be
used for mounting
F
30 M3x8
27 Mixer support plate
26 Mixing block
9 Pump housing

Questions and Answers:

Question and Answer IconNeed help?

Do you have a question about the Nordson ASYMTEK and is the answer not in the manual?

Nordson ASYMTEK Specifications

General IconGeneral
Fluid TypesAdhesives, underfills
Dispensing TechnologiesJet, needle
Work AreaVaries by model
Vision SystemHigh-resolution cameras for alignment and inspection
ApplicationsUnderfill, encapsulation, solder paste dispensing, adhesive dispensing
Material CompatibilityCompatible with a wide range of materials, including those with high viscosity or abrasive properties

Related product manuals