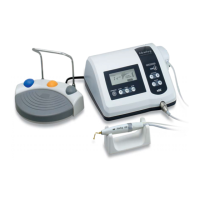
Turn on (I side) the Power Switch.
w182x h257 裏
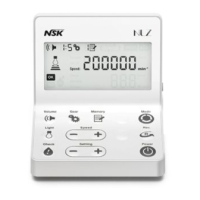
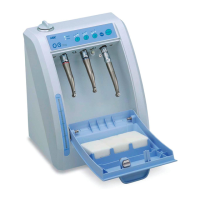
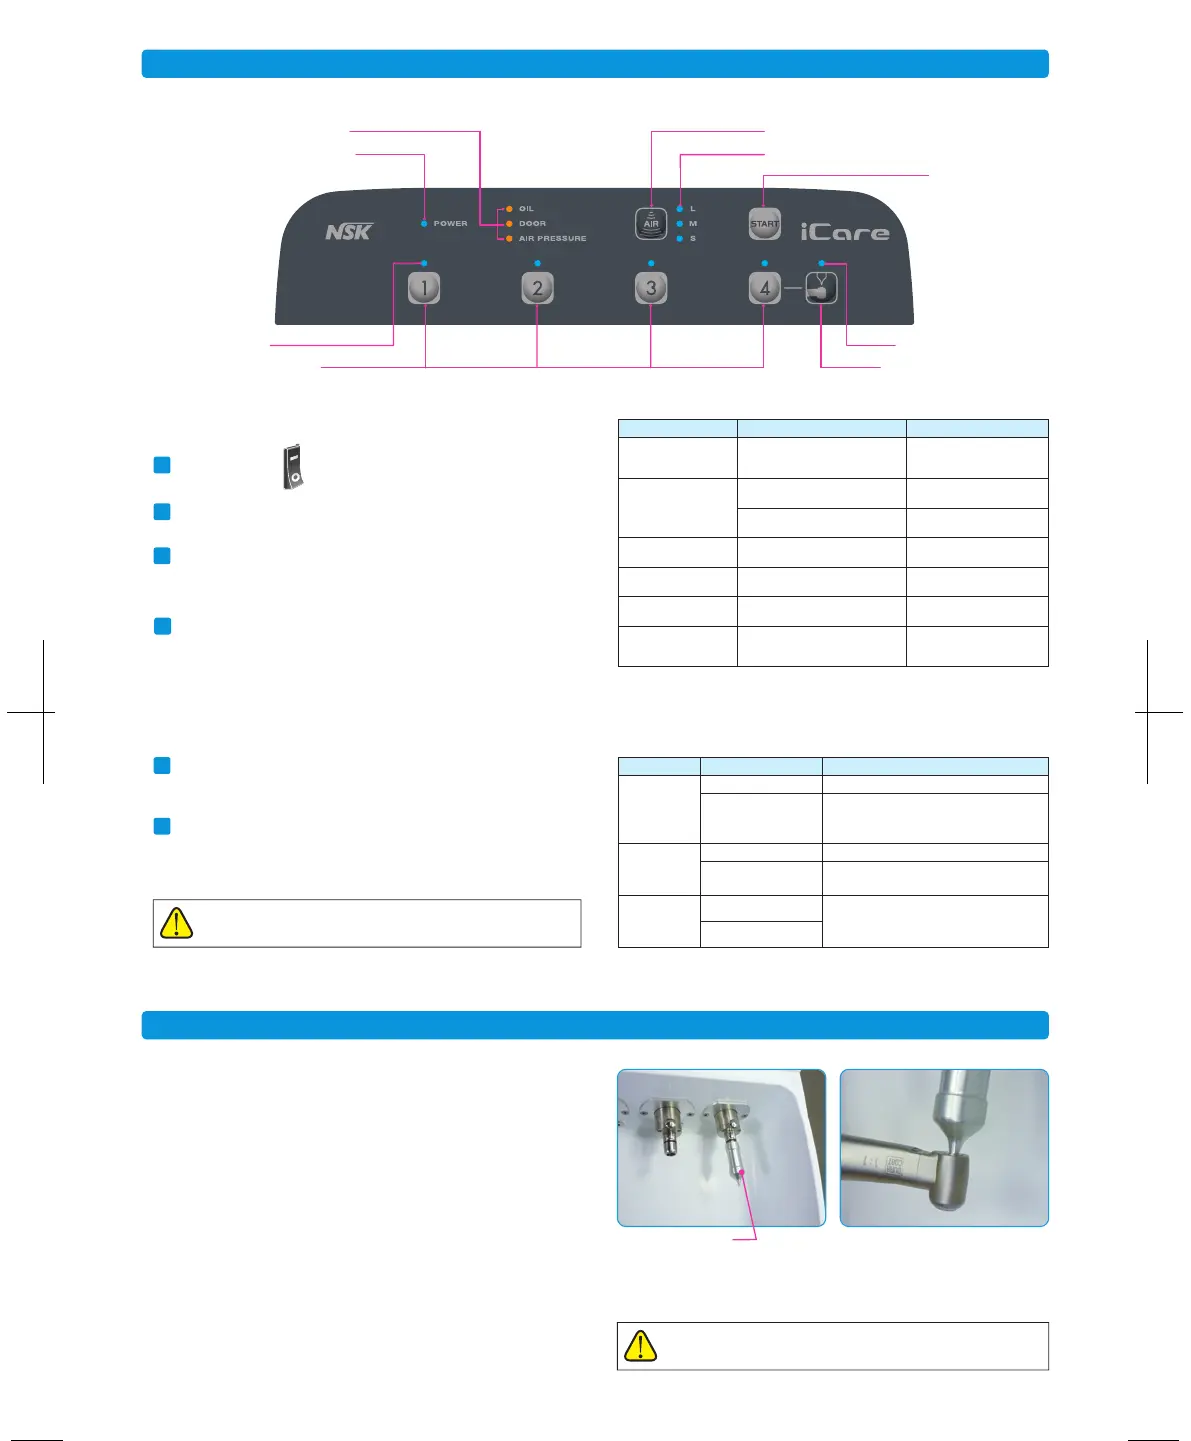
Joint LED
Lubrication and internal cleaning
5
Joint Select Button
Error LED
Power LED
Air Select Button
Air LED(S/M/L)
Check/Remedy
Close the door before or during
maintenance operation.
Open the door before Chuck
cleaning.
Confirm whether the supplied
air pressure is correct.
Contact your Authorized NSK
Dealer for repair.
Cause of error
The door is OPEN before or during
maintenance operation.
The door is CLOSED before Chuck
cleaning.
The supplied air pressure is out of the
allowable range of the product specification.
Failure of parts
Error LED
Error LED (Door)
illuminates
Contact your Authorized NSK
Dealer for repair.
Failure of partsError LED (Door) blinks
Contact your Authorized NSK
Dealer for repair.
Failure of parts
All of Error LED (Oil), Error
LED (Door) and Error LED
(Air Pressure) blink
〈Control Panel〉
〈Operation〉
1
2
Check whether Error LED illuminates or not (Chart 1).
3
Press the Joint Select Button to select the joint to which
handpiece is attached. The relevant LED light will
illuminate.
Start Button
Chuck Cleaning LED
Chuck Cleaning Button
When lubrication is completed, a beep sounds and the
Joint LED turns off.
6
Press the Air Select Button to select an air purge mode
among S, M and L (Chart 2).
When the Start Button is pressed lubrication starts. The
Joint LED blinks during lubrication.
4
Chart1
Mode
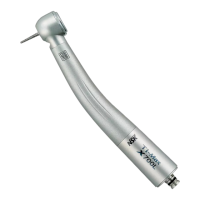
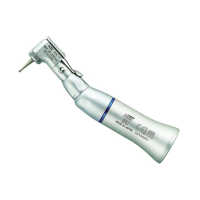
Handpiece
Handpieces from which oil cannot be drained
sufficiently in M mode (The oil drainage time is
longer than that in M mode).
Air Turbine (M4/B2 type only)
Contra Angle Handpieces,
Straight Handpieces
Contra Angle Handpieces, Straight Handpieces
(The oil drainage time is shorter than that in
M mode)
Air Turbine (Other than M4/B2 type)
Joint
Chart 2
Error LED (Oil) blinks
Chuck Cleaning
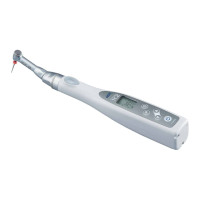
Fig.6
Fig.5
① Insert the chuck cleaning nozzle into the Joint "4" until it locks (Fig. 5).
② Press the Chuck Cleaning Button to illuminate the Chuck Cleaning LED.
③ Holding the handpiece securely by hand, insert the chuck cleaning nozzle into the
bur insertion hole of the handpiece (Fig. 6).
④ Press the Start Button and chuck cleaning will start. The Chuck Cleaning LED will
blink during cleaning.
⑤ When cleaning is completed, a beep sounds and the Chuck Cleaning LED will
turn off.
⑥
Lubricate the handpiece following Operation Manual in "8-1 Attaching Handpiece"
and "8-2 Lubrication and internal cleaning".
This product can clean the Chuck of Air Turbine and
Contra Angle handpieces.
Do not clean the chuck of NSK Straight Handpieces as this
may cause handpiece malfunction.
If debris is contained in the oil expelling from a handpiece
even after lubrication, lubricate the handpiece again.
Refill oil. (However, the device
can be used for a while after
the LED lights up.)
There is a small remaining amount
of oil (Remaining amount is 150ml
or less).
Error LED (Oil) illuminates
Error LED (Air Pressure)
illuminates
Chuck Cleaning Nozzle
S mode
(Short)
M mode
(Medium)
L mode
(Long)
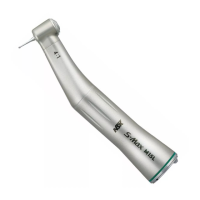
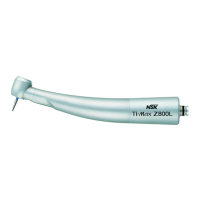
Air Turbine Joint
E-type Handpiece Joint
E-type Handpiece Joint
E-type Handpiece Joint
Air Turbine Joint
Air Turbine Joint

 Loading...