Revision 2.2
5-2
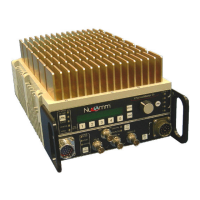
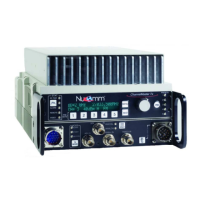
ChannelMaster TX1 Transmitter
7. Again, Press the “Quick-Knob” to
save the character.
8. Repeat Steps 2 thru 7 until either
the desired name is assigned or
all character positions are filled.
On certain screens (as with system
settings), an arrow is used to show the
current setting, as in the following where
"SDI" is currently set:
Note the highlighted arrow at the
bottom left of the screen. This
highlighting is the "cursor", and indicates
an item that is ready to be selected.
Note: After one minute of inactivity the
display reverts to the DEFAULT screen,
and any un-activated selections are
discarded.
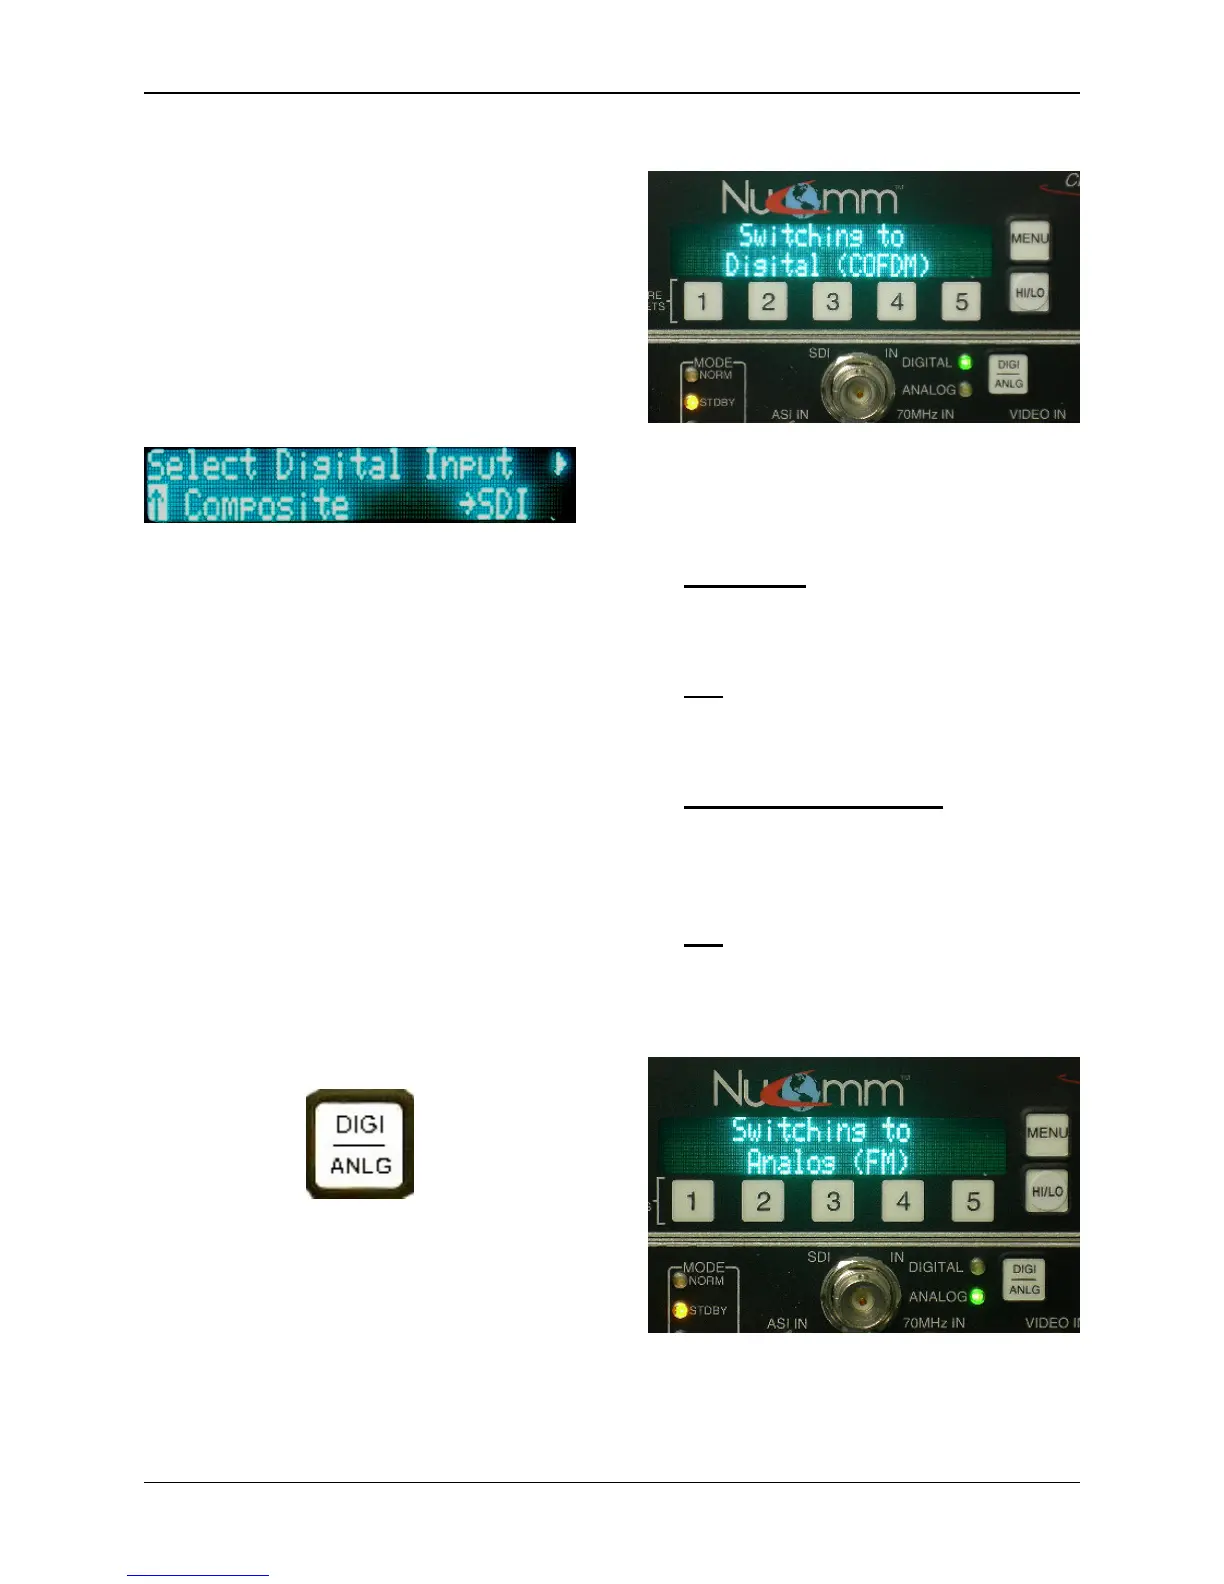
5.2 Button Operation
Set Modulation Mode (3)
The ChannelMaster TX1 modulation
mode is set to ANALOG or DIGITAL,
based on the Modulation Mode selected
on the front panel through the use of the
“DIGI_ANLG” Button.
Pressing the “DIGI_ANLG” Button,
immediately switches the
ChannelMaster TX1 from the one mode
to the other (from Digital to Analog, or
from Analog to Digital Mode). This is
made apparent from the Input LED’s
(located next to the button) and a text
message displayed on the LCD.
Switching to Digital Mode
When digital modulation is selected,
the available input selections will be:
Composite - The signal is converted
to digital via the MPEG Encoder and
routed to the digital modulator.
SDI - The signal routes through the
MPEG Encoder and then to the digital
modulator.
External 70 MHz Digital - This input
bypasses the encoder and modulator,
and routes to the heterodyne up-
converter.
ASI - Input bypasses the Encoder
and goes to the digital modulator.
(The ASI rate must be at or below the
maximum digital modulation rate.)
Switching to Analog Mode