11
Tilt forwards at a slight angle making sure the protruding nub ts into the recess on the oat valve (B).
Press down rmly on the arrow and the oat valve will click into place.
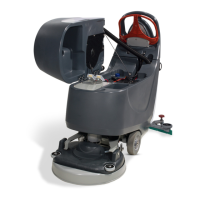
When nished using the machine it is good practise to empty and clean the tanks of the machine.
To do this rstly remove the tank assembly from the machine ( see set up ),
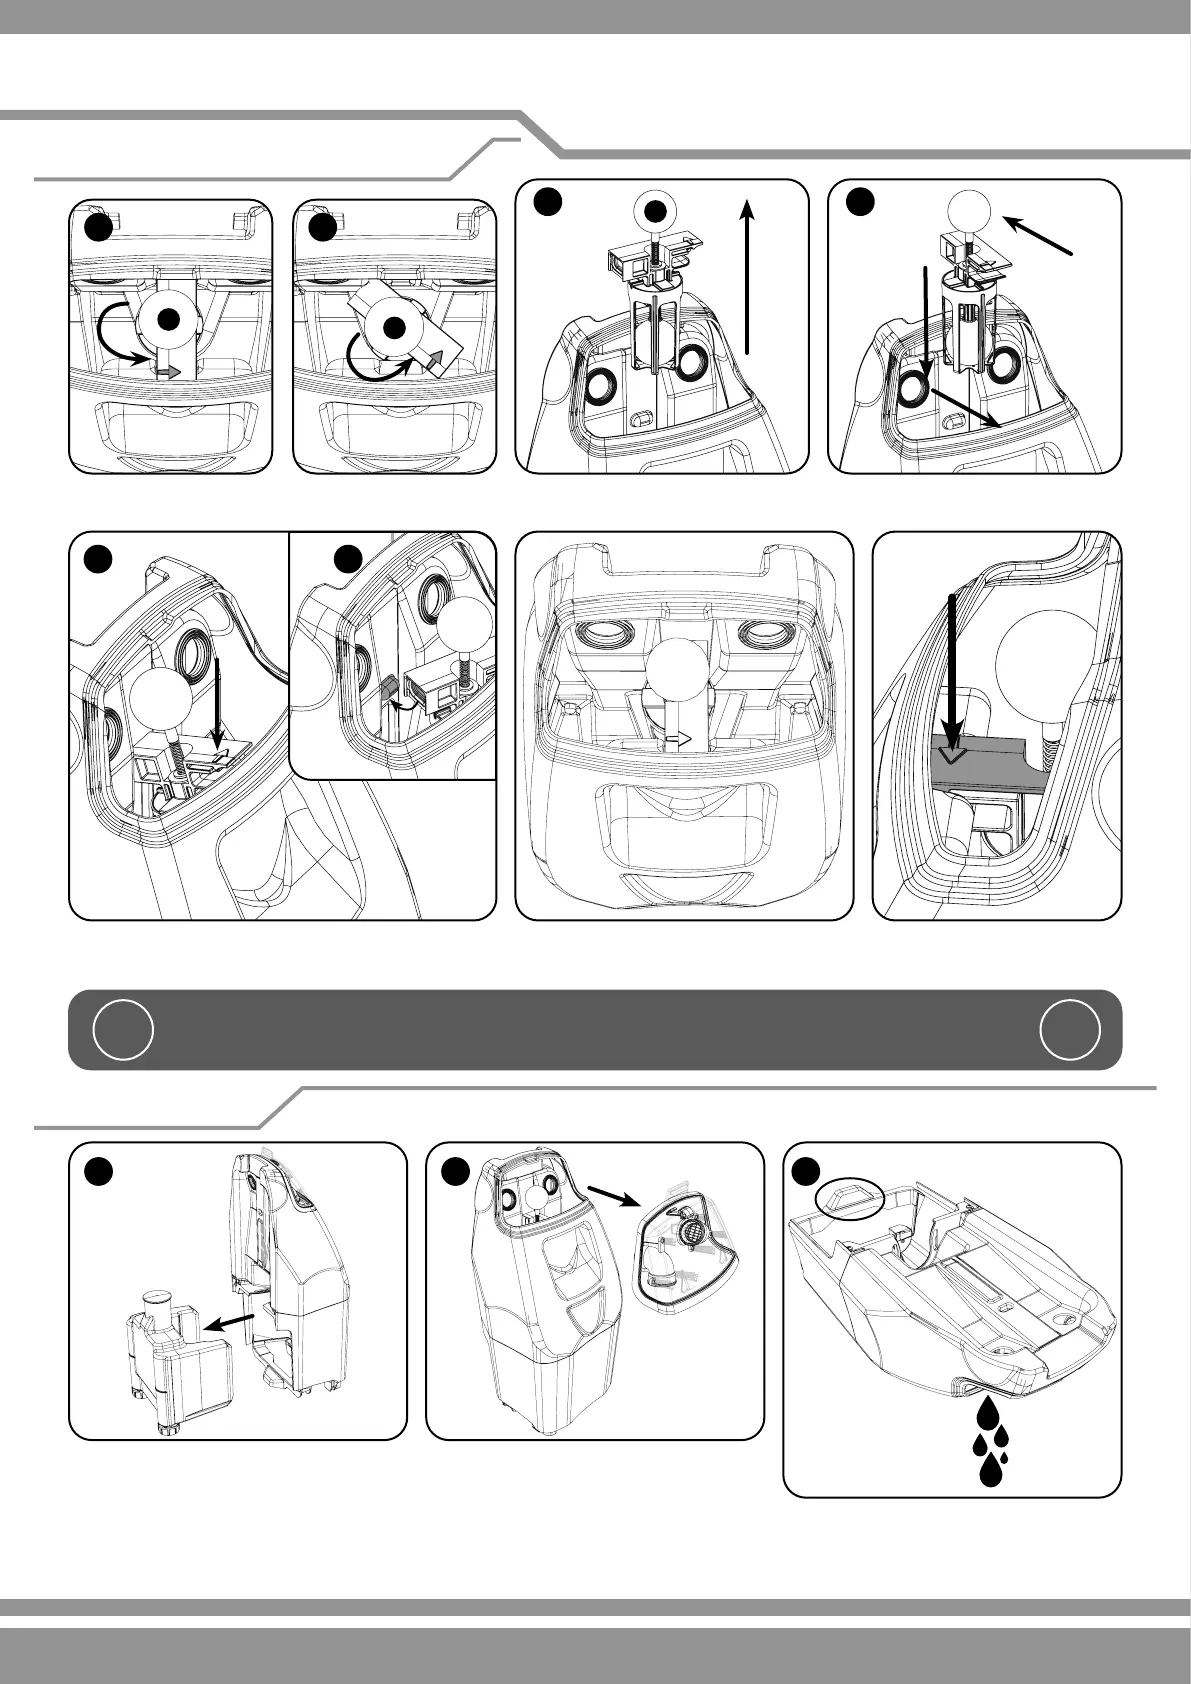
1. Remove the clean water tank from the main tank body and empty.
2. Remove the separator from the tank.
3. Pick up the tank, use the base shown as a handle, tip the contents into a suitable drain, rinse the tanks and repeat the emptying
process. Ret the clean water tank and separator and place back onto the machine.
Note: If the machine is to be left for long periods between use, ensure the clean water tank is emptied.
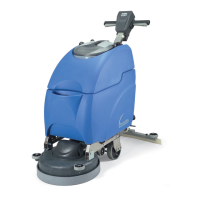
To remove the oat valve twist the red retainer clip in
the direction shown by the arrow on the retainer clip.
Lift the oat valve from the tank,
wash and inspect for damage.
Place the oat valve back down into
the tank.
!!
WARNING! DO NOT PULL ON THE FLOAT BALL (A)
PULLING ON THE FLOAT BALL WILL CAUSE IT TO BREAK AND THE VACUUM SHUT OFF
WILL FAIL.
Regular Maintenance
Float valve removal and cleaning
Emptying tanks