6
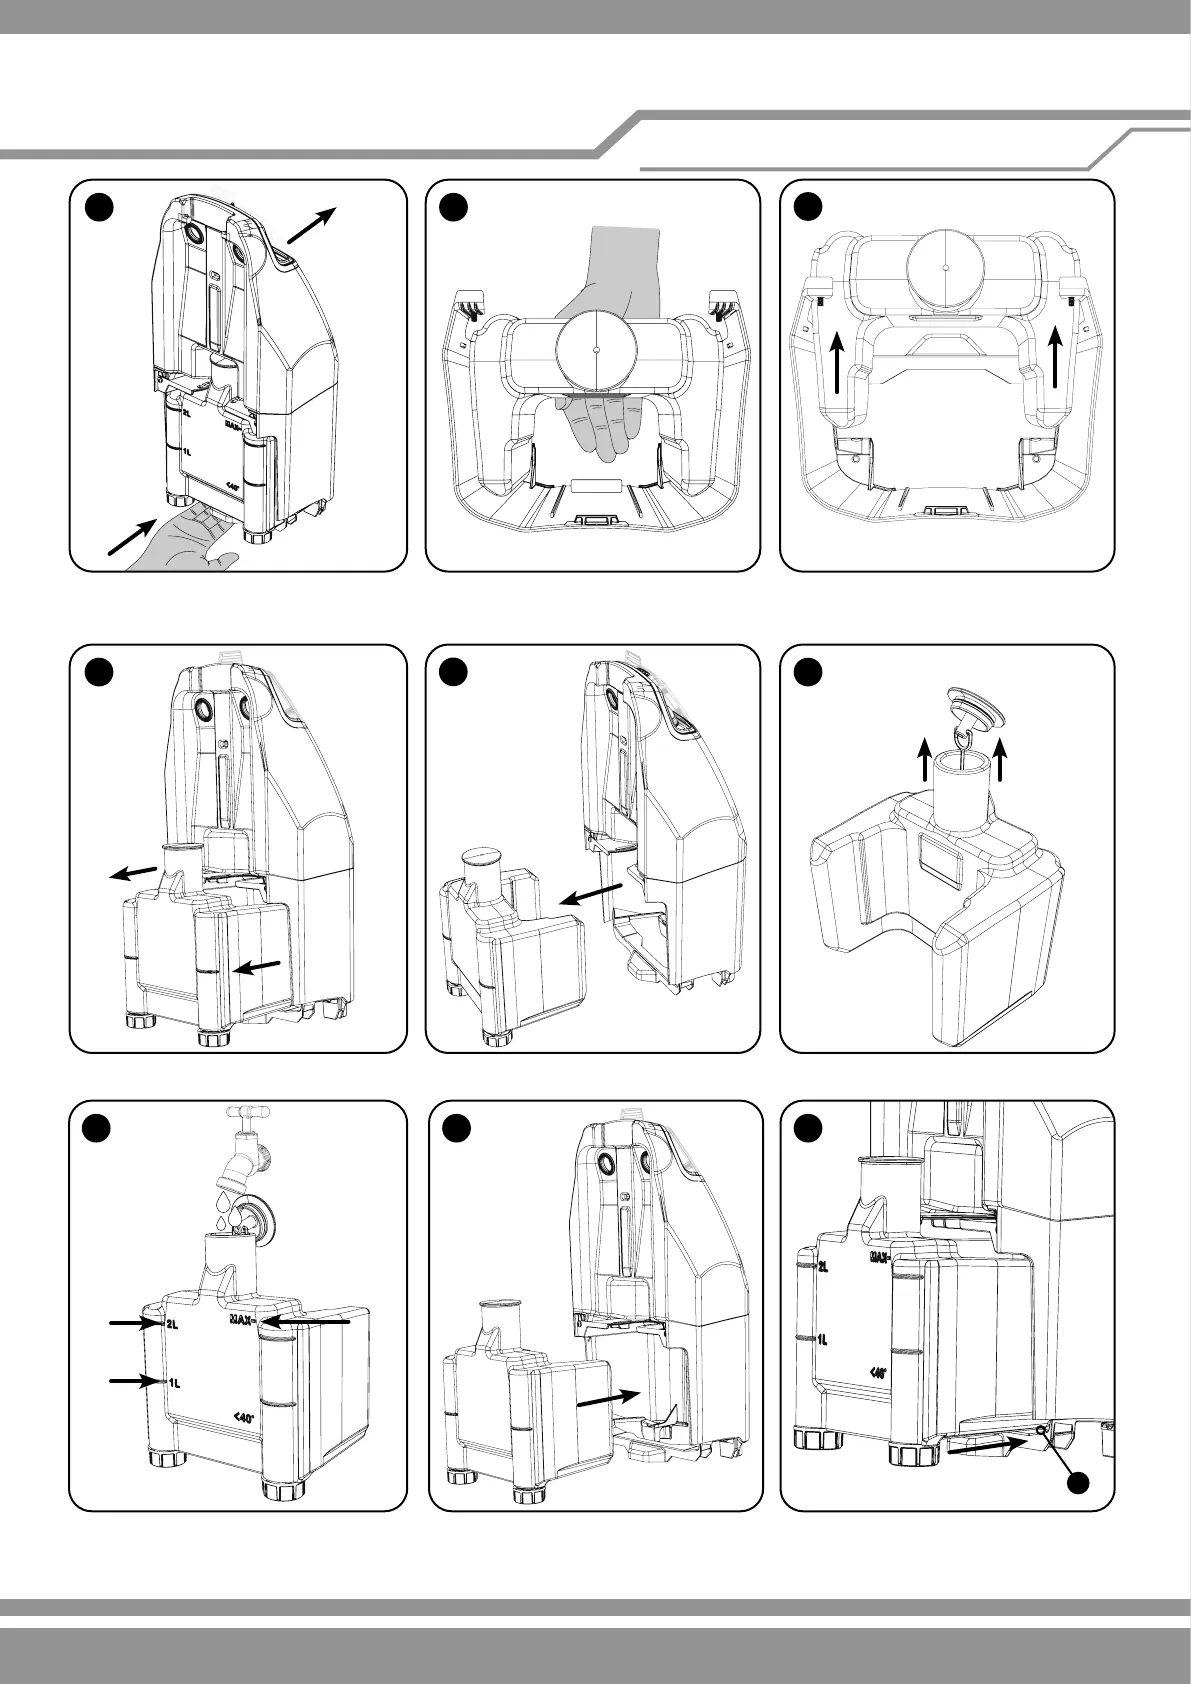
Pour in the chemical (follow chemical manufactures dilution rates). Only ll the tank to the MAX ll line with clean water using a tap,
hose or suitable water container. DO NOT OVER FILL. Slide the tank back into the main tank body, make sure the front of the clean
water tank is lifted to enter the recess (A).
Push the tank all the way in until you hear it click, make sure it is securely tted before tting the tank assembly back on the machine.
Remove the clean water tank from the main body of the tank holder (4&5). To ll remove the rubber stop from the lling neck.
Note: There is a T piece keeping the rubber stop from being completely removed.
Slide your hand under the tank and curl
your ngers up in the space in front of the
tank, use your ngers to pop the tank out.
Remove the clean water tank from the
main body of the tank holder.
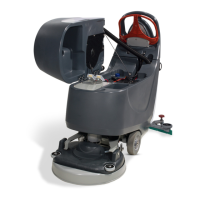
Over head cut away viewOver head cut away view
After lifting onto a suitable work surface,
tilt the tank assembly slightly forward and
slide your hand under the tank.
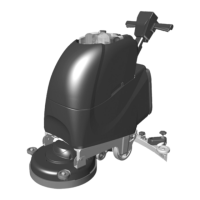
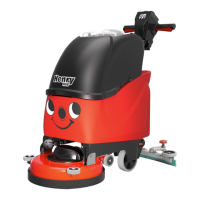
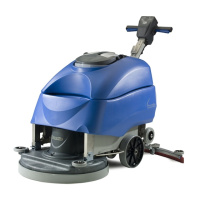
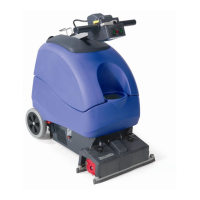
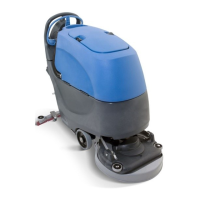
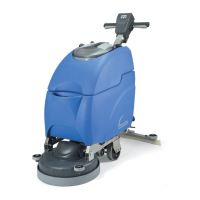
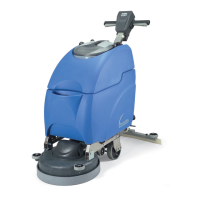
Quick Set-up Guide
Clean water tank removal and lling