Operating Instruction and Documentation
SPL 4000
- 19 -
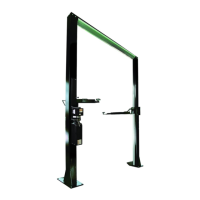
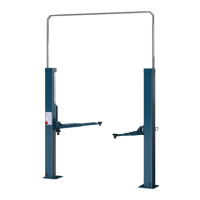
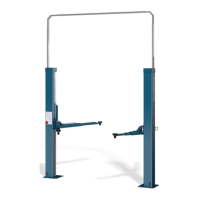
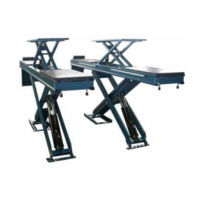
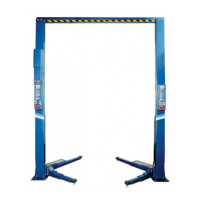
5.1 Lifting the vehicle
• Drive the vehicle onto the middle of the lift.
• Secure the vehicle from rolling, put into gear, and apply the hand brake.
• Before positioning the arms under the vehicle, press the button; “unlocking the arms” and
the pneumatic safety device will open.
Slew the carrying arms under the vehicle and position the pads at the points specified by
the vehicle-manufacturer. The arms will lock, if the button “lifting” is pressed.
• Determine the centre of gravity. This point must be located in the middle of the lift. If
necessary, adjust the lifting-pads until the vehicle is in the raising condition, that is
horizontally level.
• Check all the danger points of the lift and ensure that there are no objects or people in
the working area around the lift or on the lift.
• Switch on the main switch.
• Raise the vehicle. Press the button “lifting” until the wheels are free. Once the wheels are
free, check the safety position of the vehicle on the pads again.
Closely observe how the vehicle is positioned on the lifting pads. If the vehicle is not
correctly positioned on the pads the vehicle is not secure and the risk exists that the
vehicle may fall.
• Raise the vehicle to the required working height. Press the button “lifting”.
• Observe the complete process.
5.2 Lowering the vehicle
• Check all danger points of the lift and be sure that there are no objects or people in the
working area (danger area) around the lift or on the lift.
• Lower the lift to the required working height or to its lowest (or fully collapsed) position.
Press the button “lowering“. The lift will rise approx. 1 mm (safety function) before it
starts to lower.
• Before the lift reaches its lowest position, the lift stops automatically (CE-Stop). After the
lift has stopped, check the danger areas around the lift. Press the button “lowering” again.
A warning signal will sound as the lift is further lowered. This is to warn against the risk of
crushing as the lift is lowered to its lowest (fully collapsed) position.
• Observe the complete lowering process.
• Once the arms are in the lowest position, press the button “unlocking the arms” and
remove the arms from under the vehicle.
• Drive the vehicle off the lift.
5.3 Lowering the lift in the ratchets
• Check the dangerous places of the lift and be sure that there are no objects or people in
the immediate area of the lift or on the lift.
• Pull only the lever slowly down.
 Loading...