Chapter 7
Board setup, wiring, and assembly
When you have flashed the Host project to your i.MX RT106x board variant and made a successful connection to your Azure IoT
Central application, you are ready to set up, wire, and assembly all the boards of the platform.
7.1 i.MX RT106x setup
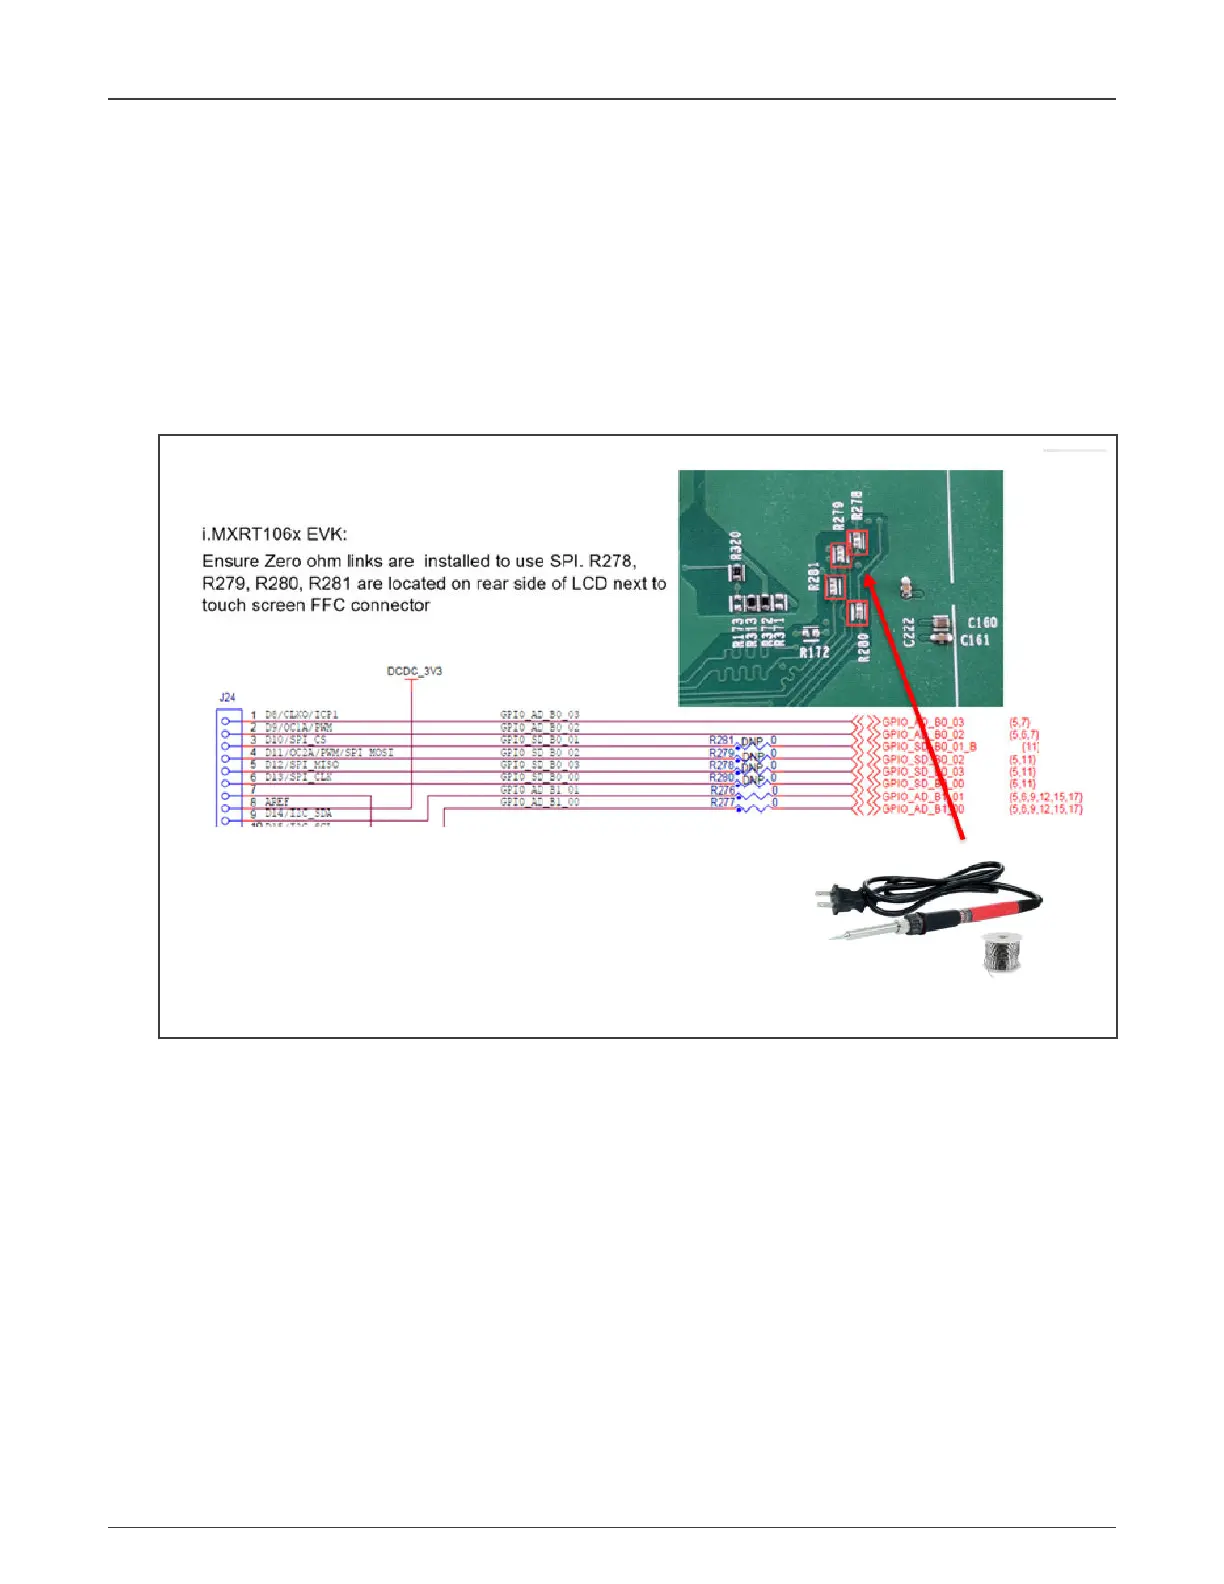
1. Ensure that the R278, R279, R280, and R21 0-Ω links (located at the bottom of the board) are installed, as shown in
Figure 42.
Figure 42. Close SPI links
By default, the board comes with the links disabled. Closing the links (using a soldering iron) connects the i.MX RT106x
SPI interface to the Arduino pin header. If this is not done, communication with CLEV6630ARD is not possible.
7.2 Testing and mounting the LCD panel
When the SPI links are closed, mount and test the LCD as shown in the steps below.
NXP Semiconductors
NXP EasyEVSE EV Charging Station Development Platform User Guide, Rev. 0, 18 March 2022
User Guide 33 / 64
 Loading...