Maintenance > 59
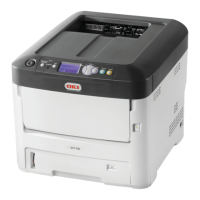
10. Holding the complete assembly by its top centre, lower it into place in the printer,
locating the pegs at each end into their slots in the sides of the printer cavity.
11. Finally, close the output tray and press down firmly at both sides so that the cover
latches closed.
R
EPLACING
THE
TRANSFER
BELT
UNIT
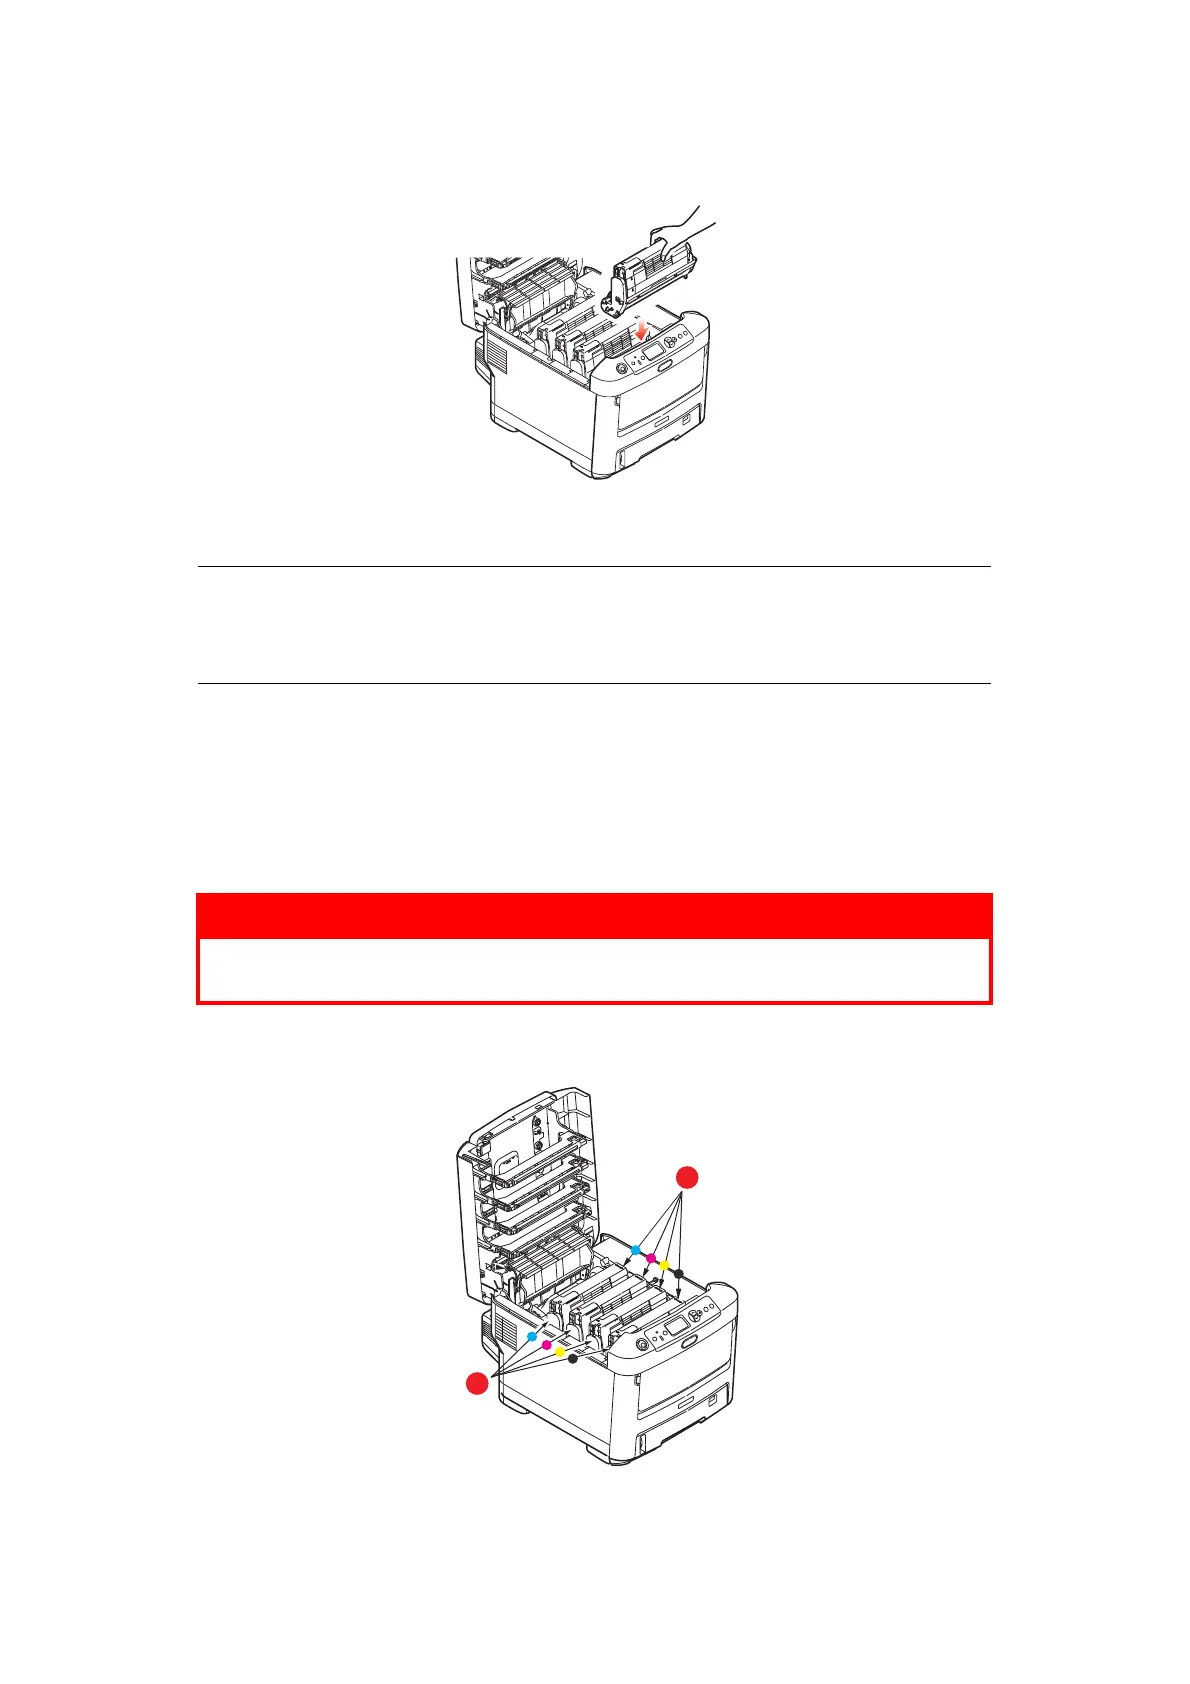
The belt unit is located under the four image drums.
Switch off the printer and allow the fuser to cool for about 10 minutes before opening the
cover.
1. Press the cover release and open the printer’s output tray fully.
2. Note the positions of the four toner cartridges (a) and image drums (b). It is
essential that they go back in the same order.
NOTE
If you need to return or transport your printer for any reason, please make
sure you remove the image drum unit beforehand and place in the bag
provided. This is to avoid toner spillage.
WARNING!
If the printer has been powered on, the fuser will be hot. This area
is clearly labelled. Do not touch.
 Loading...