MAESTRO PRO INVERTER
B
US-ENGLISH
US-ENG- 11
• A dedicated circuit is recommended, yet not mandatory unless required by
local, state or national code.
• Use a single outlet circuit only.
To replace the power cord, proceed as follows:
a. Raisethereturnairgrille(3)andremovethetwoscrews(3a)(g.28).
b. Extracttheright(releaseusingascrewdriver)andleft(1a)doorsofthefrontcover,thenrotatetheap
(1) andremovethethreescrews(1b)andthetwoscrews(1c)(g.29).
c. Removethefrontcover(g.30).
d. Unscrewthetwoscrews(X2)toremovethefrontcoveroftheswitchgear(X1)(g.31).
e. Unscrewthetwoscrews(X4)toremovethetopcoveroftheswitchgear(X3)(g.32).
f. Extracttheswitchtowardstheexterioroftheswitchgear(g.34-A).
g. Unscrewcableclamp(J1)(g.33).
h. Unscrewthecable’slockingscrewsontheterminalboard(J2)(g.33).
i. Remove the old cable, then install the new one by reversing the steps shown above.
l. Installthentightenthethreewiresinthecableintheterminalboard(J2)(g.34).
m. Lockthecablewiththeclamp(J1)(g.34).
n. Close the switchgear.
o. Reassemble the front cover.
The above operation must be performed by a qualied and properly licensed technician.
2.5 - LOW/HIGH WALL INSTALLATION CONFIGURATION
The unit can be installed in both a low wall or high wall.
Dependingoninstallation(lowallorhighwall)itmayberequiredtochangetheelectroniccongurationso
astooptimizethetanglesofthesupplyairap.
2.5.1 - Electronic conguration for low or high wall instal-
lations
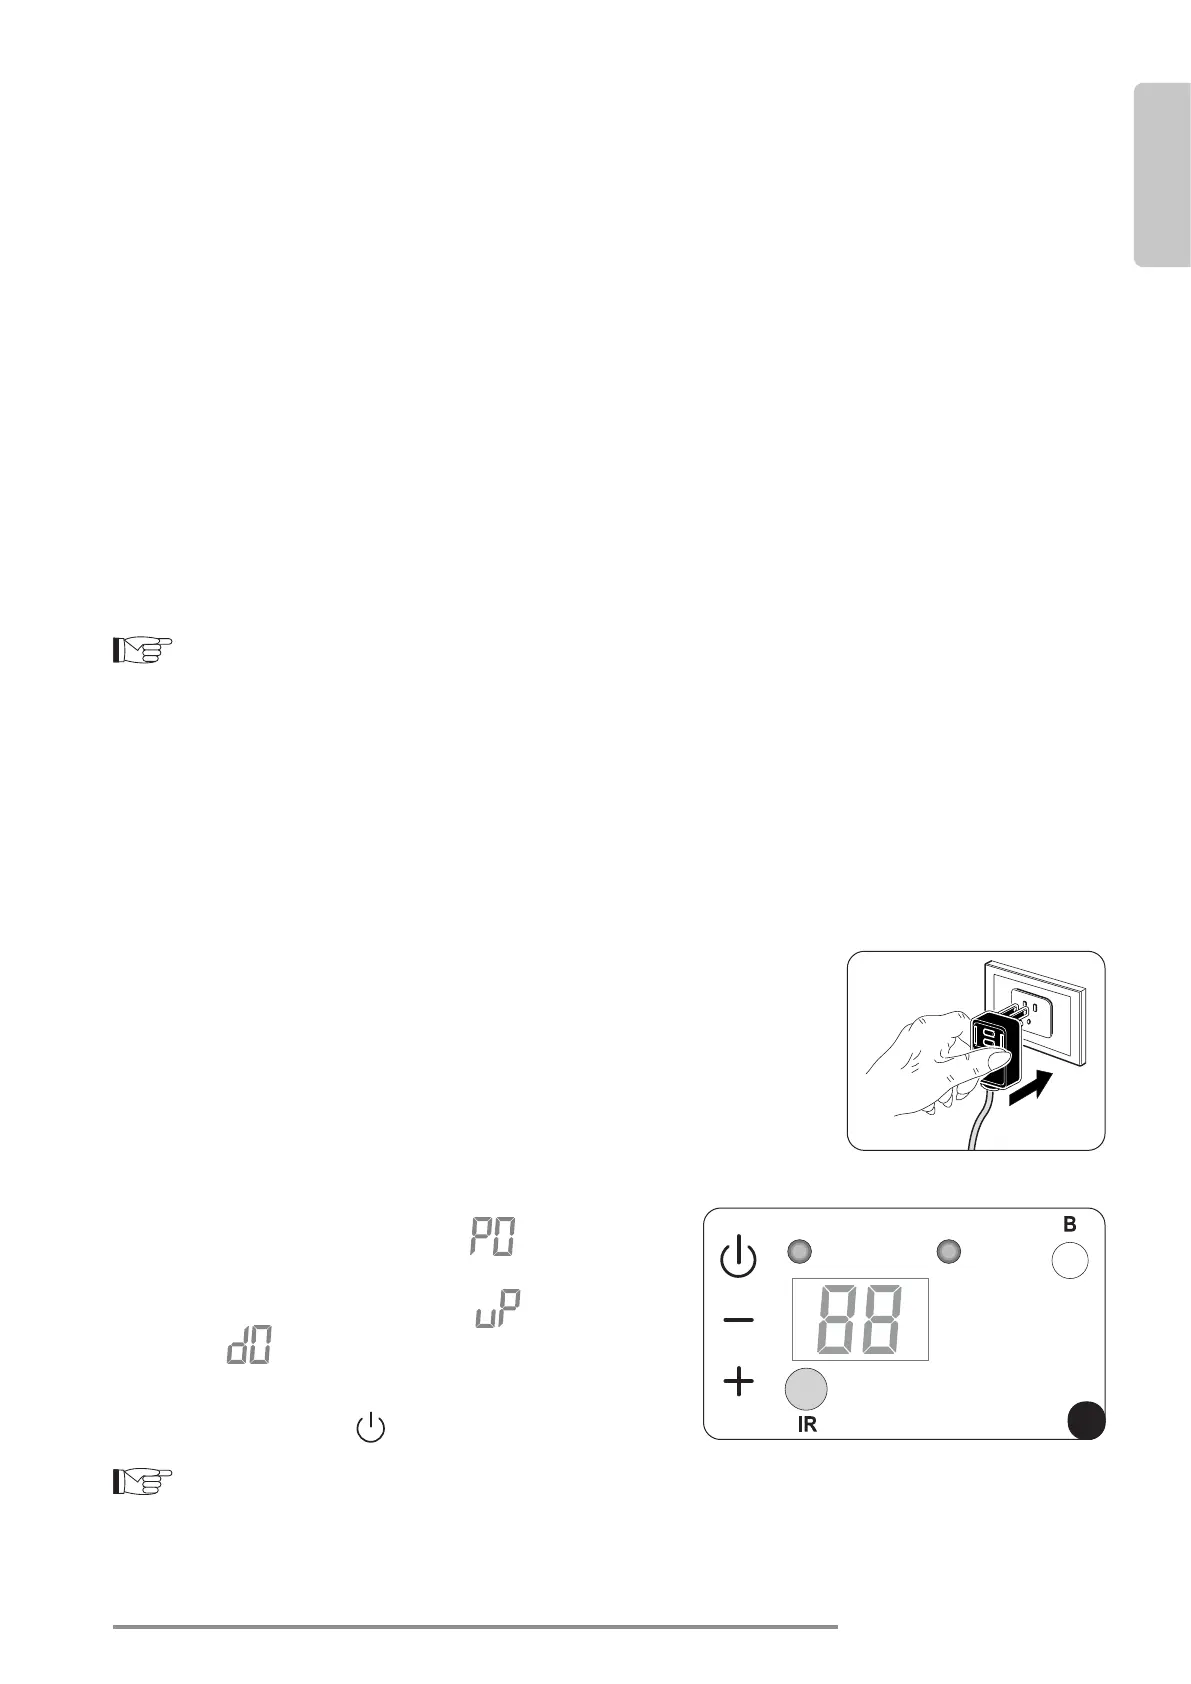
Workasfollows(seeg.B):
a. Insert the plug in the power socket to power the air conditioner, then
make sure it is switched to stand-by mode.
b. Press the button MODE for more than 10 seconds on
the control panel, until an acoustic signal is emitted.
c. The display shows parameter .
d. Release the button MODE and press it again.
e. Thedisplayshowsconguration
(ceiling installation)
or
(oorinstallation).
f. Press buttons + or -toselectthedesiredconguration.
g. Press MODEtoconrm.
h. Press the button
toexitfromtheconguration.
HIGH WALL CONFIGURATION DETERMINES AN AUTOMATIC CORRECTION OF THE ROOM
TEMPERATURE EQUAL TO 3°F (-16°C) IN HEATING MODE.







 To Next Page