16 En
■ WHITE BALANCE
This camera uses automatic white balance to shoot the subject in a natural-
looking tone. However, it may sometimes be difficult to get satisfactory results
automatically due to lighting or weather conditions. In such cases, change
the white balance settings.
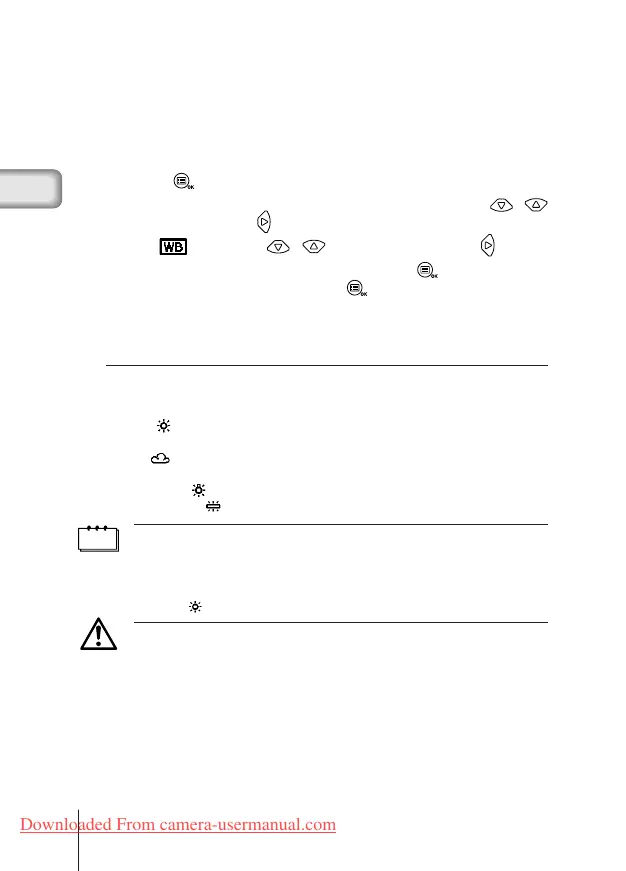
1 Press the button with the lens barrier open.
2 Select [PICTURE] from the Camera menu screen using the /
buttons and press the button.
3 Select [ ] using the / buttons and press the button.
4 Select the white balance setting and press the button.
Tne white balance is now set. Press the
button again to exit the menu.
5 Take the picture.
You can continue taking photos with the selected white balance setting.
Close the lens barrier to cancel the white balance setting.
White balance settings
Auto (no display) : Automatically adjusts the white balance to ensure natural
colors (default setting).
Daylight ( ) : Ensures natural colors outside in full daylight (sunny
weather).
Cloudy ( ) : Ensures natural colors outside in overcast daylight (cloudy
weather).
Tungsten Light ( ) : Ensures natural colors in tungsten light.
Fluorescent Light ( ) : Ensures natural colors in fluorescent light.
Note
• The white balance setting will return to [AUTO] (default setting) when the lens
barrier is closed.
• Natural colors are hard to obtain under a mixture of artificial and natural lighting
or under fluorescent lights, etc.
• Select [ ] to obtain colors close to those under tungsten light.
Caution
• The white balance may not function under special lighting.
• Check that the setting is the optimum setting by displaying the image on the
monitor and checking the colors.
• To determine if the selected setting is the best choice, always check the
recorded image by playing it back on the camera’s monitor.
1/Basic03C100-E.65J 5/22/01, 6:12 PMPage 16 AdobePageMaker6.5J/PPC
Downloaded From camera-usermanual.com
 Loading...