29
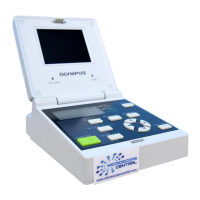
DP12
6-2-2 Function Setup and Operations in Play Mode
· Press the MODE button to select PLAY.
· Press the MENU button to display a menu on the LCD monitor.
· After setting, be sure to press the SET/OK button to establish the setting.
1 Setting the Auto Playback Display
Factory setup: ——
}This item displays pictures by advancing them frame by frame,
just like a slide show.
Frame by frame
advance every 5 sec.
· Even when the camera is reading pictures from a SmartMedia, pressing MOVE button displays the next
picture and pressing displays the previous picture.
· To stop automatic playback in the middle, press the MENU button.
· Automatic playback of pictures in index by index is also available.
2 Erasing All Pictures/Formatting SmartMedia
Factory setup: ——
All-picture erasure
icon
}This item erases all pictures recorded in a SmartMedia (SM).
· After selecting the all-picture erasure icon, press the SET/OK button. When the confirmation screen appears, select “YES”
if you want to erase all pictures. Select “NO” to cancel the operation.
· Only the non-protected pictures can be erased.
· If it is required to erase protected pictures also, unprotect them before proceeding or format the SmartMedia
(see bellow).
· It is only the DCF format pictures that can be erased by all-picture erasure. To erase pictures in other formats,
erase them one by one.
}This item is also used to format a SmartMedia.
· A SmartMedia which has been formatted by a PC or a non-Olympus digital camera should be formatted on the DP12
before use.
· When a SmartMedia is formatted, all data which has been recorded in it will be lost.
· During formatting, the control box accepts no other operation and the CARD access indicator blinks.
· A SmartMedia which has a write protect seal attached on it cannot be formatted.
· When a SmartMedia is formatted, even the protected ( ) pictures will be lost.
· After selecting the formatting icon, press the SET/OK button. When the confirmation screen appears, select “YES” if you
want to format the SmartMedia. Select “NO” to cancel the operation.
SM formatting
icon