C
craigwebbSep 8, 2025
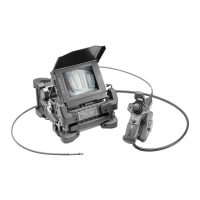
What to do if Olympus Analytical Instruments shows 'IMAGER ERROR'?
- AAndrea PriceSep 8, 2025
If you encounter an 'IMAGER ERROR' on your Olympus Analytical Instruments, stop the inspection and turn the instrument off, then on again.