UES-40
Disassembly and Reassembly Procedure 3-8 ISSUE4
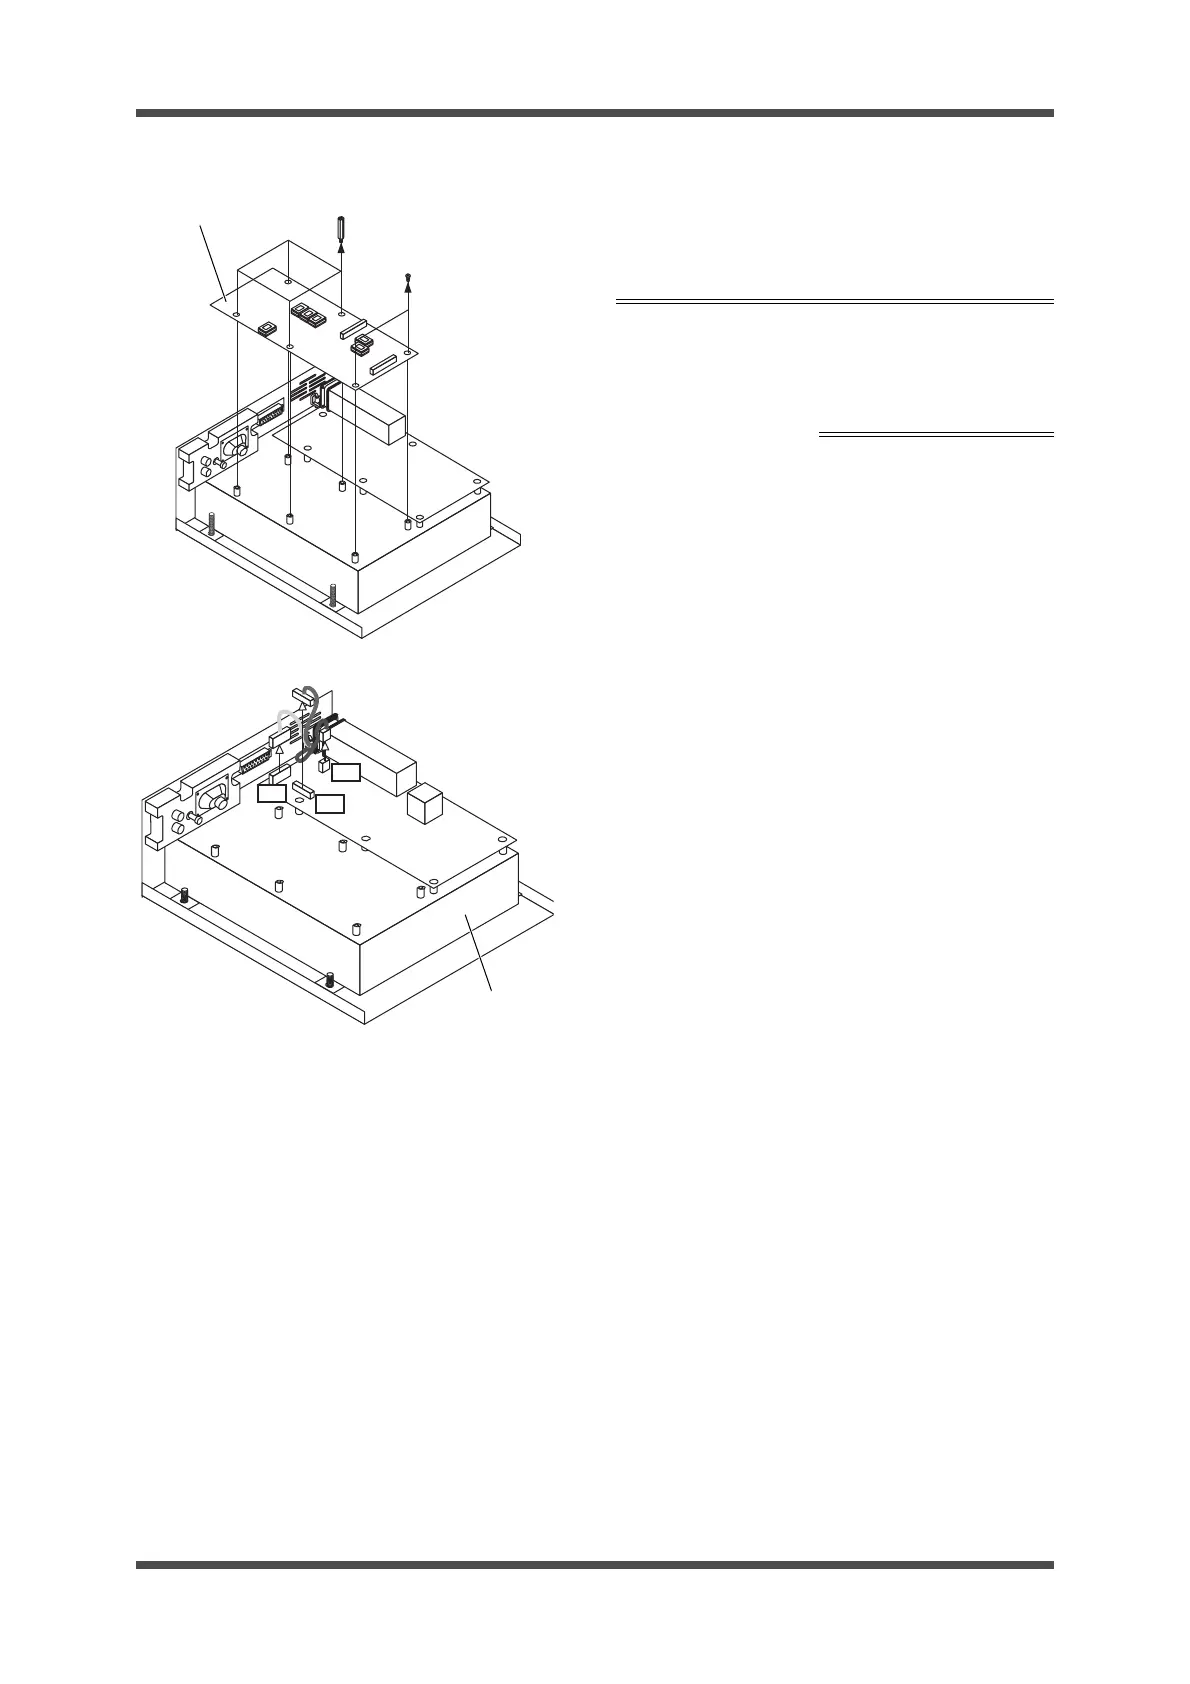
(15) Remove the 4 SPACERS between
UPHF40CR00U (control board) and
UPHF40SS00U (monitor board).
Box screwdriver (5.5 mm between opposite sides)
(16) Remove the 2 SCREWS (CCUK3x6SZ) hold-
ing UPHF40SS00U (monitor board), and
remove UPHF40SS00U (monitor board).
Phillips screwdriver (No. 2)
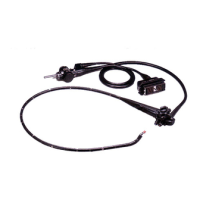
(17) Detach the CONVERTER HARNESS from
UPHF40OT00U (oscillation board).
(Pin 3: J1; pin 6: J2; pin 9: J5)
Note: During reassembly, ensure that the
HARNESS will not obstruct with the
fan vent. In addition, make sure the
CABLE is affixed to the clamp
attached to the CONVERTER.
UPHF40SS00U
(monitor board)
4 SPACERS
CCUK3x6SZ
2 SCREWS