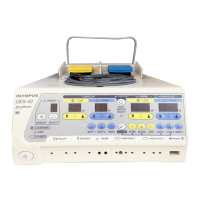
UES-40
ISSUE4 3-9 Disassembly and Reassembly Procedure
(18) Remove the 6 SCREWS (CCUK3x6SZ) hold-
ing UPHF40OT00U (oscillation board), and
detach UPHF40OT00U (oscillation board).
Phillips screwdriver (No. 2)
(19) Remove the 4 NUTS (C6N3SZ) holding the
CONVERTER.
Box screwdriver (5.5 mm between opposite sides)
(20) Remove the 5 SCREWS (HCBK3x6SA) hold-
ing the REAR PANEL UNIT.
Phillips screwdriver (No. 2)
Note: During reassembly, ensure that the
CONVERTER is in close contact with
the REAR PANEL, with no gaps.
(21) Remove the CONVERTER and REAR
PANEL UNIT.
Note: During reassembly, attach the REAR
PANEL UNIT and CONVERTER
before attaching the CHASSIS and
CONVERTER.
CONVERTER
CCUK3x6SZ
6 SCREWS
UPHF40OT00U
(oscillation board)
CONVERTER
C6N3SZ
4 NUTS
REAR PANEL UNIT
HCBK3x6SA
5 SCREWS
CONVERTER
 Loading...
